
This truck and the project that will follow on this page has been a thought of mine for over eight (8) years. I have been in the military vehicle collecting hobby for over 25 years. I have always been a person into history and into military history. In the past I have owned two M151s and A1 and an A2, a M211, a M1009, a M1028, and a M35A2. I have also owned several trailers to include a M416, M105, and a MKT. I was always amazed at the life the M35 series truck has had. It is over 50 years that the truck in some form has been in service with the US Military. The original truck started out as a gas powered. Then it became a multi-fuel diesel. Then the multi-fuel turbo diesel and then finally a CAT powered diesel. So over 8 years ago I started to wonder what would have happen if in the mid 1960s if the army had decided that it was going to stay with the M37 truck in service instead of the course it took with the M715, then M880 and then the M1008 and M998 HMMWV. I decided back then that it would be interesting to build a concept vehicle based on the M37 truck. So I am finally starting the M37B3 project. Please enjoy the progress and the troubles and trials we (myself and my family) encounter along the way.
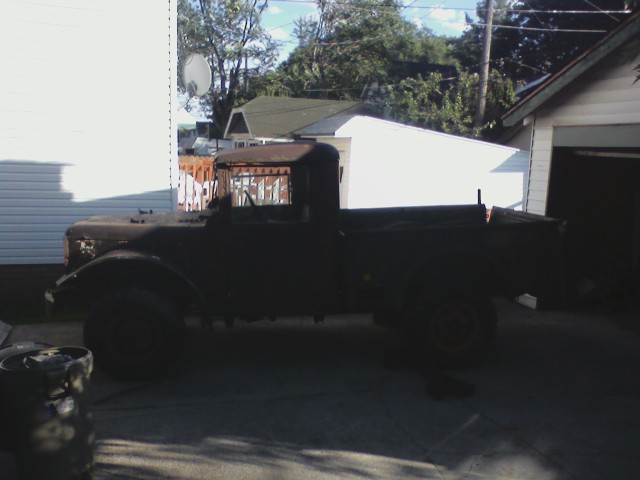
I purchased this 1953 M37 on 13 July 2008 as part of a trade deal for my M151A1 that I had had for 22 years and some much needed cash. Here the is were the adventure begins.
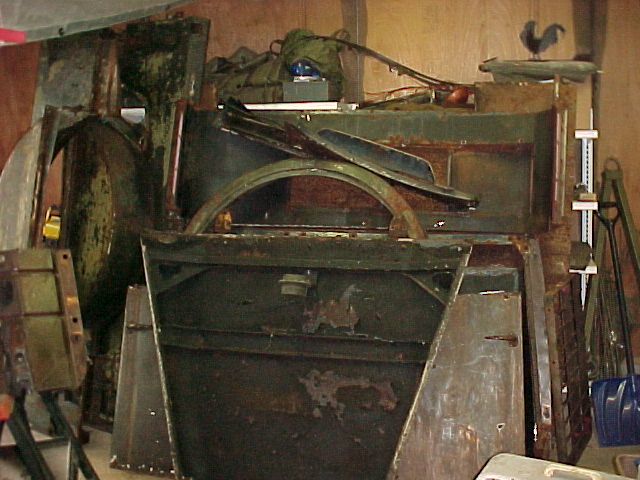
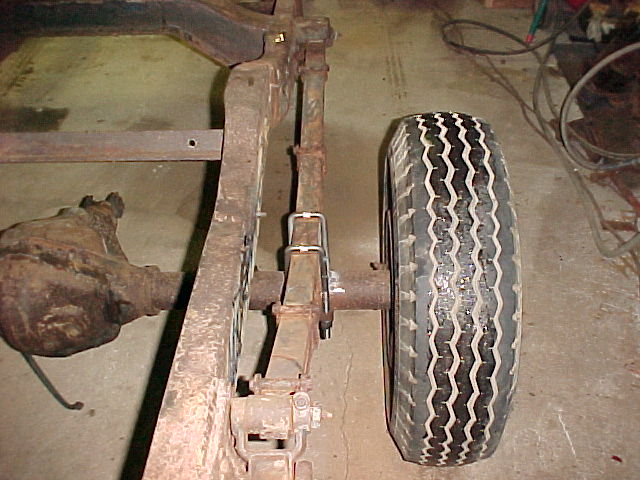
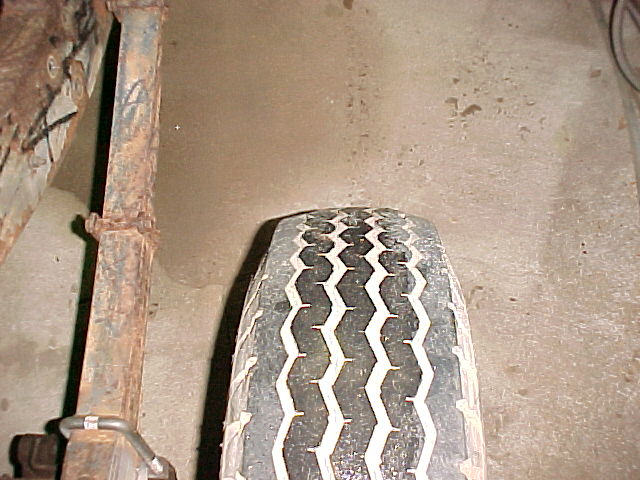
Sunday 13 July 2008: Here is how it looked when we picked her up.
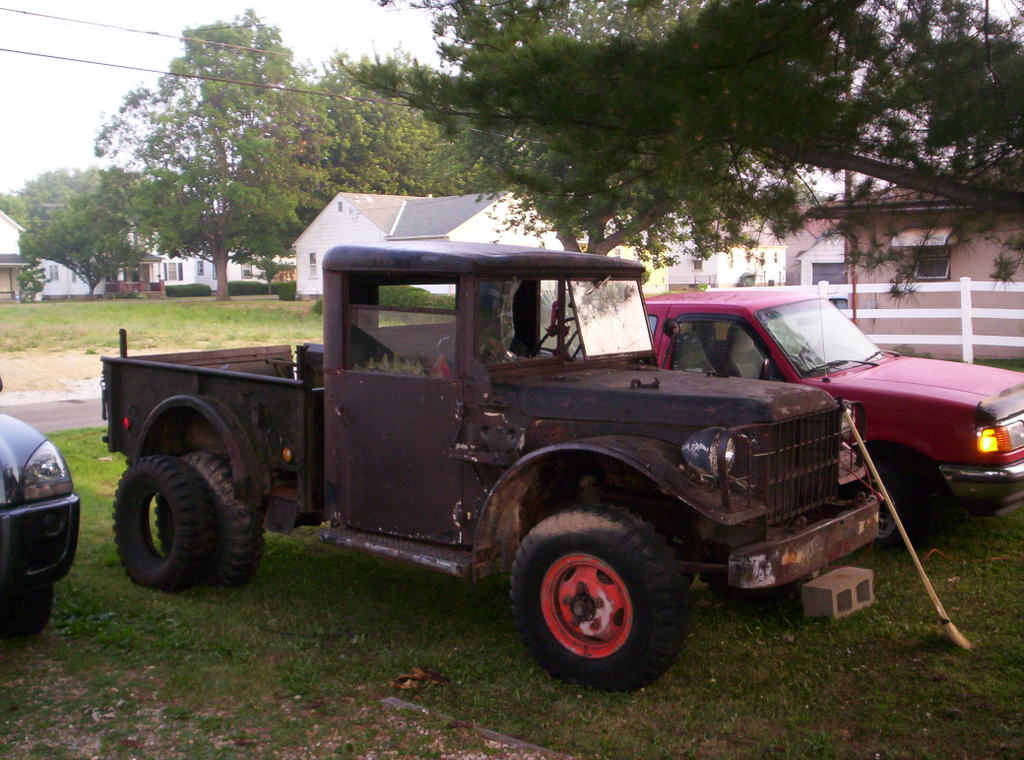
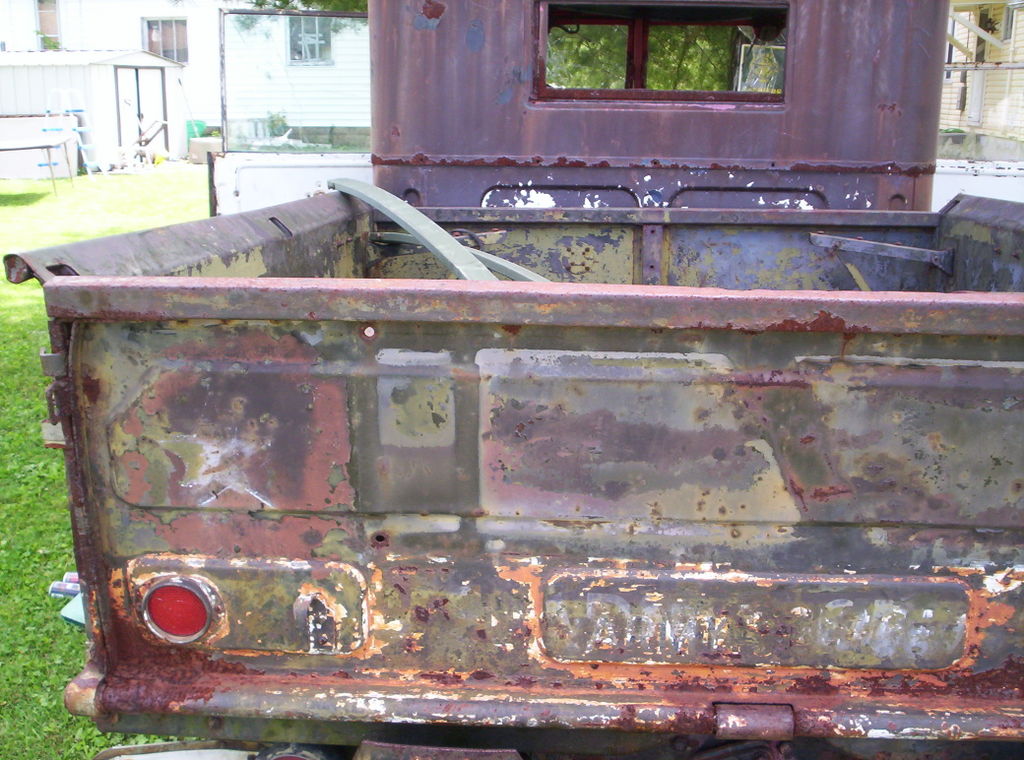
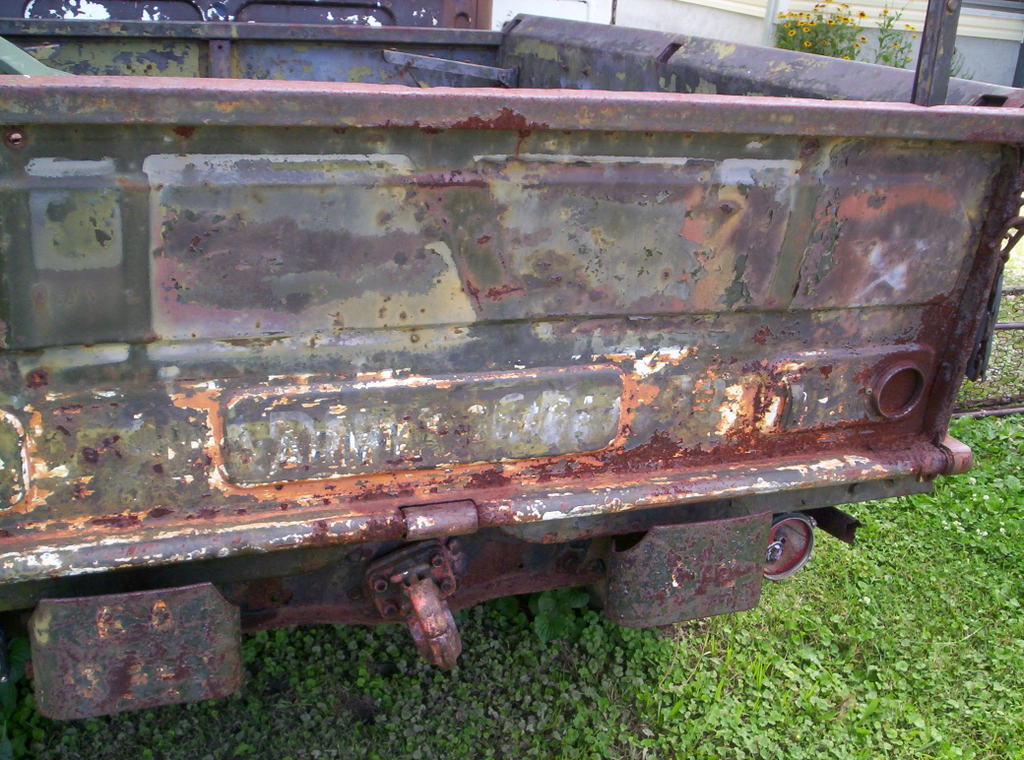
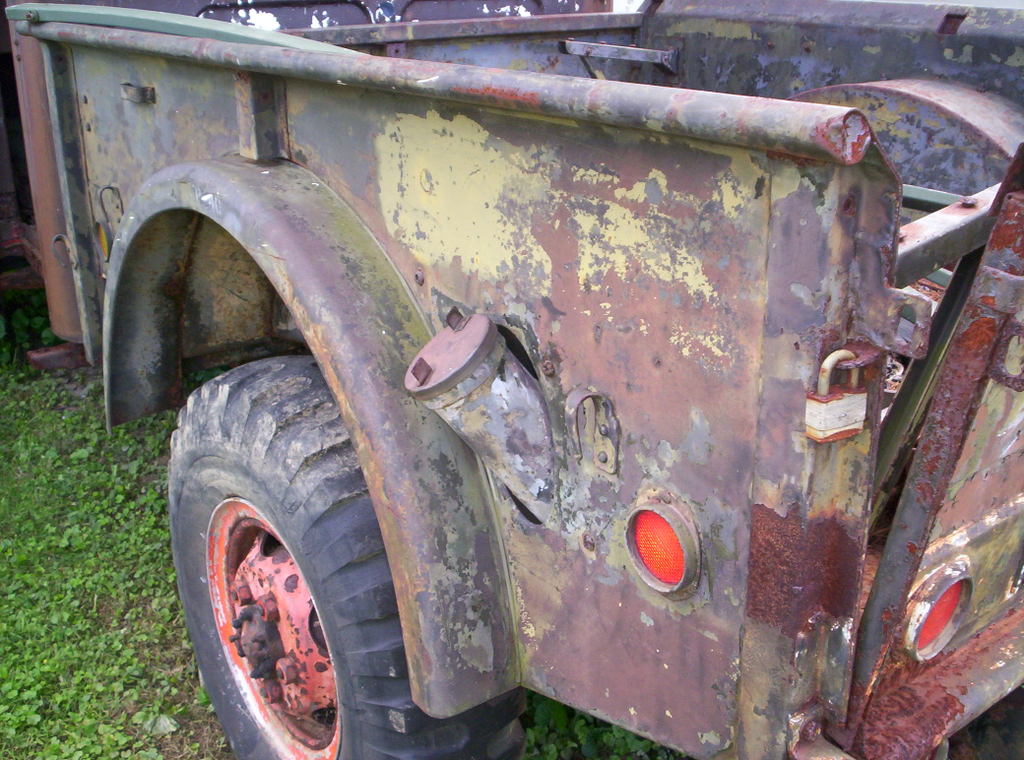
My observations were that the truck though rusty it was mostly surface rust. The only real problem with the body was the drivers floor and the transmission cover. The glass is all broken, but hey you replace that on a restoration anyway right? It was mostly complete and the price was right. The wiring is all hacked up and it was converted to 12V somewhere along the way. All that is going to be replaced and redone with the project, so we loaded it on a trailer and brought it back home.
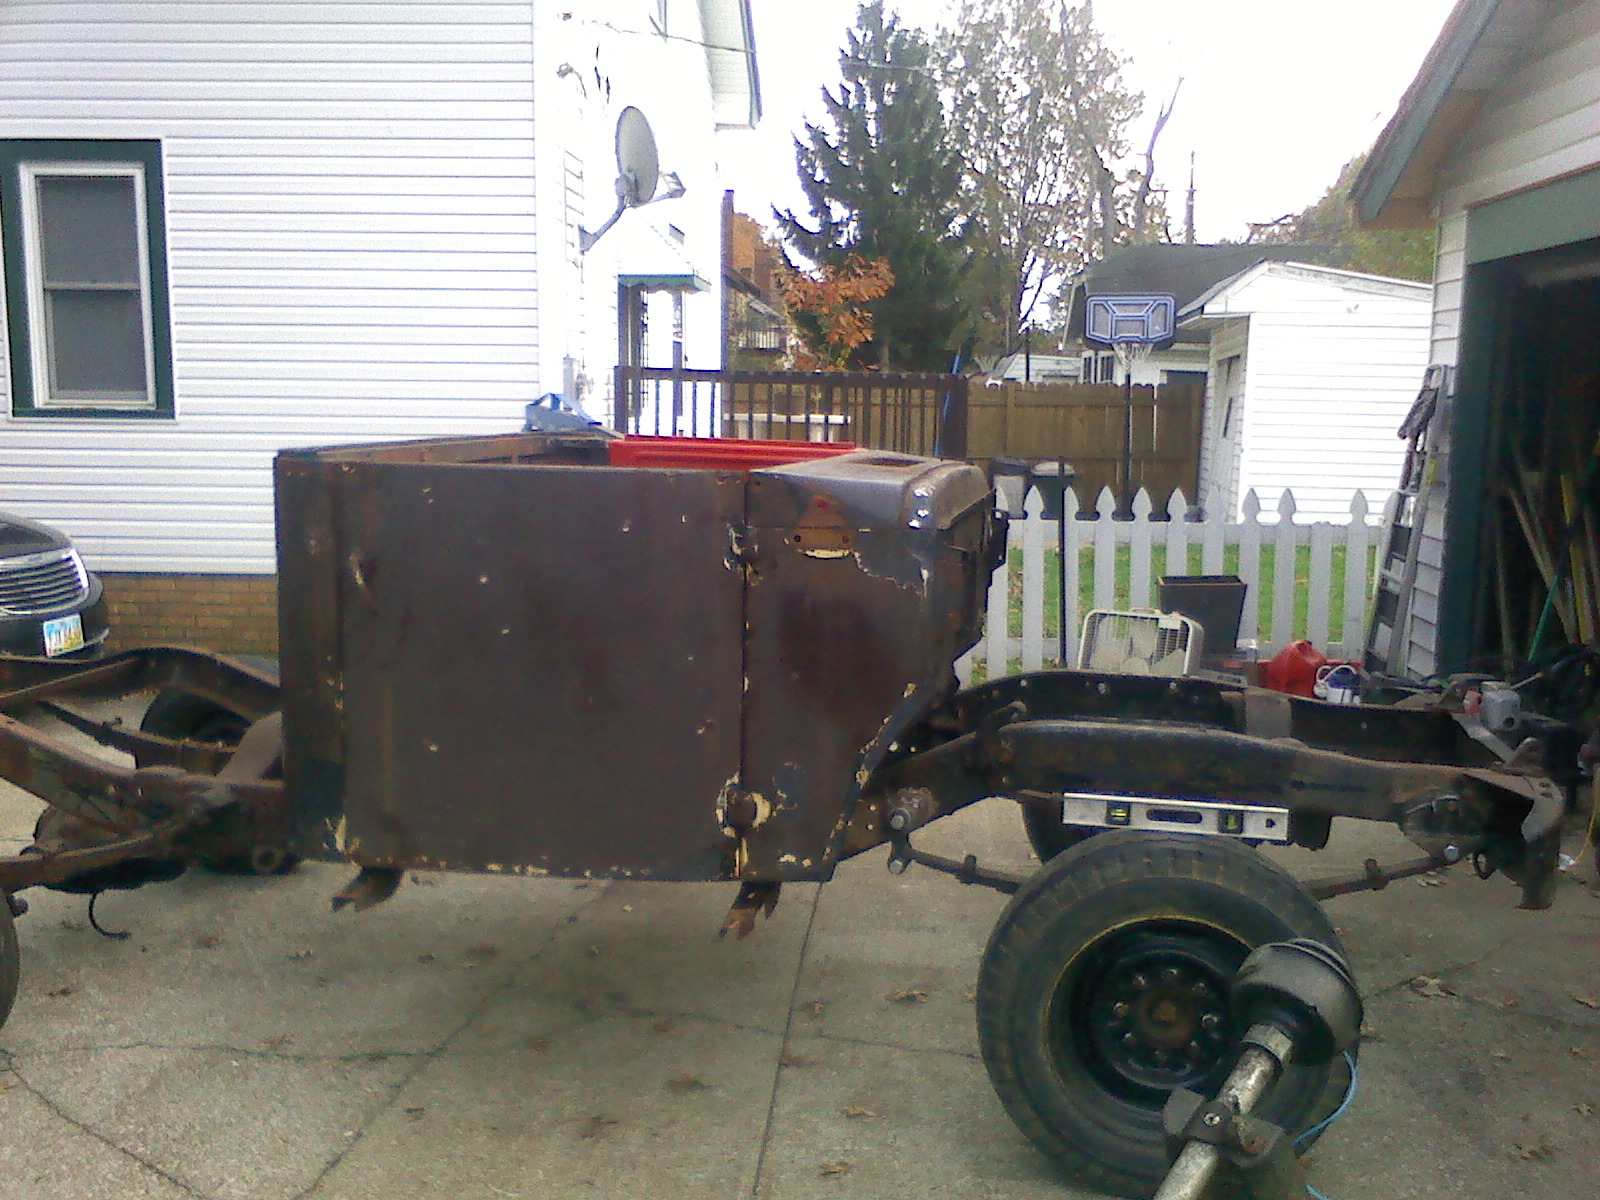
In the drive way before putting it in the garage.
Saturday 2 August 2008:
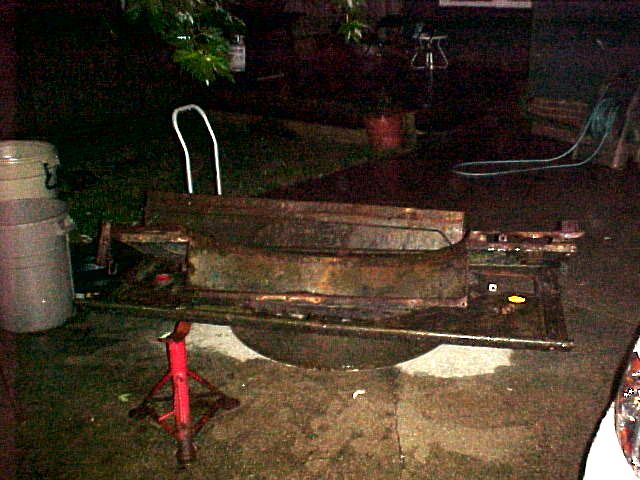
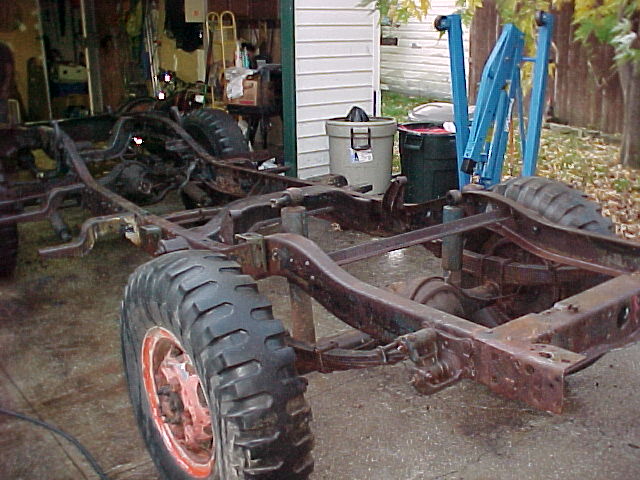
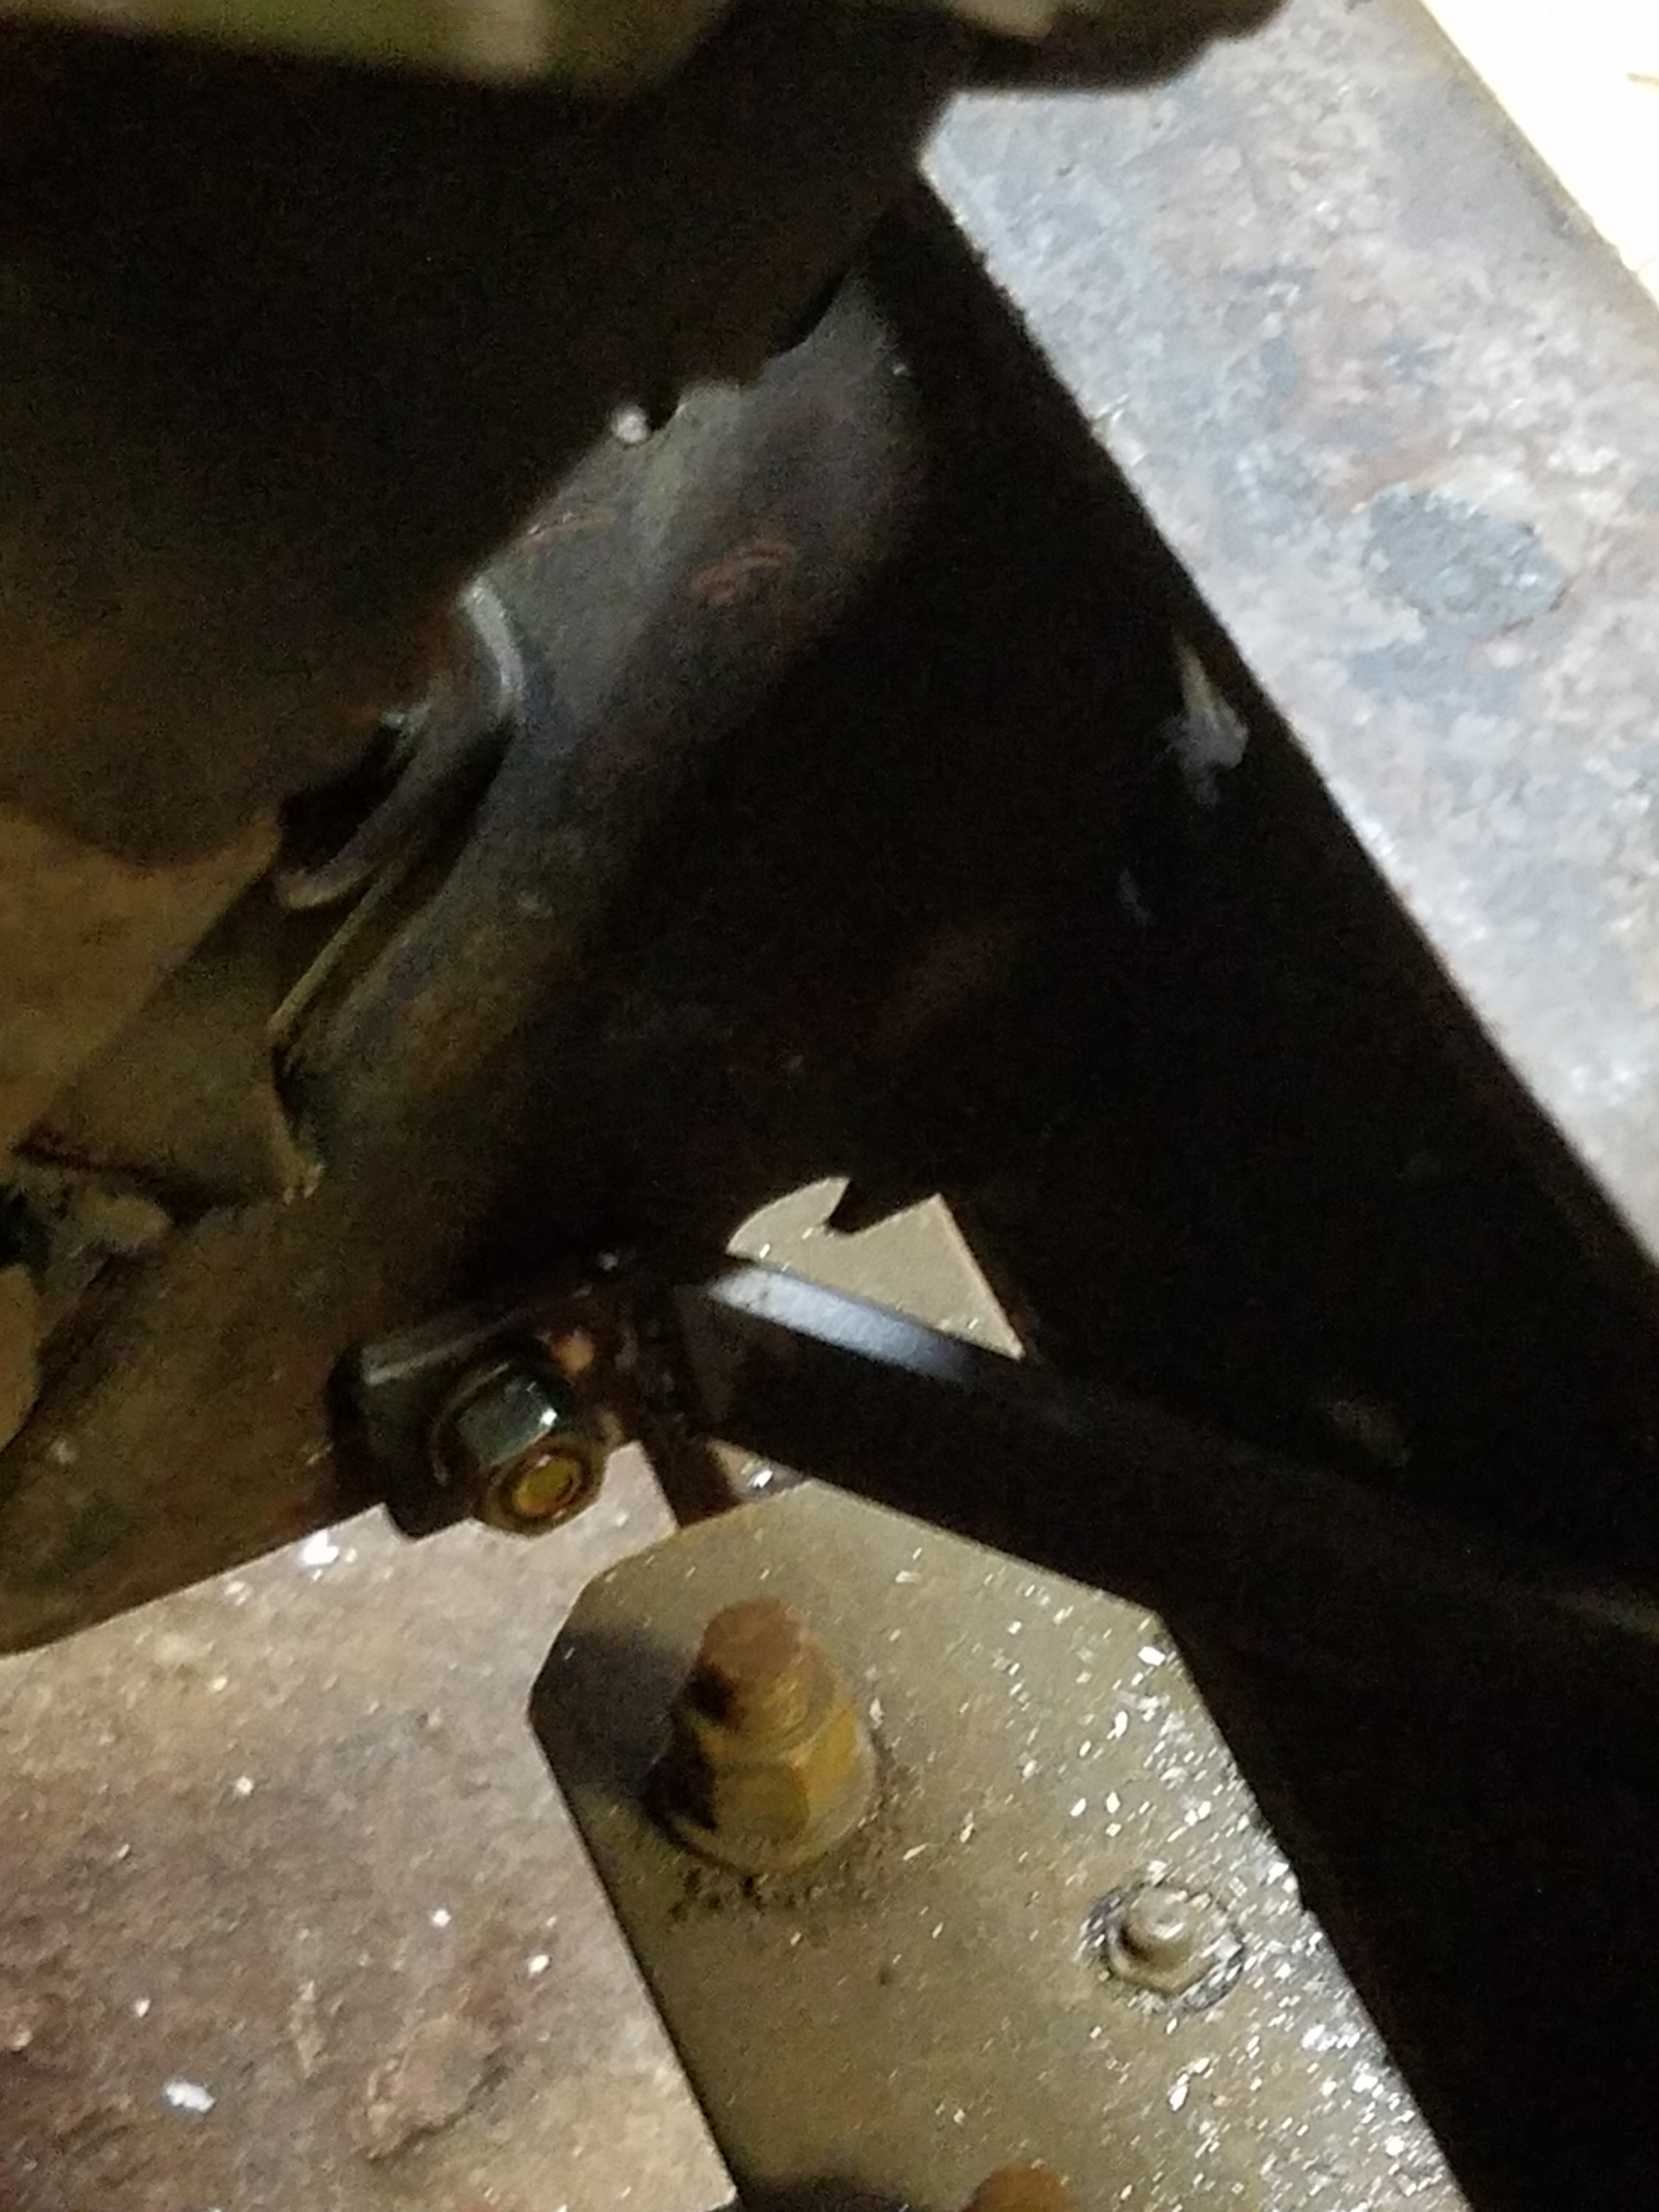
The truck is in the garage and the disassembly has begun.
Can you tell how small my garage is…this should make a frame up rebuild very interesting.

Hard top, windshield and doors all removed. We also broke the hard top down into pieces for greater storage and ease of rebuild.
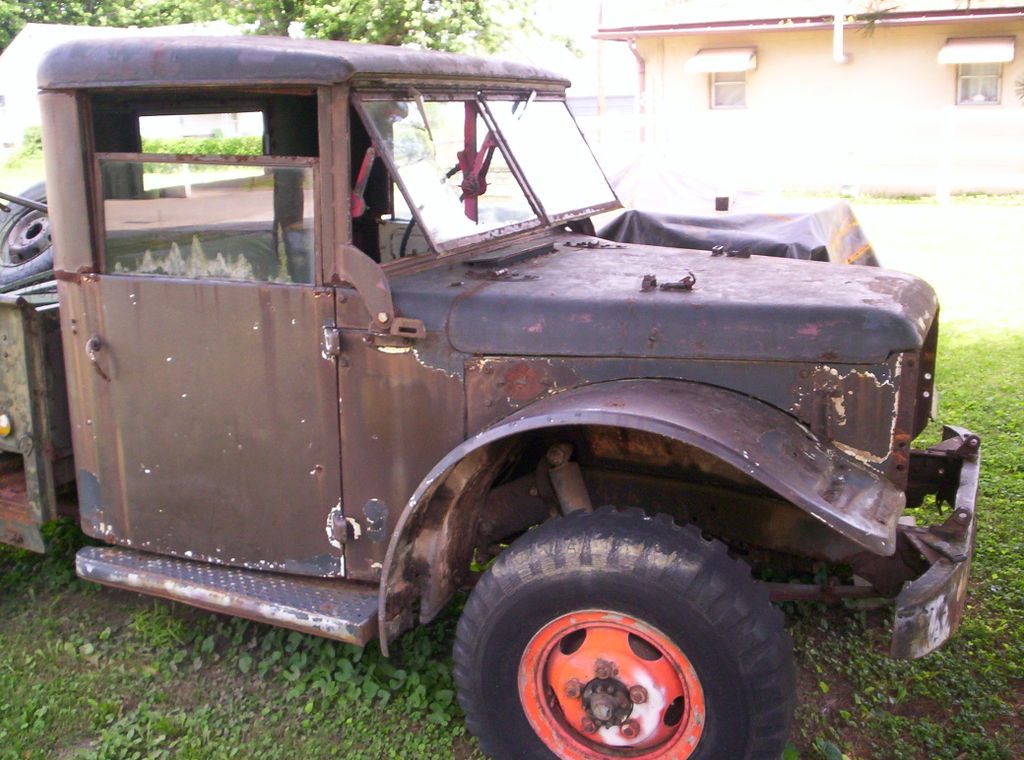
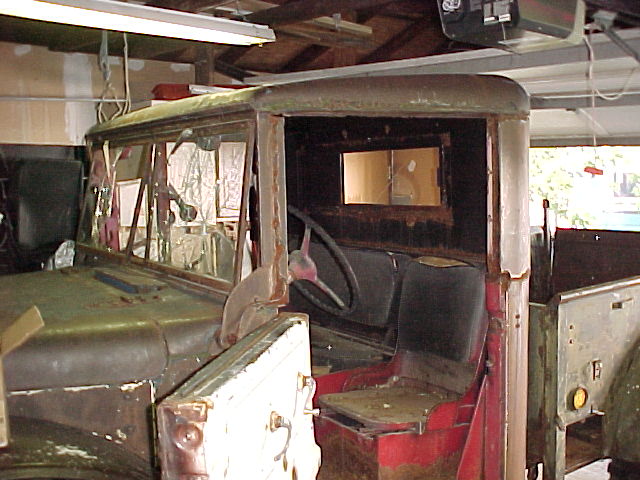
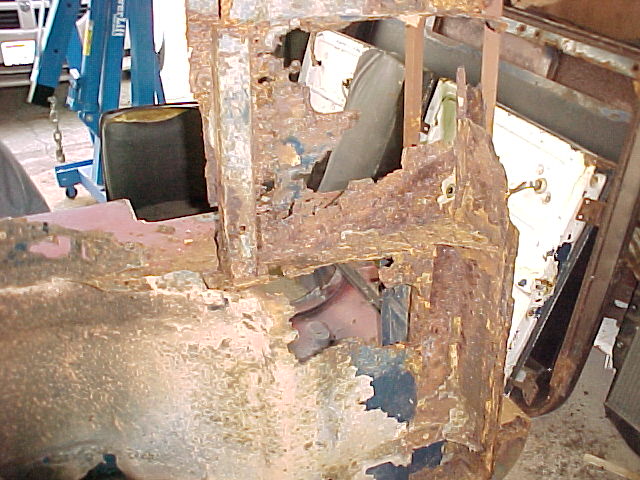
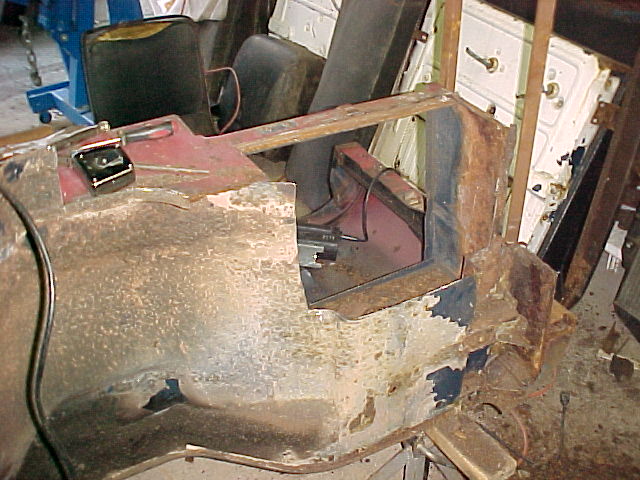
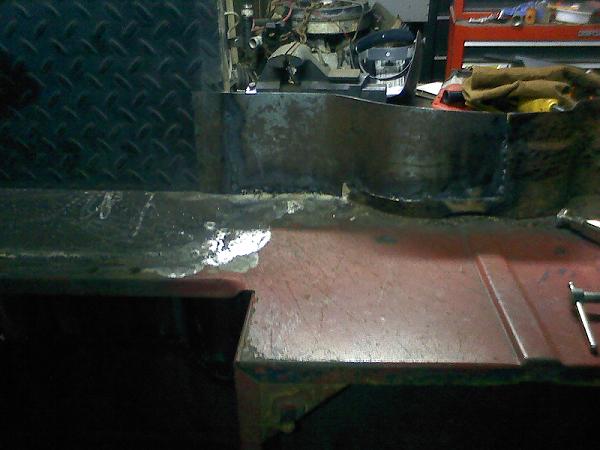
Now the big problem….. I knew the floor was rusty, but I didn’t realize how bad till we pulled the door off.
The rocker panel, the inner side wall panel and the floor all need to be replaced. We may opt for finding another cab and just replacing it. But if not then we will be doing a lot of welding.
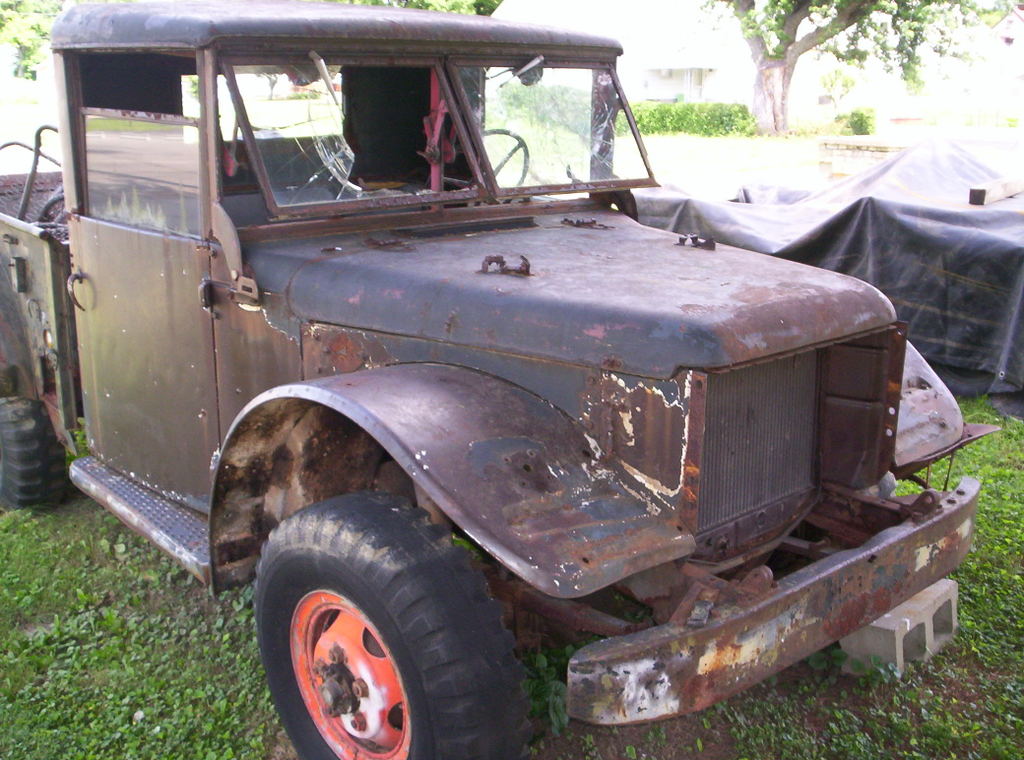
Our observations is that this was an Air Force truck. The cab has Strata Blue under the red, white, and brown paint. The bed is not original to the truck as it is an US Army bed with no USAF Blue on it. We are making an educated guess that the truck went from the USAF to a Fire Department maybe with the Forest Service where the bed was removed and the fire equipment was mounted on the truck. Then the truck was repainted white, maybe as part of the Forest Service or the FD went from Red to White. Then the truck went into civilian hands were it was painted brown and then a new bed was mounted to it. Stay tuned more to follow.
Saturday and Sunday 9 -10 August 2008
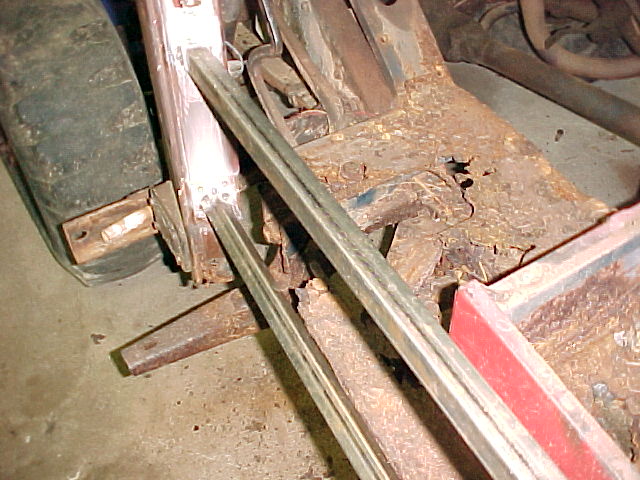
Started working on pulling the bed down. I decided that I would pull the bed apart to its smaller parts instead of pulling the whole bed. This way I could get into the nooks and crannies to remove rust and also it would make the bed lighter to move. With the bed removed the cab will be easier to remove.
I want a time machine to travel back in time and find the engineer who designed the bed for the M37 truck and kick his fanny! Who uses Philip head bolts to hold something together. What a major headache this was. A good Philips screw head looks like this +. Not these screws some looked like the +, but many others looked like [] or like this O or just a blob of metal. Many years sitting out on the farm have not been friendly to the bolts. If we could get a screw driver on them as soon as we tried to turn them the + went to O. So every single bolt that was Philip head had to either be cut off with a cut off wheel or drilled out. What we thought would be a one day job turned into two days. I had a few more pics but it seems my camera glitched and I didn’t get them…sorry. Anyway here is what I do have.
Tail gate and drivers side off. This is one of the glitched pictures sorry about quality.
Bed off
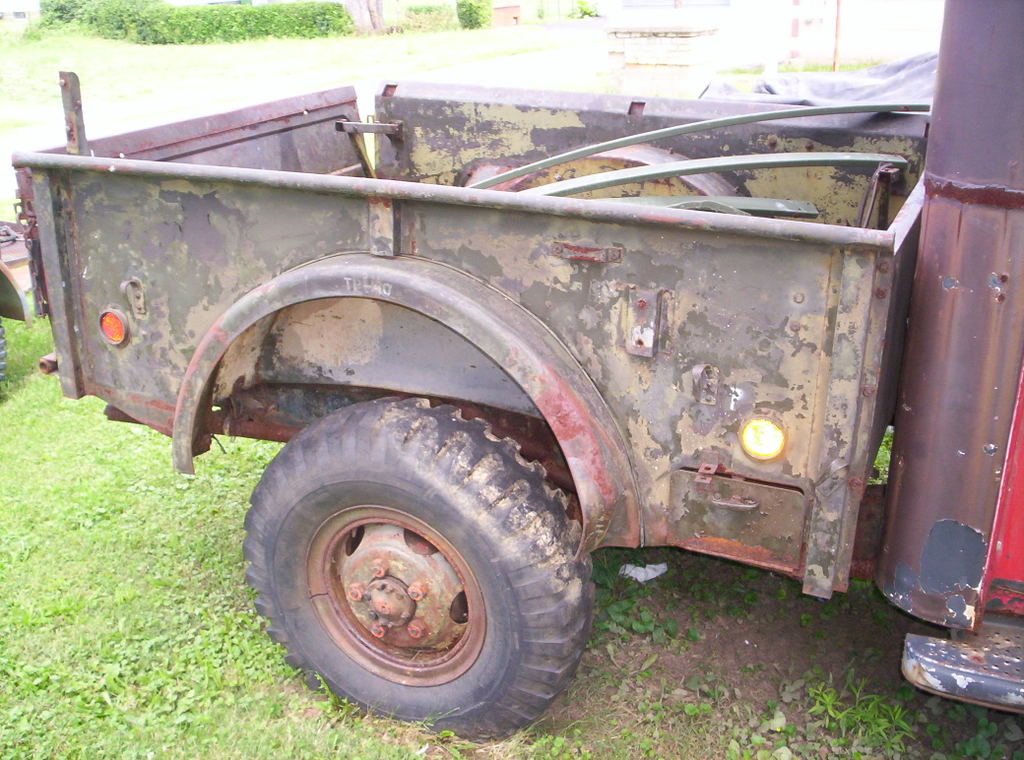
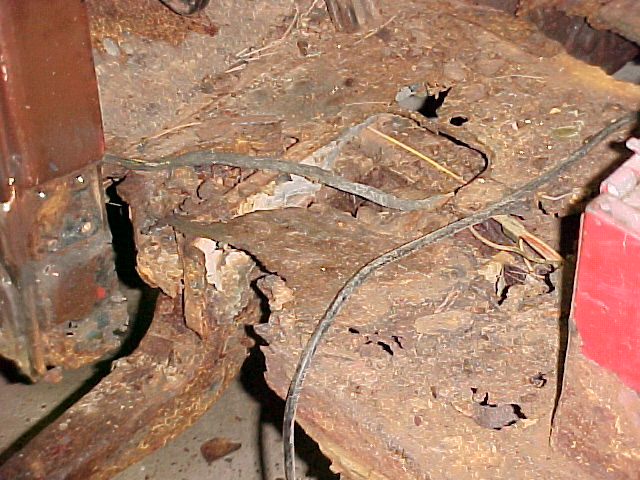
You can see a little bit of the custom wiring someone did. The military rear wire harness is gone and the mess of wire left is all that remains.
Left and right side and tail gate off. We got a scattered rain shower tonight so that is why everything looks wet.
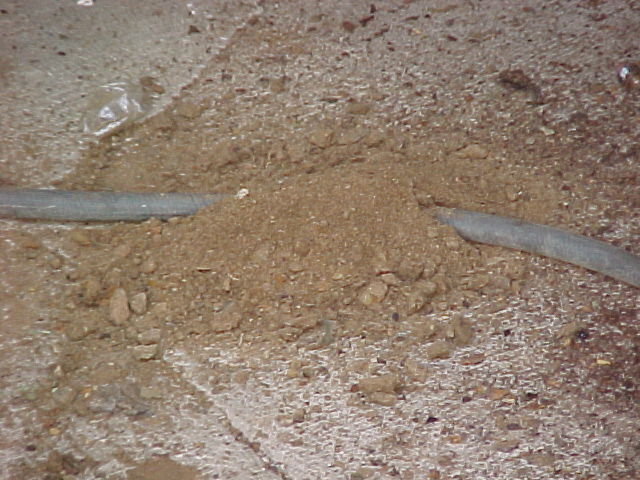
When we pulled the bed the amount of dirt that came out of the sub-frame channels was amazing! I had small dirt piles all over the garage floor. Here is one that built up over the air hose.
The bed floor is up against the side of the garage. The next step is the front sheet metal.
16 August 2008
We got some more work done on the truck today. The front end is off completely and the motor is just about ready to come out. Then we will prep the cab and take it off. The front wire harness was also hacked to pieces so it all went into the trash. Nothing worth saving.
Front sheet metal is off
Our growing parts pile. Truck 1 each M37 Dodge (some assembly required)..lol.
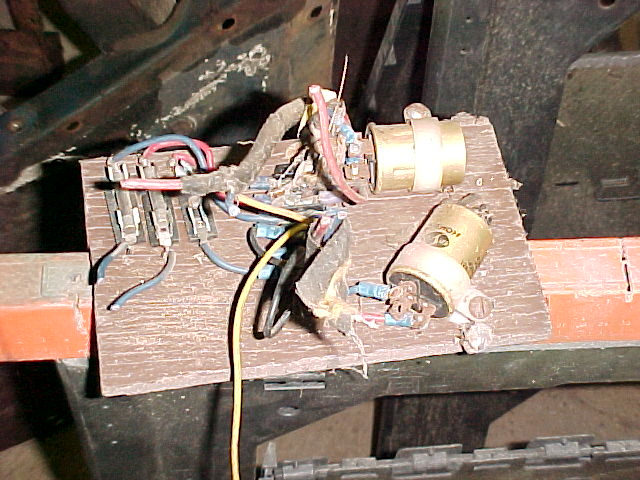
As I started pulling the wiring out of the cab both civilian and military I found this interesting wiring on the drivers side kick panel. It was held in with one screw. Ah nothing like bread board construction… 🙂 Isn’t this special?
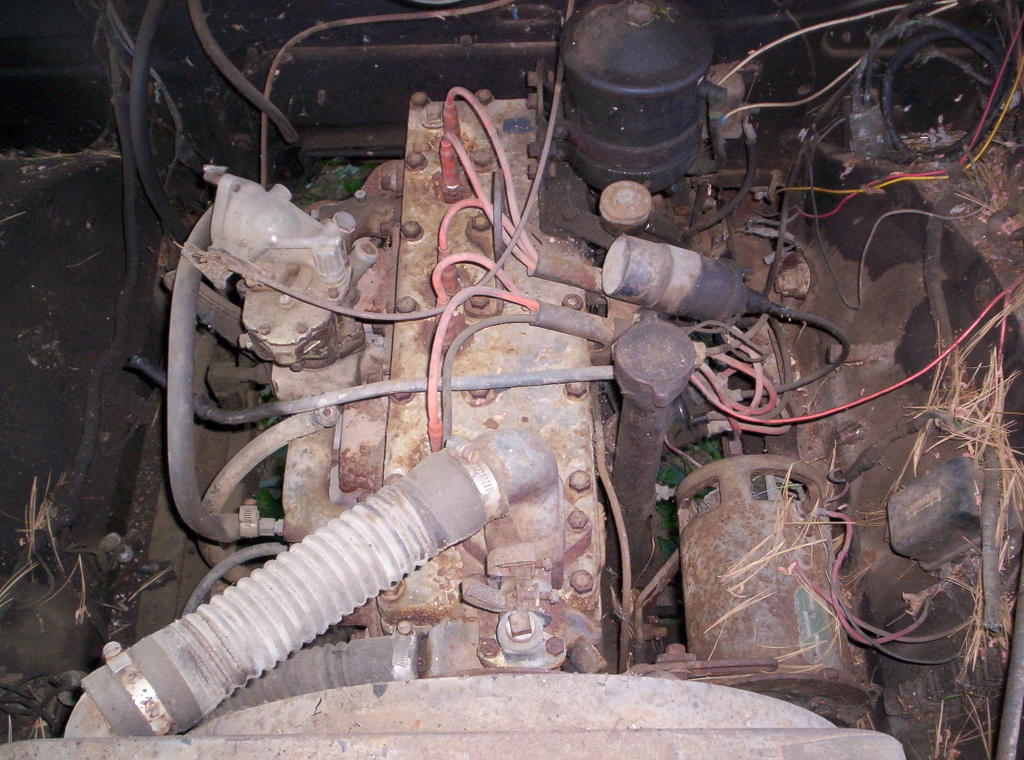
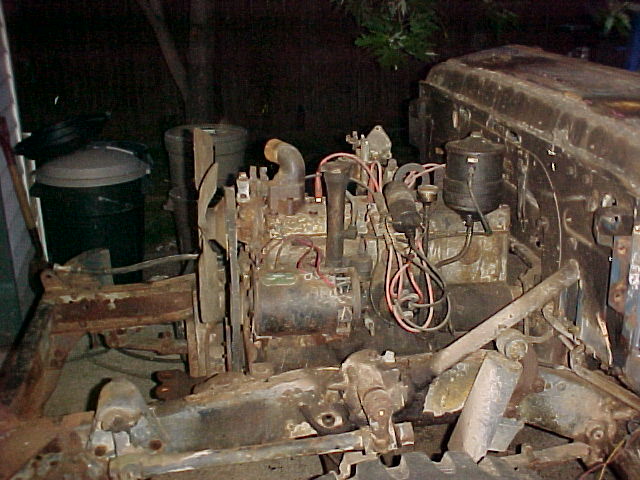
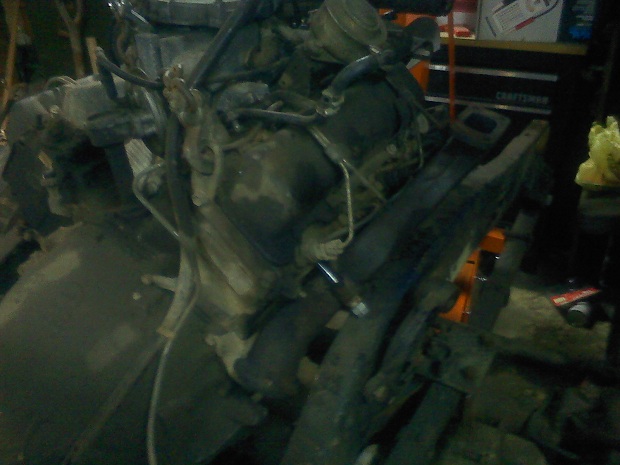
At some point in this trucks civilian life it was converted to 12 volts. Here is the motor you can see the civilian distributor as well as the 12 volt civilian (Chrysler no less) generator.
Well we took a few weekends off. Had other obligations, but we did get some things done and then we had one day to get back at it.
13 September 2008
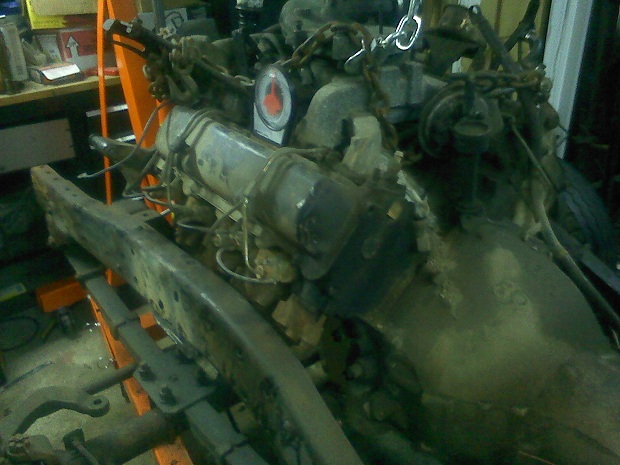
Well we got the motor and steering column out. Motor and trans was easy, but the steering column proved a little more difficult, but we got it.
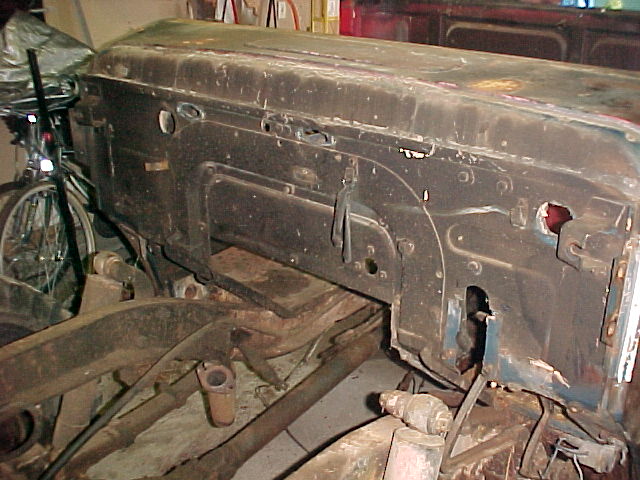
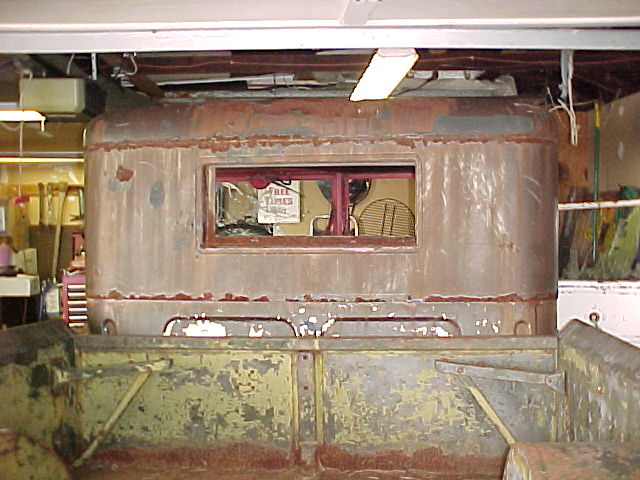
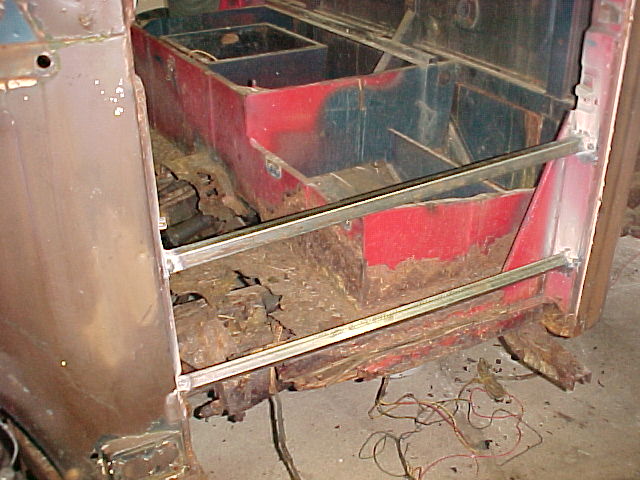
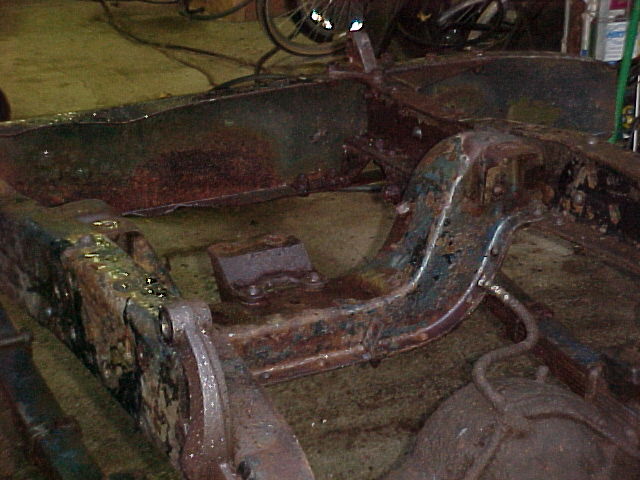
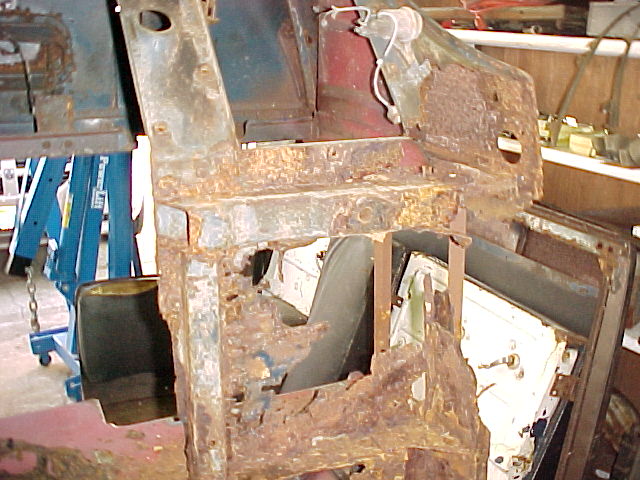
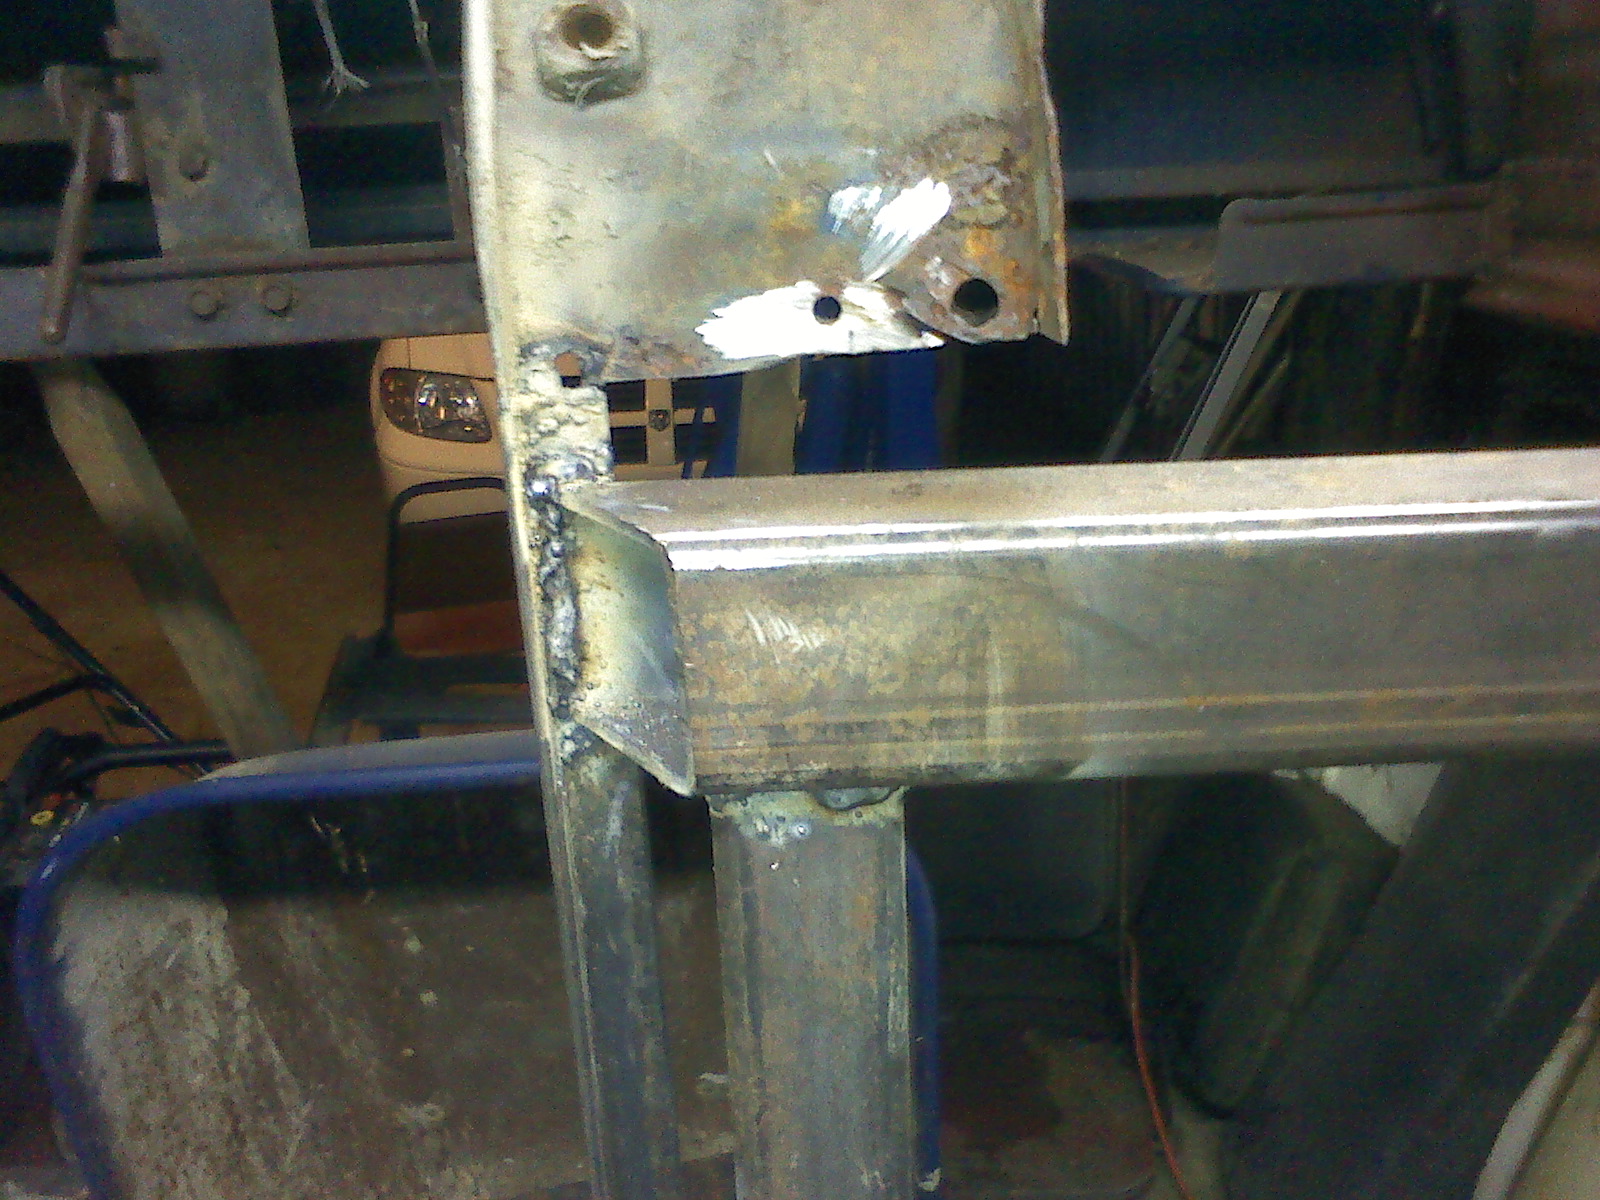
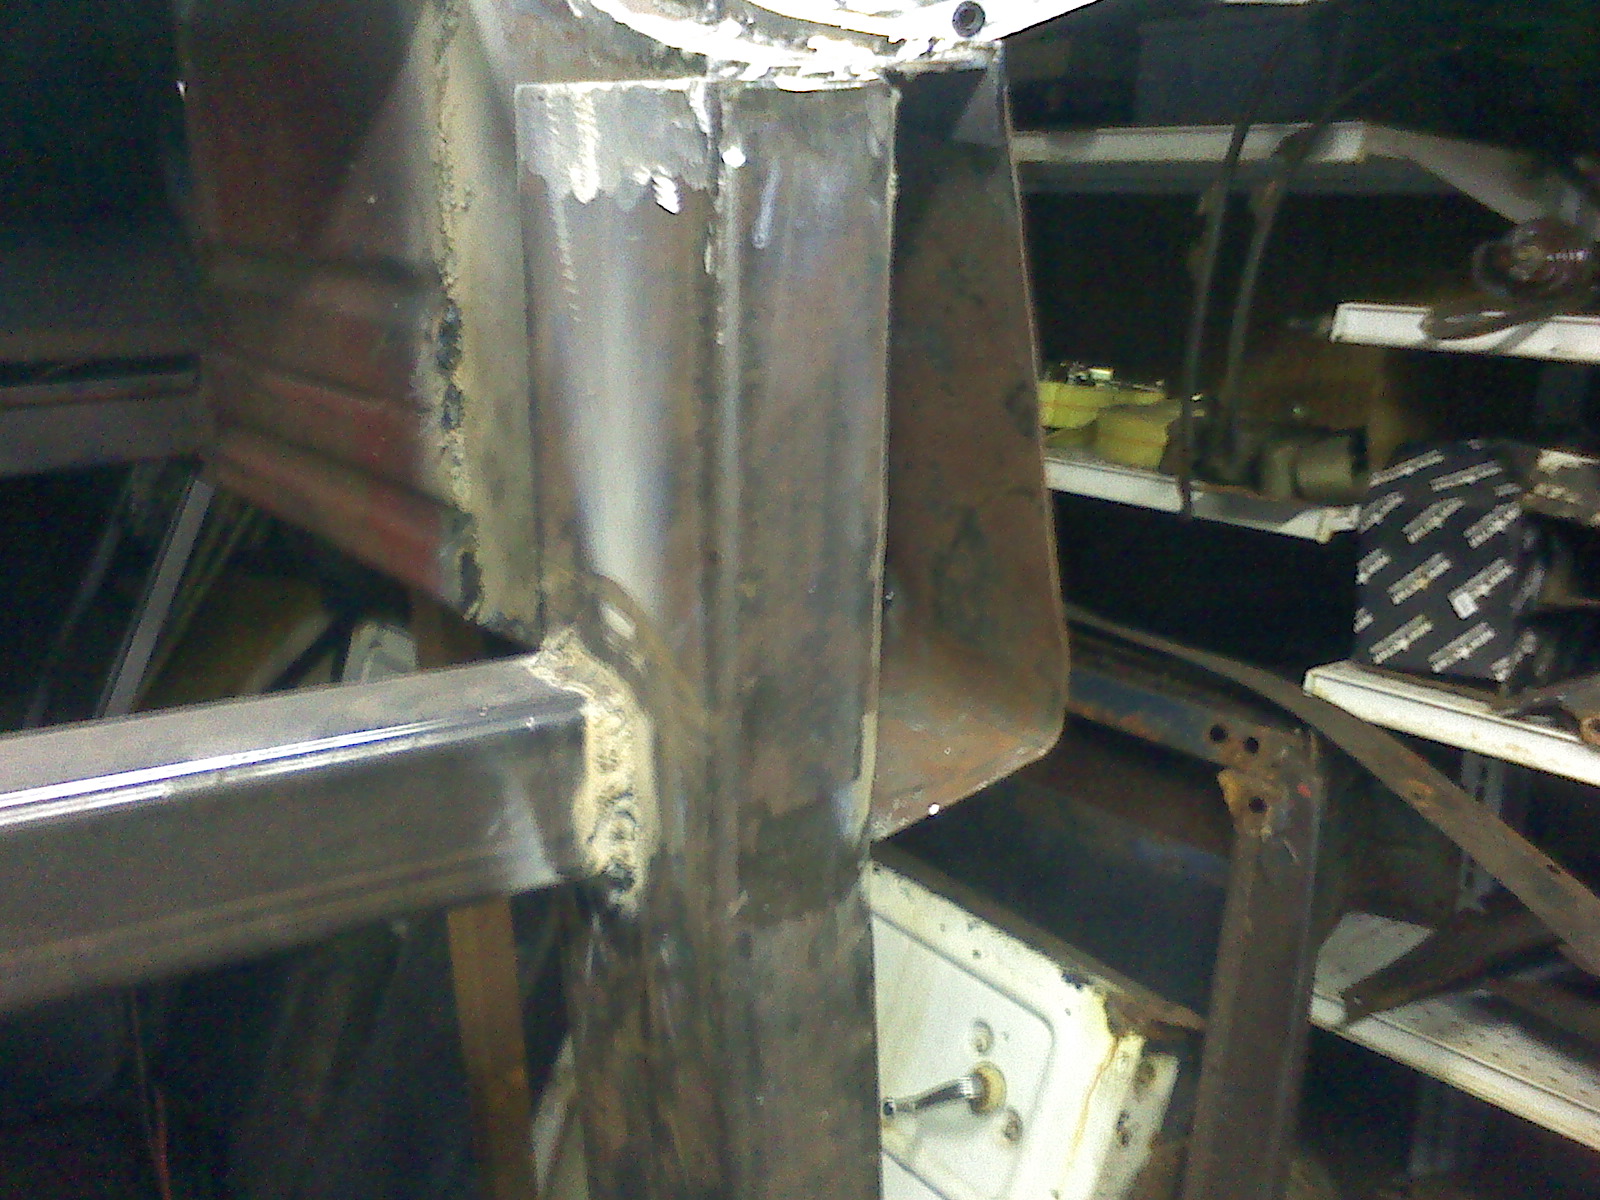
Next we unbolted the cab and because of the rust in the cab and the missing metal we welded two brace rods into the door opening to give the body strength so that when we pulled the cab up and off it wouldn’t fold in on its self.
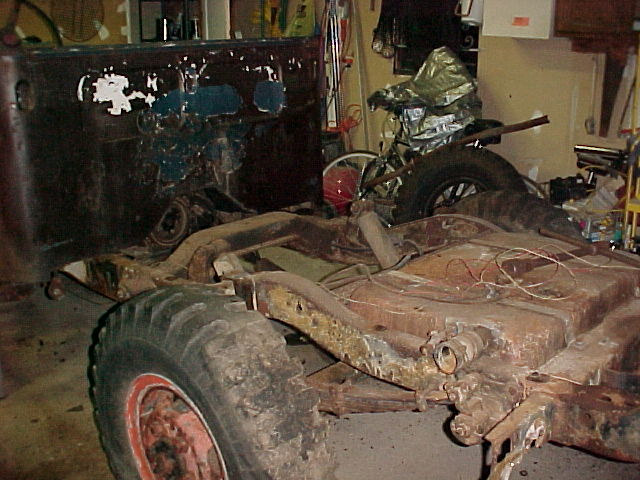
Cab off…yeah!!
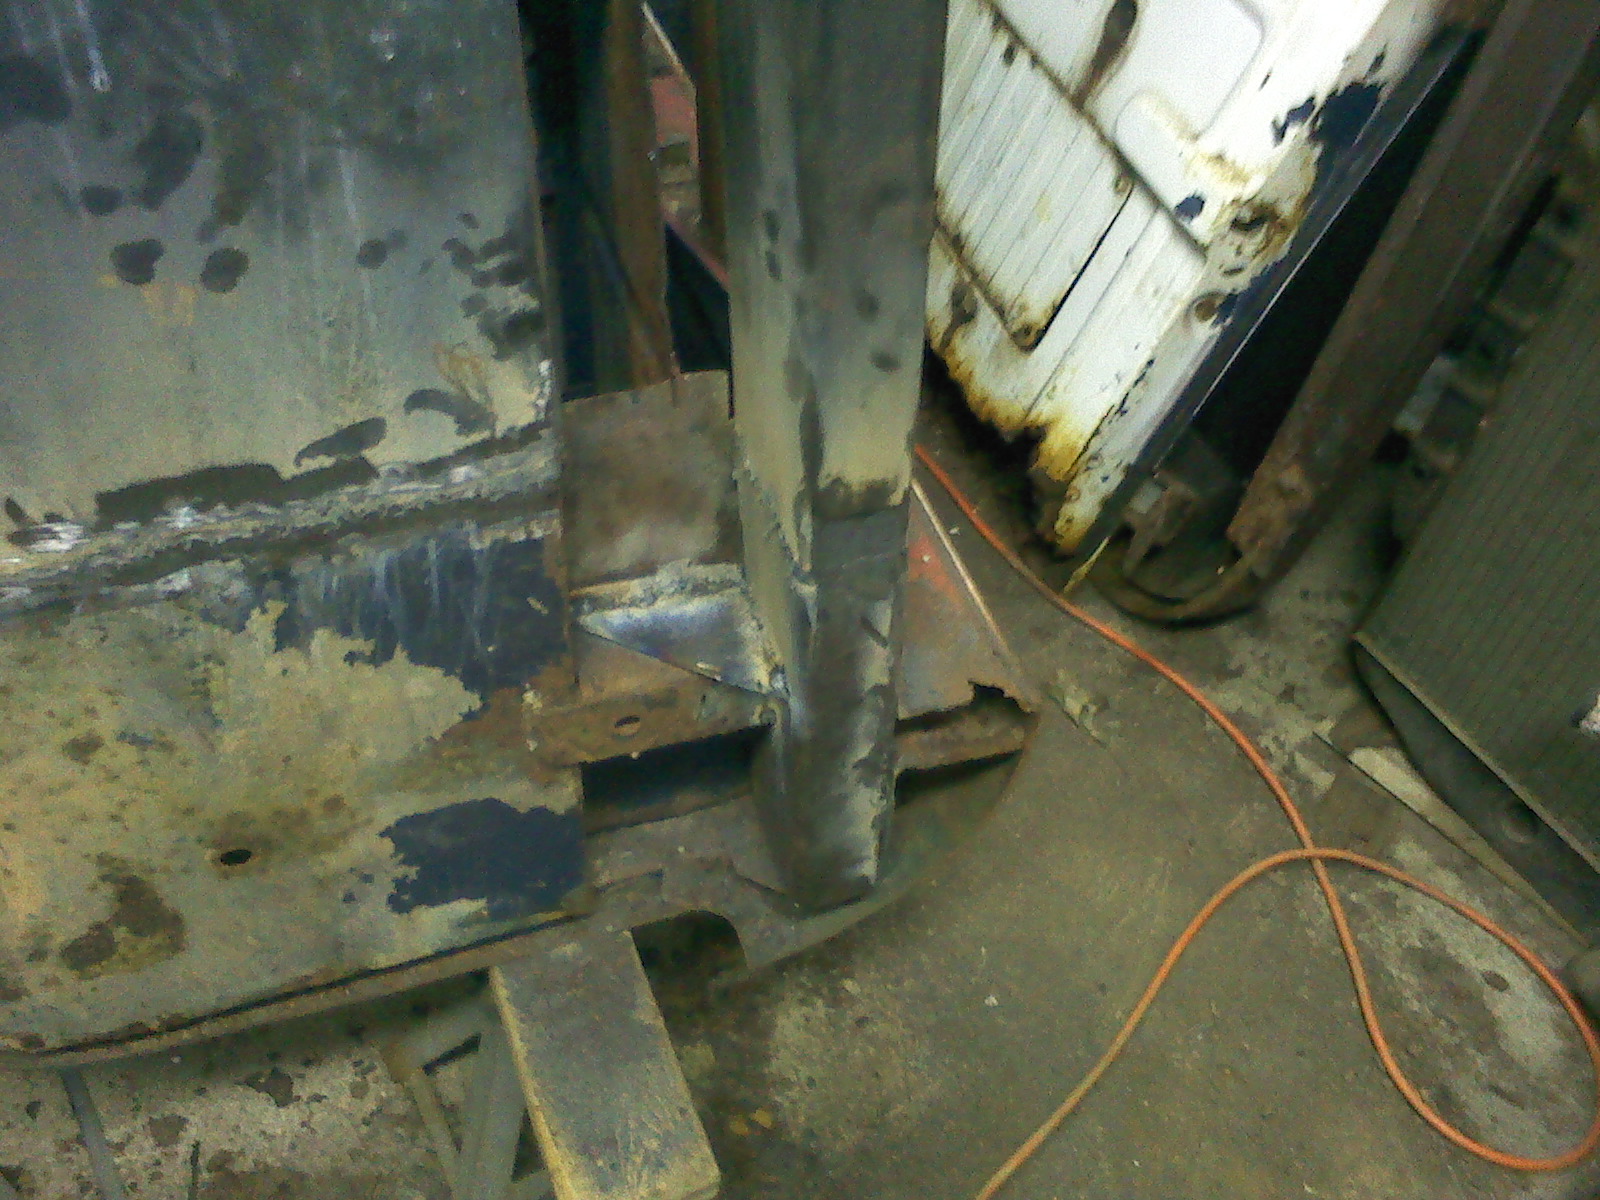
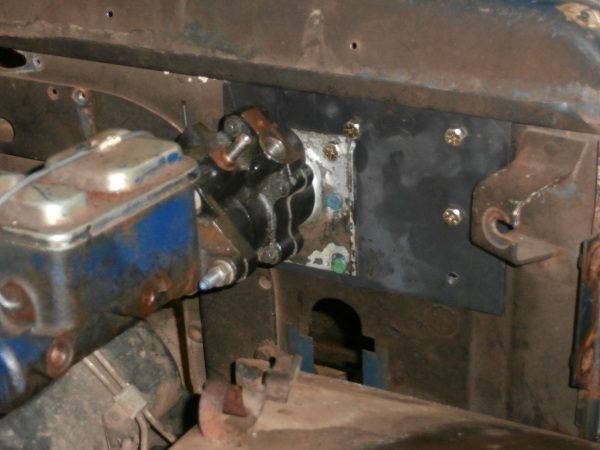
You can see in the above picture that some owner in the past either the FD or “bubba” changed the brake master cylinder to a hydrovac “power” brake system. Problem is the way they did it was an abortion. Look at this next picture and see how they messed the frame up so bolting a stock MC back in place or even one of the approved after markets in place is going to be next to impossible. I hate when good intentioned people screw good Army trucks up!
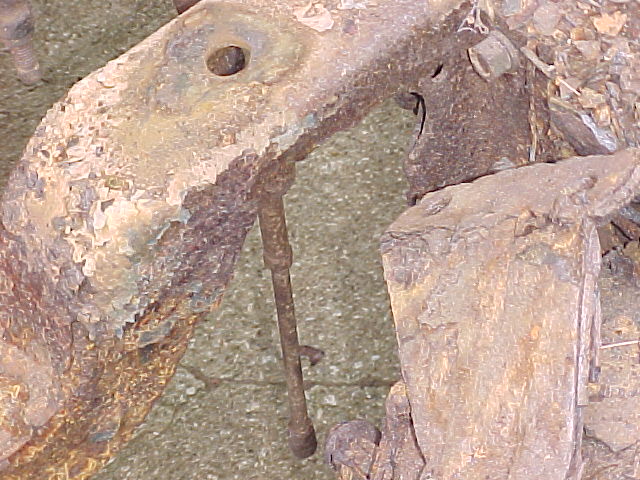
Also check out what’s left of the MC and the copper line feeding the main brake lines.
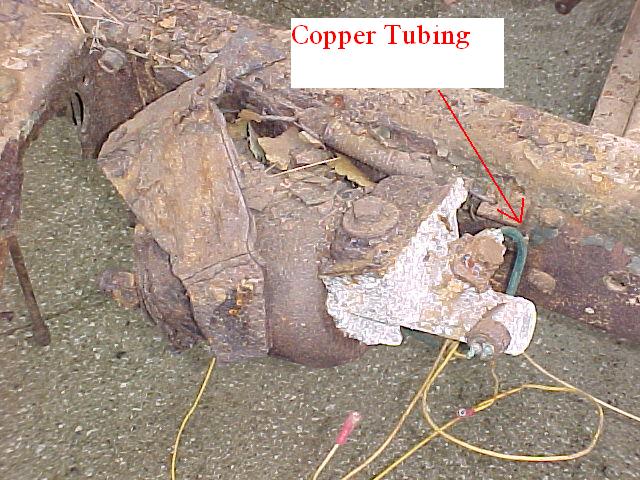
This may lead to hanging brake pedal for the M37B3 project.
Well after removed the MC and the brake and clutch pedals. We removed the transfer case and the drive shafts. The worst part about the coming of fall is the shorter days. By 19:30 we were out of light so these were taken in the dark.
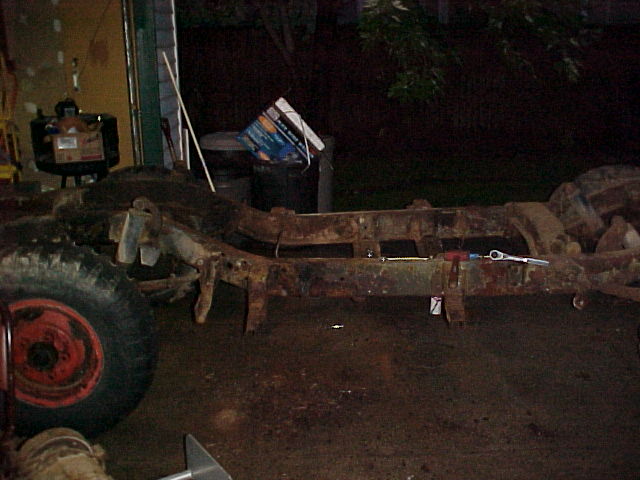
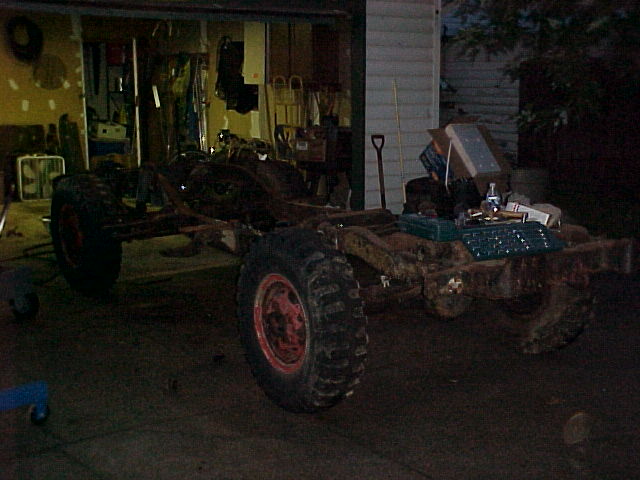
So we are getting there slow but sure. Now the real fun starts trying to find parts at prices I can afford….. 🙂
October: We had some down time in October due to family events so we didn’t get anything done… 🙁 But the other things we did take care of were more important.
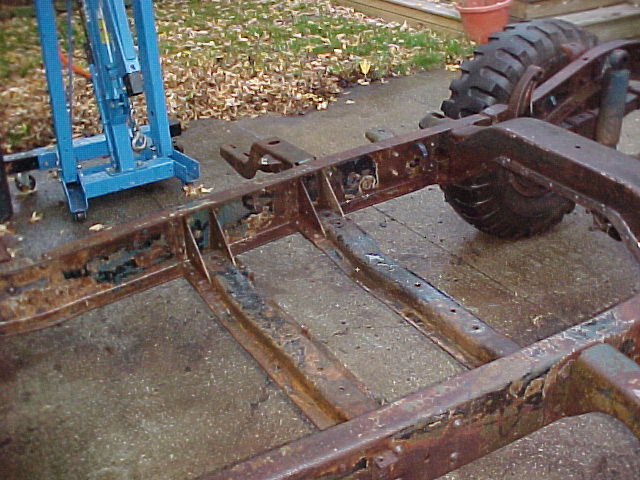
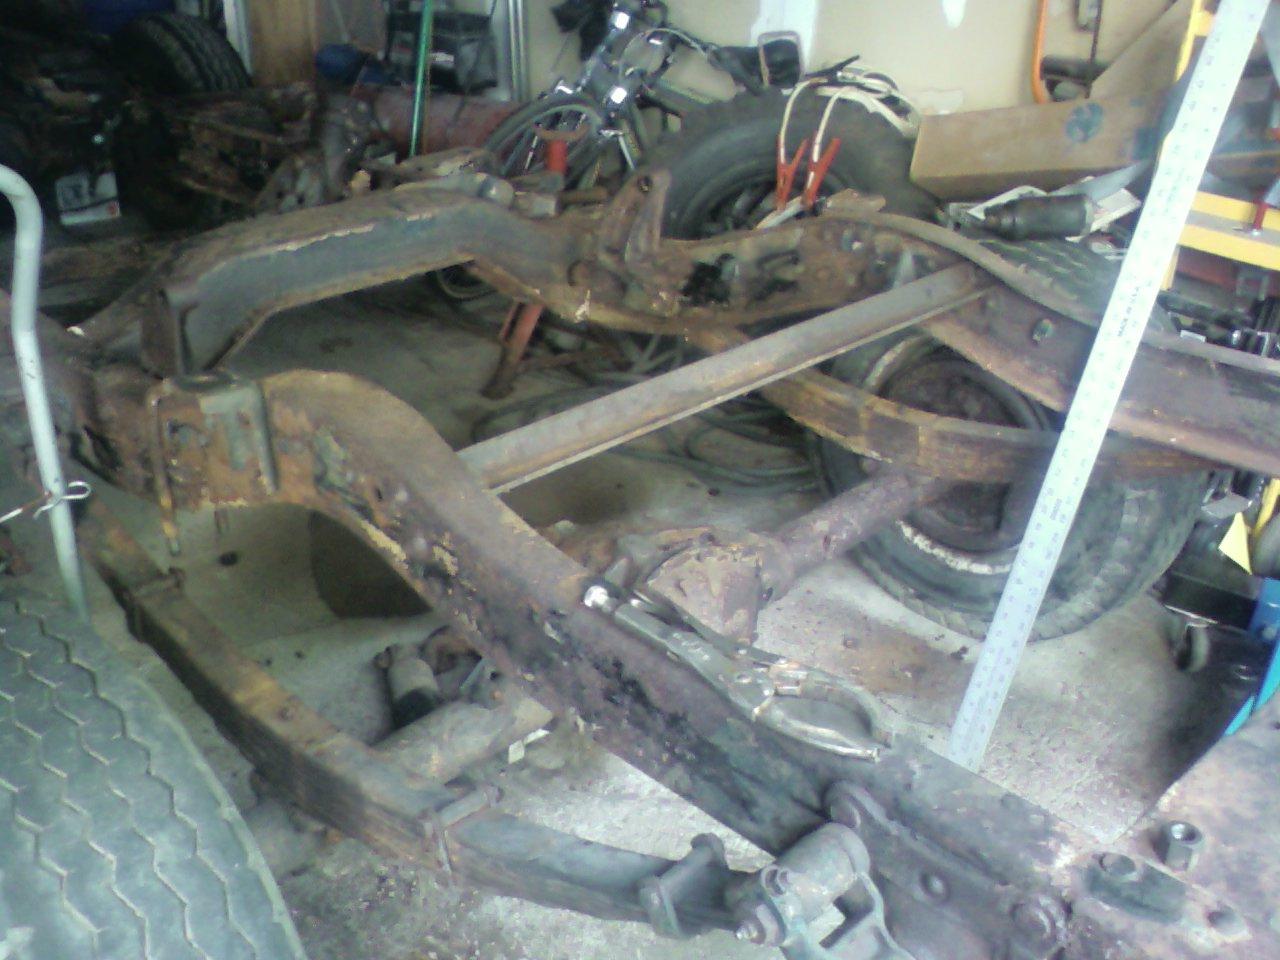
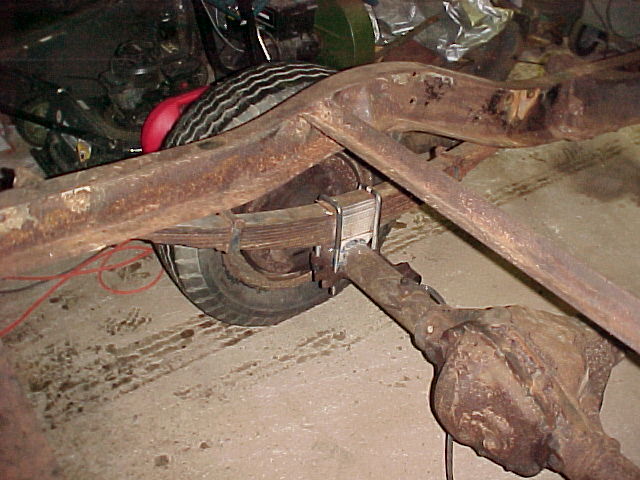
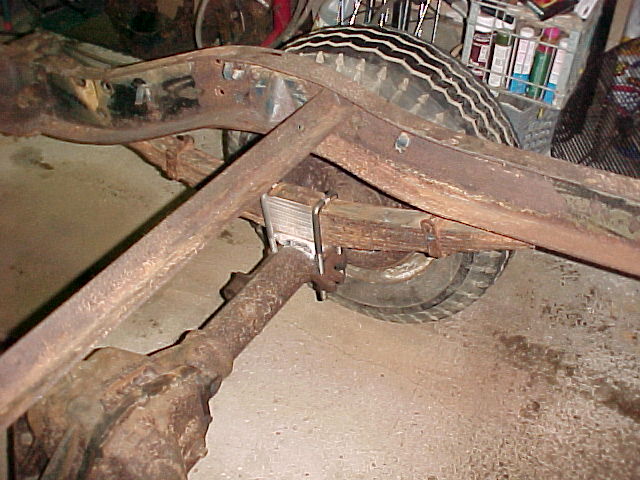
November: Well, we were able to get a little more accomplished on the truck, not as much as we have hoped, but we did get the shocks unattached from the mounts on the frame and we power washed the frame to get the years of mud, sludge, and grime off the frame. Here are some pics.
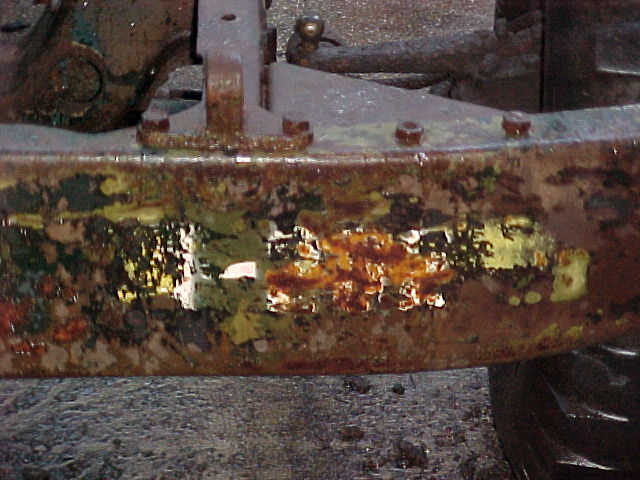
The interesting color on the frame….there is what looks like 319 OD green, then USAF Strata Blue, then Semi-gloss black, then red primer and then metal.
We have have uncovered some bumper markings, but have yet to decipher it. We will get to it maybe in the next few weeks. Here are the markings.
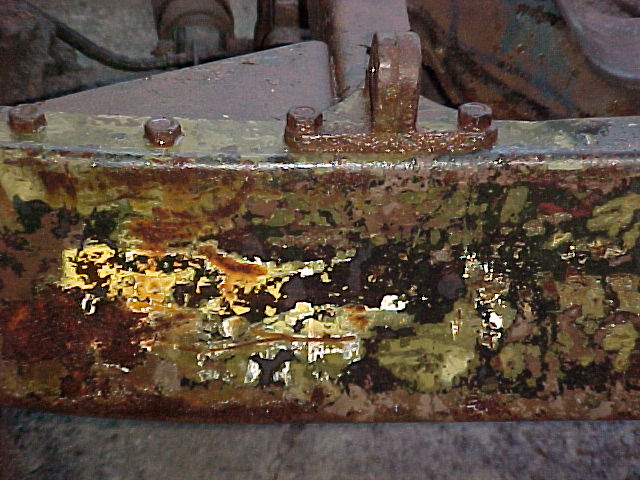
As stated we are going to have to do some more sanding on them.
December: Winter has set in. The garage is not heated and makes working in it very difficult. We don’t want to sandblast prime and paint in 20 degree weather. Therefore we are putting the project on hold till we can either provide a good heat source in the garage or till spring. We will update you should we get a warm spell or spring comes.
26 April 2009
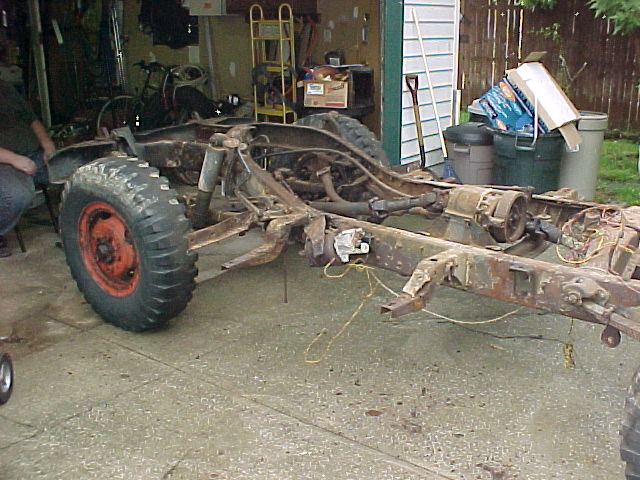
My son-in-law and I rented a modern Dodge Pick up from Enterprise and drove 6 hours to Hale MI to pick up axles from a 1979 Dodge W200. This consists of a Dana 44F (sometimes called a 44HD) front axle and a Dana 60 rear axle. Paid less for both axle than would be for one set of disk brakes for the old Dodge axles. Not only do I get front discs but also 4.10 gear ratio. Good highway speed, but still offers some off road.
May 2009
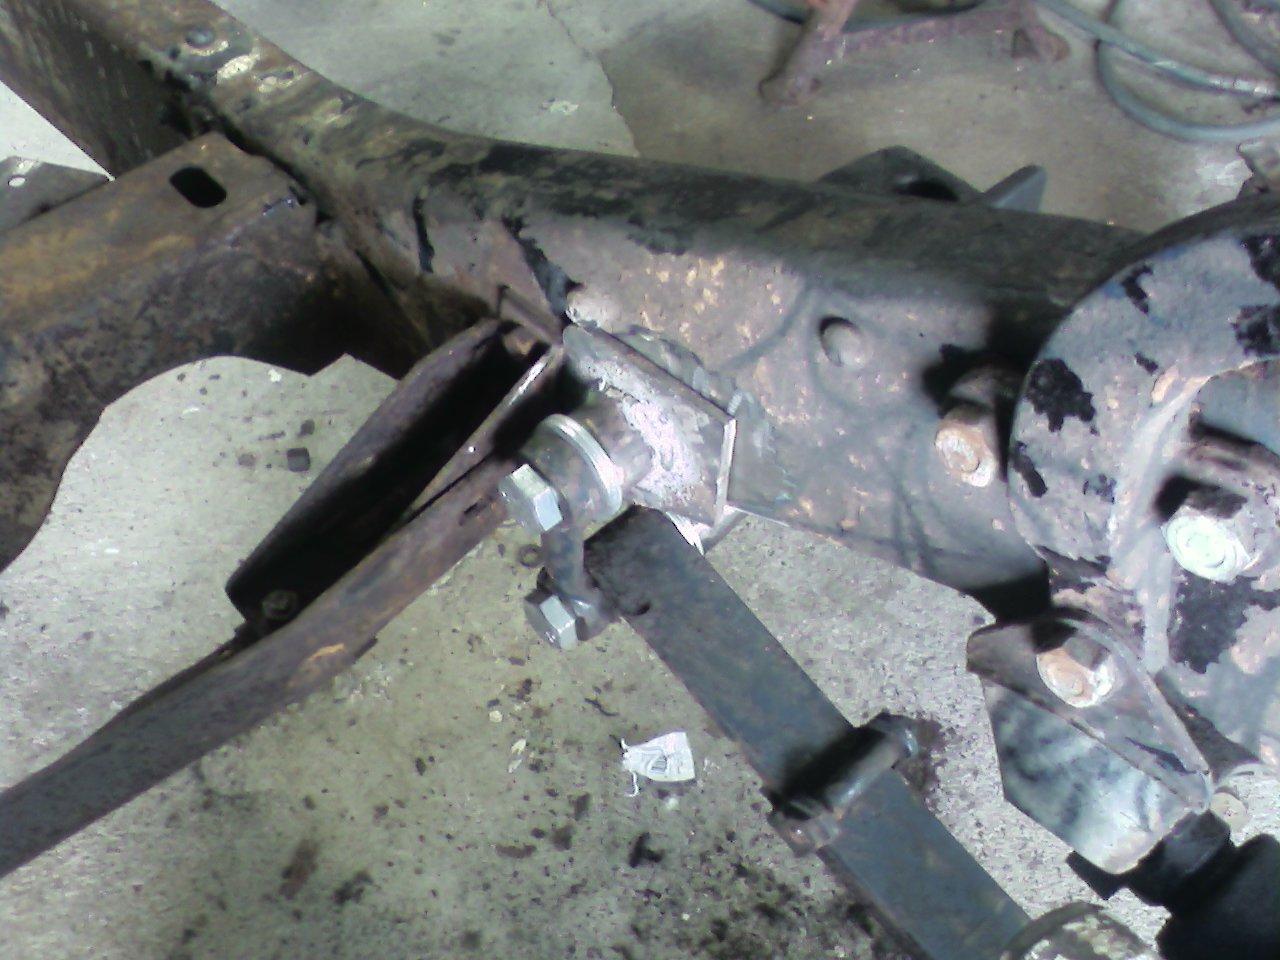
We decided to start with the front axle. Figured it would be the hardest. Got the old front axle off with no problem then had to start figuring out how the front axle was going to line up. We figured that the font axle had to lay 18.5 inches from hub to frame to be centered on the truck. In order to do this the right front leaf spring would have to move out 1.75 inches from it’s stock location. So, the next step was to figure out how to move the leaf spring. I came up with some cardboard templates and did a lot of head scratching. Here is one thought on the rear hanger.
This is what we decided to do for the most part on the rear. Of course the u-bolt and the punch were replaced by bolts. On the front we fabricated a mount and pulled the spring over.
Jun 2009
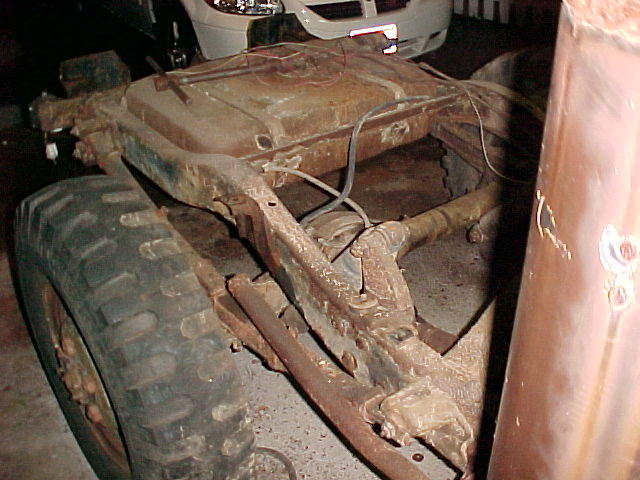
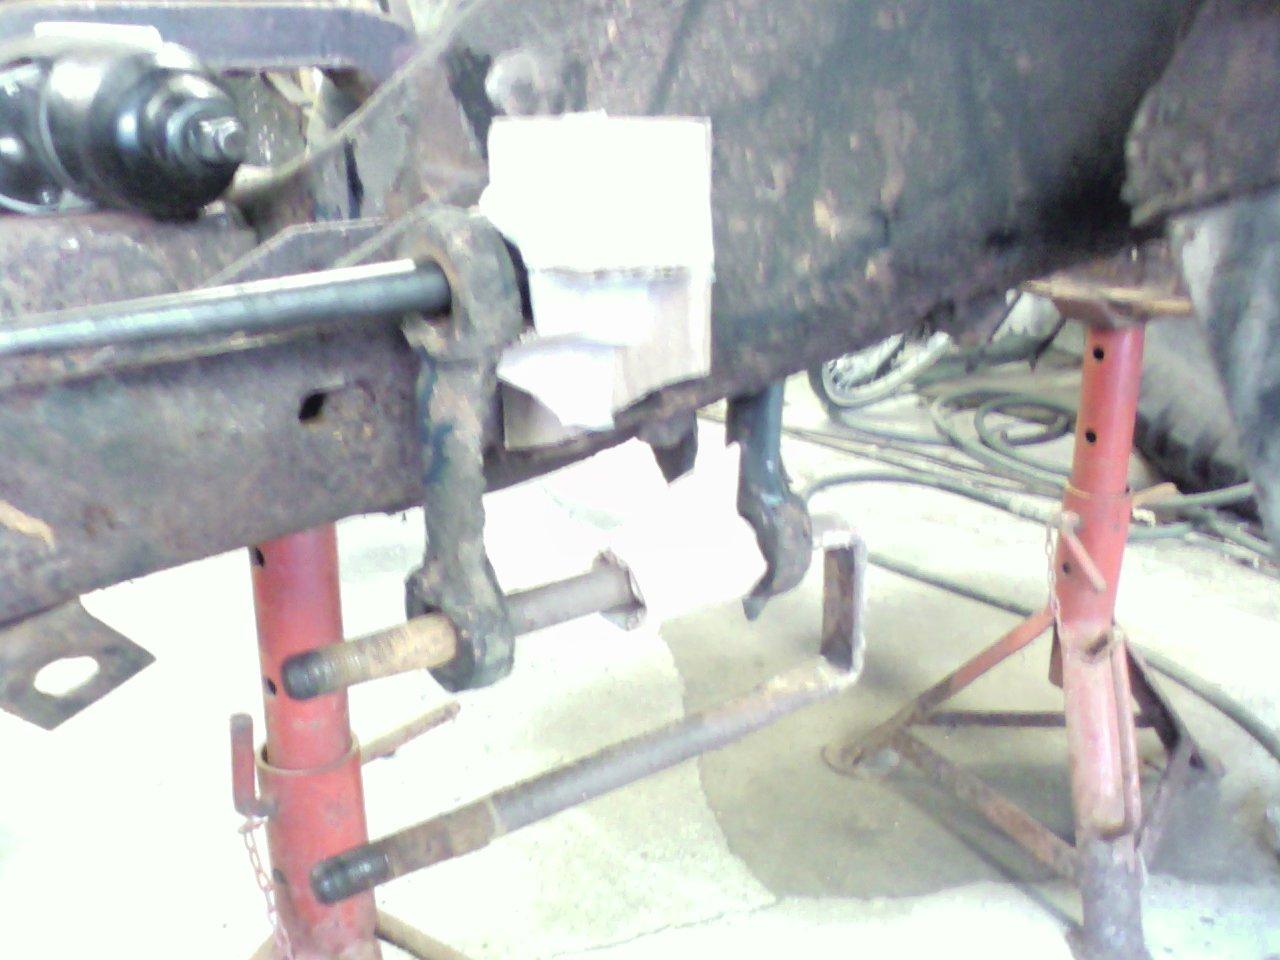
We got the mounts made and got the axle under the truck. A trip to junk yard got us 4 good 16.5 inch Dodge rims with usable rubber for less than $50.00 and the front axle was in place. we had to cut and move the spring perch on the drivers side, but otherwise it fit great. The axle is centered at 18.5 inches hub to frame.
Axle in place Front axle mount
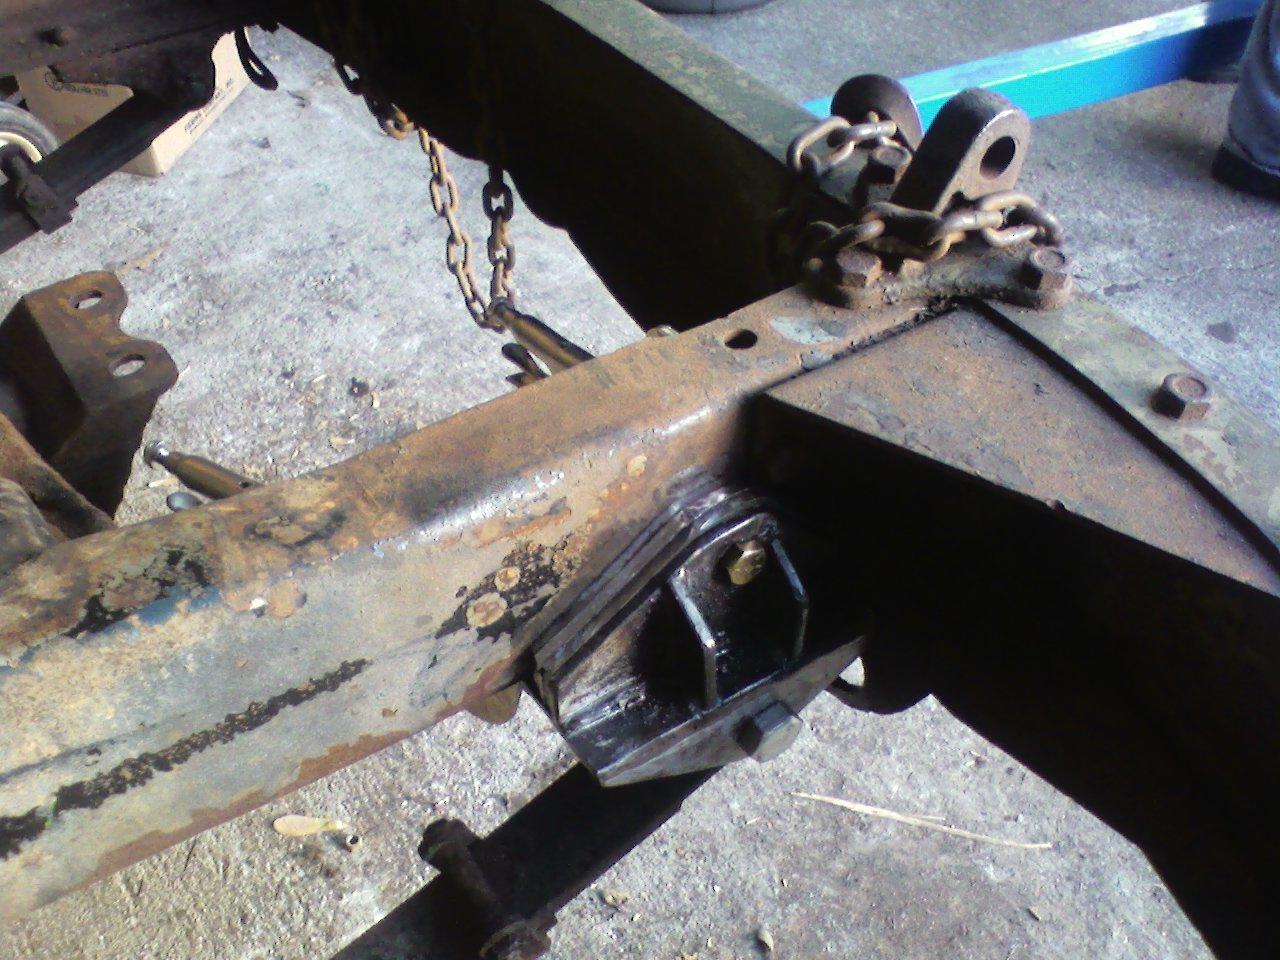
 Rear spring mount. We still have to weld some things up, but that will get done just before we sandblast so that we can weld, sandblast, prime and paint basically all at the same time.
21 June 2009
What a great Fathers Day. Had both my son and my son-in-law and their friend Rob helping me. We finished up some loose ends on the front axle, then pulled the rear axle out. Two of the u-bolts were rusted in place and wouldn’t give no matter how much heat and beat we put on them. We finally just cut them off.
Found out the rear Dana 60 bolts right in. No fuss no muss. Just slid it right under the truck and the rear springs fall right on the perches. I was very happy to find that out. No having to figure out alignment and cutting and welding etc. In it went. All that is left is to get some new u-bolts. I’ll have them made at EAB Truck in Cleveland and then install them. Here is the rear axle just sitting in place.
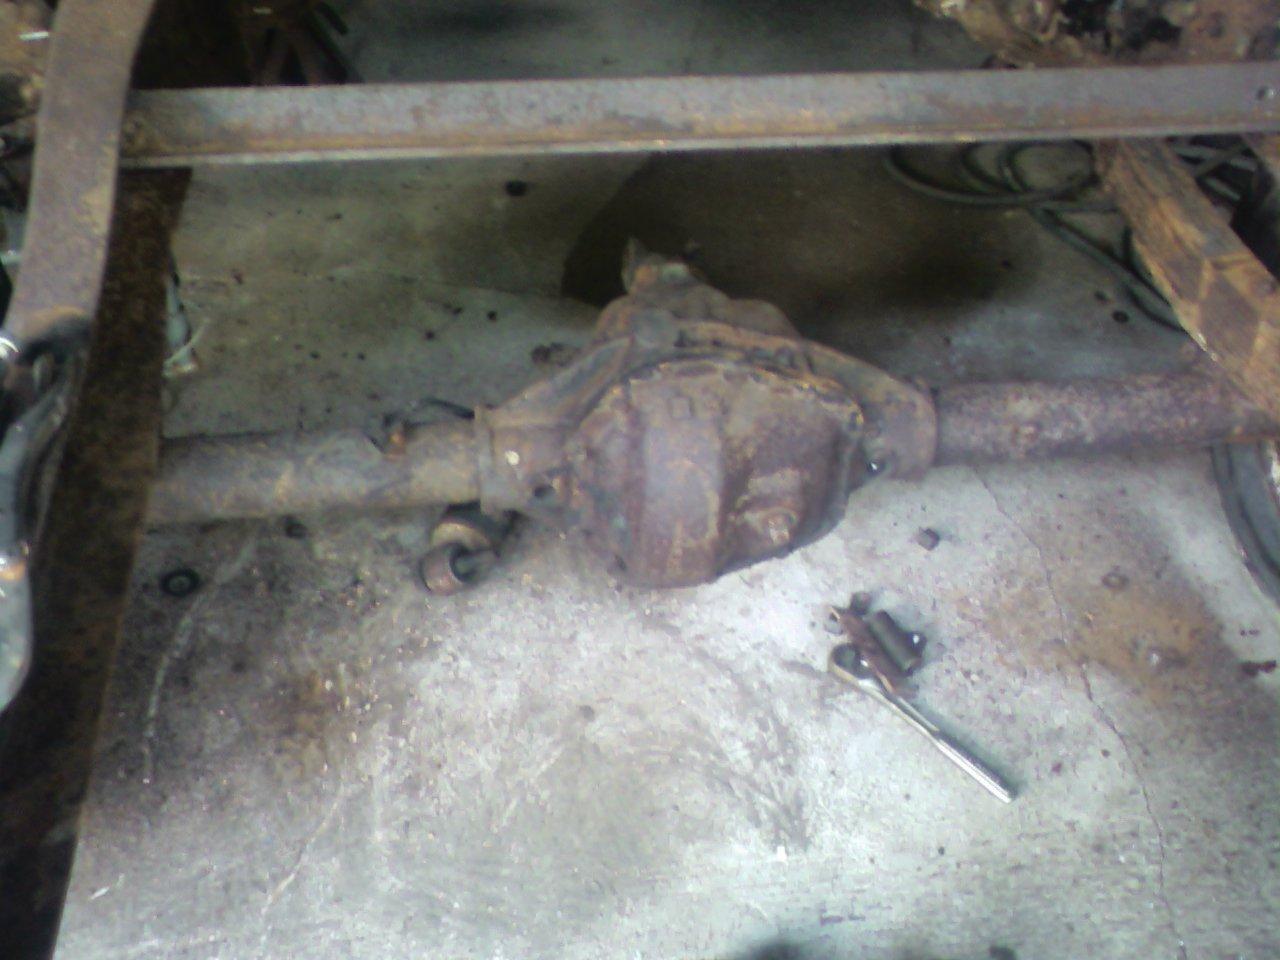
Our next step is to finish bolting in the rear axle. Then pull everything back apart and start the sandblasting and painting of the frame and axles. Then start putting things back together. My goal before winter sets in is to have the truck back on the rims in OD. Wish me luck and say a pray… 🙂
October 2009
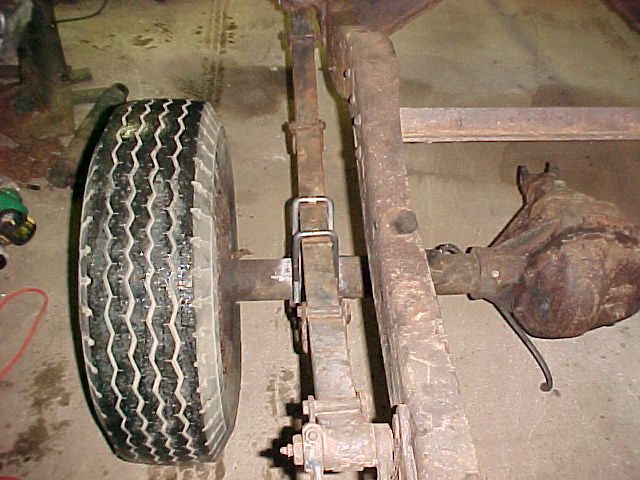
Well I had said that the rear axle dropped right in, but I was wrong. What happen is though the drivers side spring fell into place on the pad, the passenger side spring had to warp or bend slightly to fit. This caused the spring to start twisting on its self. This would not have been a good thing down the road. Plus when I measured the axle from backing plate to frame the axle was not sitting square to the truck. So, the decision was made to pull the axle out and cut and remount the spring pads so that the axle was centered on the frame and the springs were square to the pads.
Here is the left and right re-centered pads and the new u-bolts.
Wow…kind a a freaky looking at both pictures together.
Here is the from the inside frame both left and right.
The axle is also now centered on the frame and the differential is also centered in the middle of the frame. I rolled the truck out of the garage and watered the drive way in front of the front tires and then rolled the truck through the puddle so that I could see how it was tracking with the new axles . I’m please to say the truck is tracking very straight and correct! Yea!!!
Right down the center!
I’ve always tell people that restoring (or in my case restoring/making new) takes time and money and lately I haven’t had much of either or I can’t get the two together at the same moment. The project is behind schedule, but it’s getting there. I have a few things to weld up and then it will be ready to head to the media blasting. My plan right now is to have the frame media blasted and the primed during the winter months, then come spring I’ll shoot it CARC Green
September 2010
Well its been almost a whole year. We’re not much father along then when I left it off last fall. That old thing about time and money. Frame has yet to be media blasted and this past winter it was to dang cold to do any type of painting, plus the roof on the garage leaks so that stopped any idea of playing in the winter months. Spring came and I got a new job (yah!) and that has taken more time plus other obligations have made it difficult to do any work.
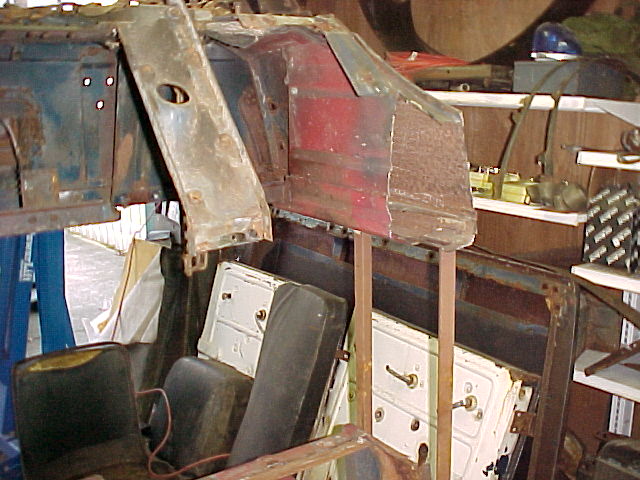
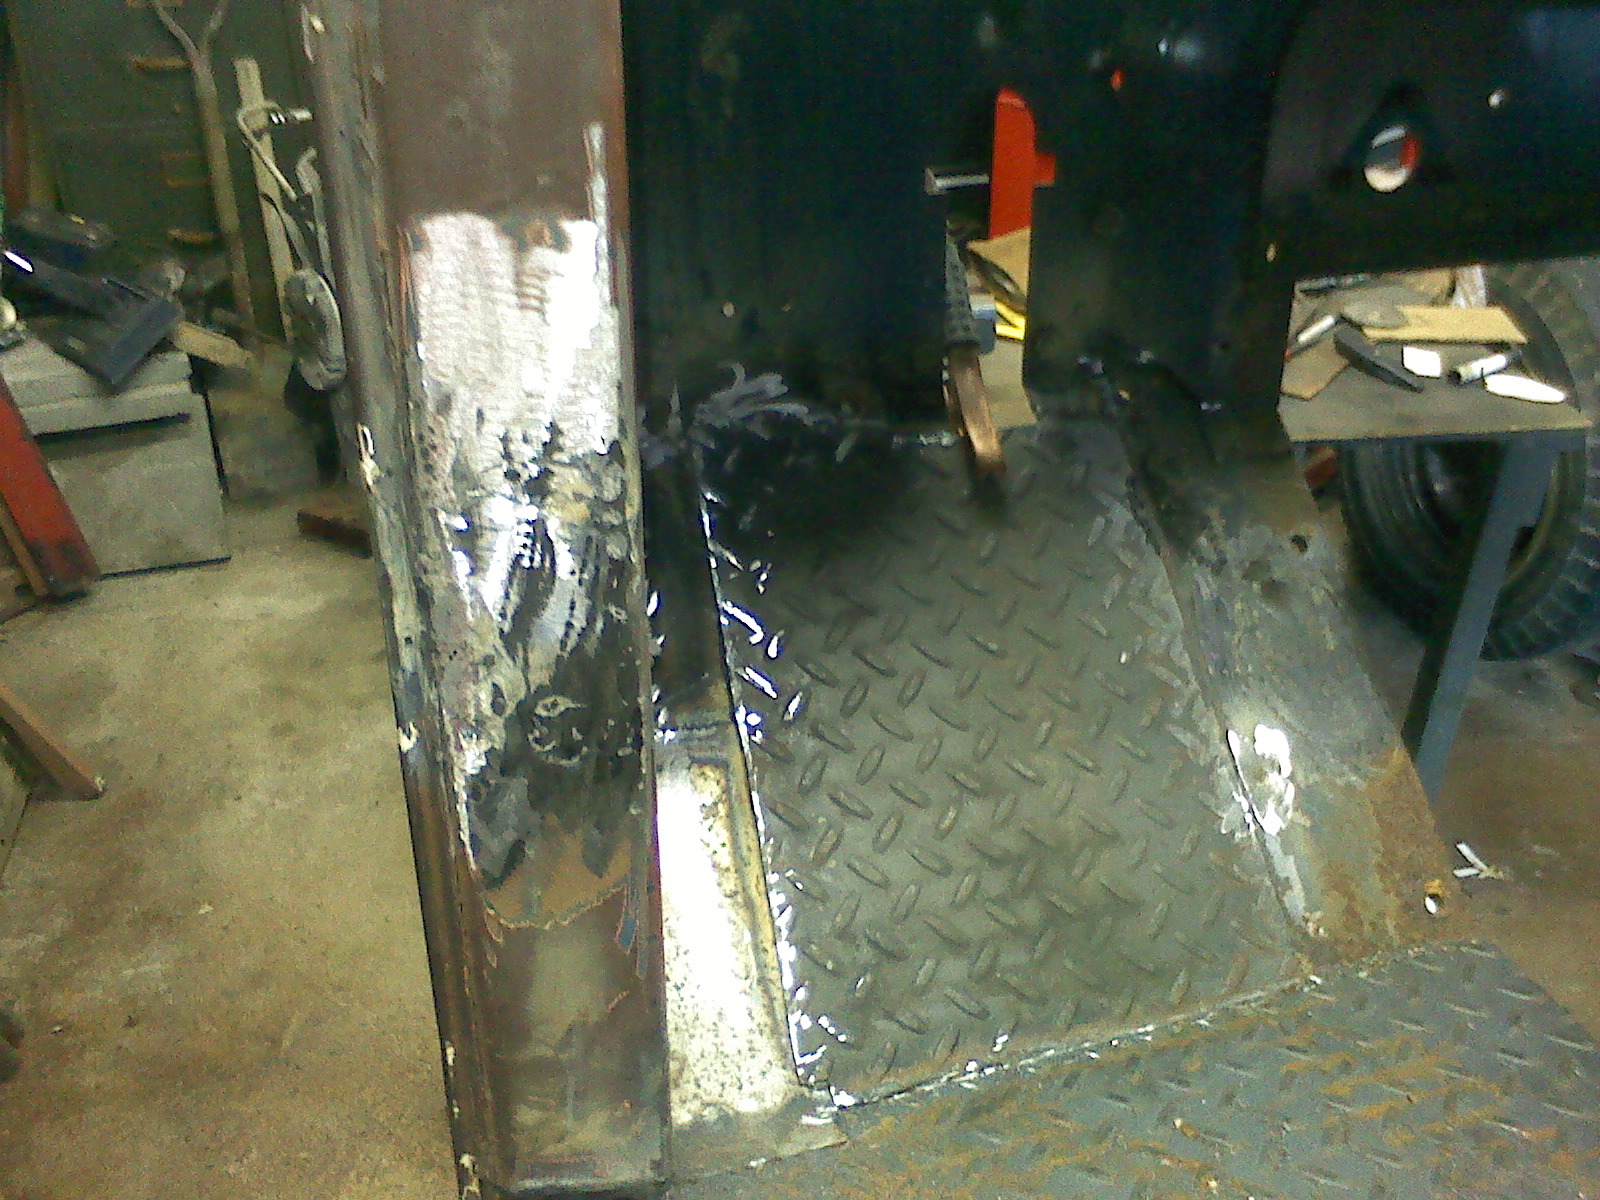
I did decided to go a new path. I want to get the cab and the frame media blasted at the same time. This requires that I make some major repairs to the cab. As you saw on the previous page the cab was in need of some TLC. Here are some pictures of the cab before we started doing anything.
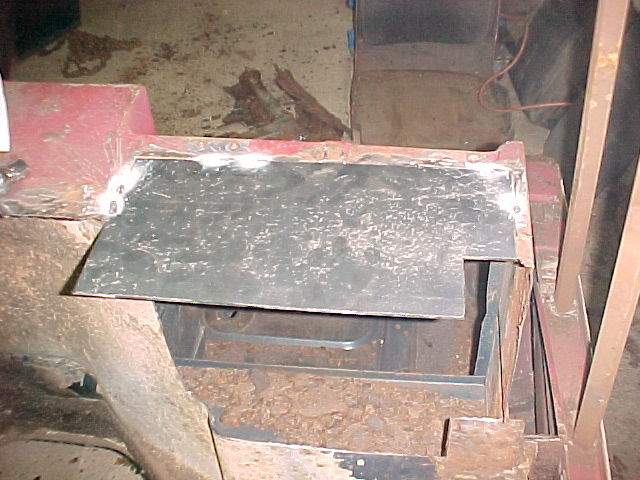
As you can see a good portion of the drivers side floor and under the seat area were gone, rotted away. So using the cut off wheel we started cutting out the bad metal and didn’t stop till we hit good metal.
Now the fun began. We are far from done but we have started filling in the area under the seat. From there we will build up to fill in all the structural frame of the cab.
We have a lot more work to do. Ran out of MIG wire (haha) but I feel it will get there. I’ve had many people criticized me for trying to rebuild this part of the cab. There is no rust of any portion on the rest of the cab and it is very sound otherwise. People have told me to scrap it, but those were the same ones telling me to buy their junky cabs for $500-$600 plus have to ship it halfway across the country. Right now I have $75.00 in new steel and maybe another $25.00 in cutoff and grinding wheels and mig wire. Personally I would rather spend the 100 and save the cab then scrap it and have someone elses headache for $1K. What’s the worse that can happen. I end up having to get another cab? The best I keep one more body on the road? We’ll see what happens.
May 22, 2011
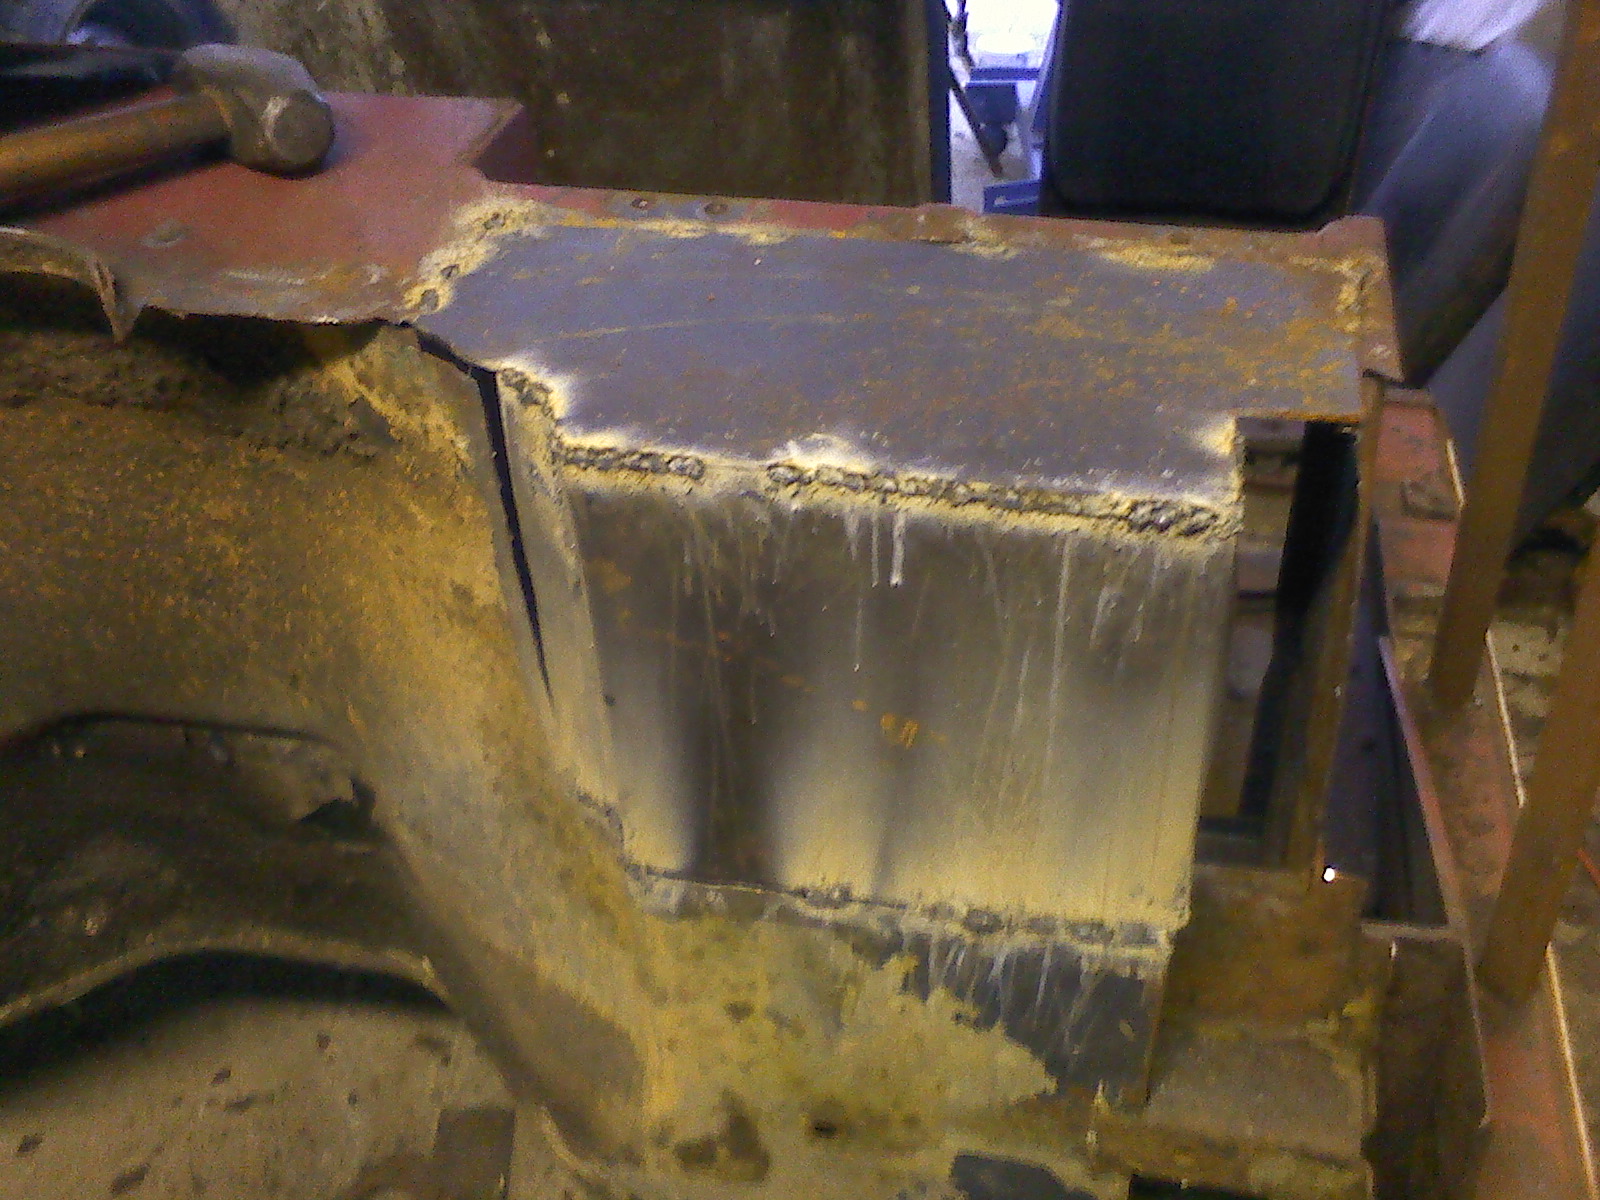
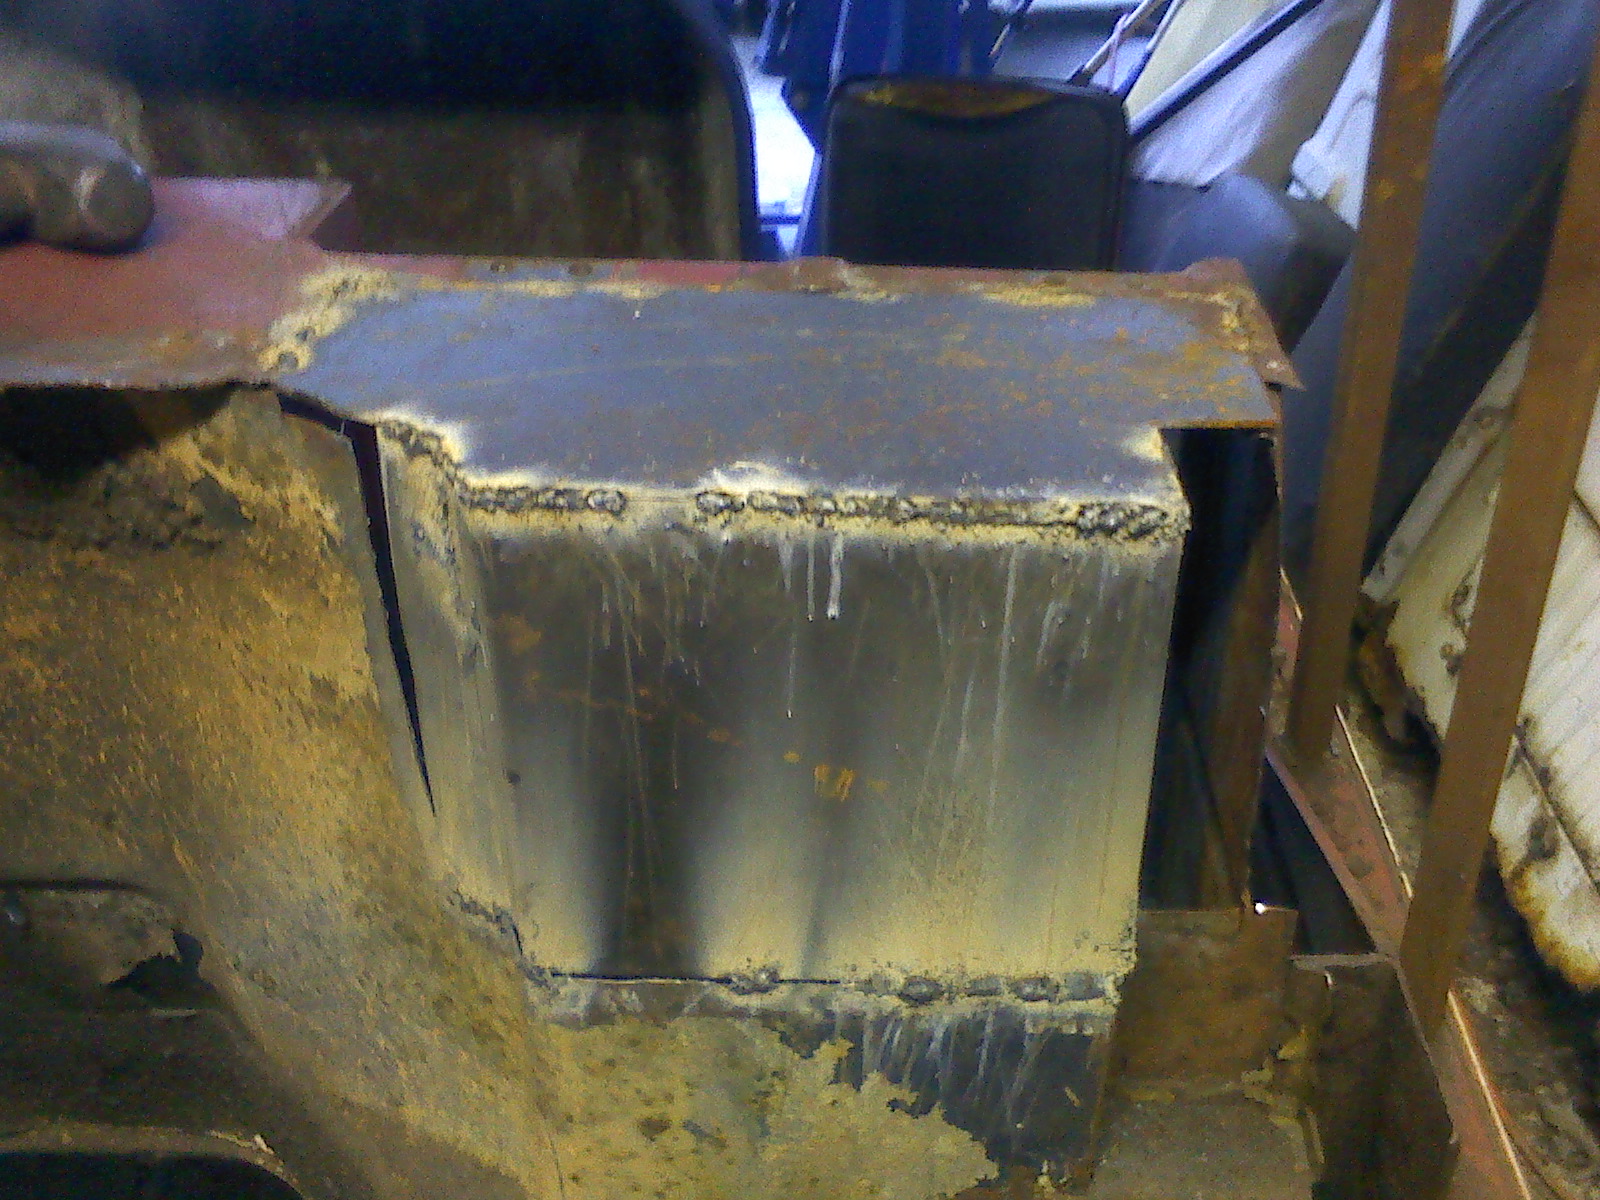
Ok I haven’t updated the site in a few months or years…but I have gotten some work done on the cab. The floor section is about all done now just finishing up a few minor things. So with out further delay here are some pics.

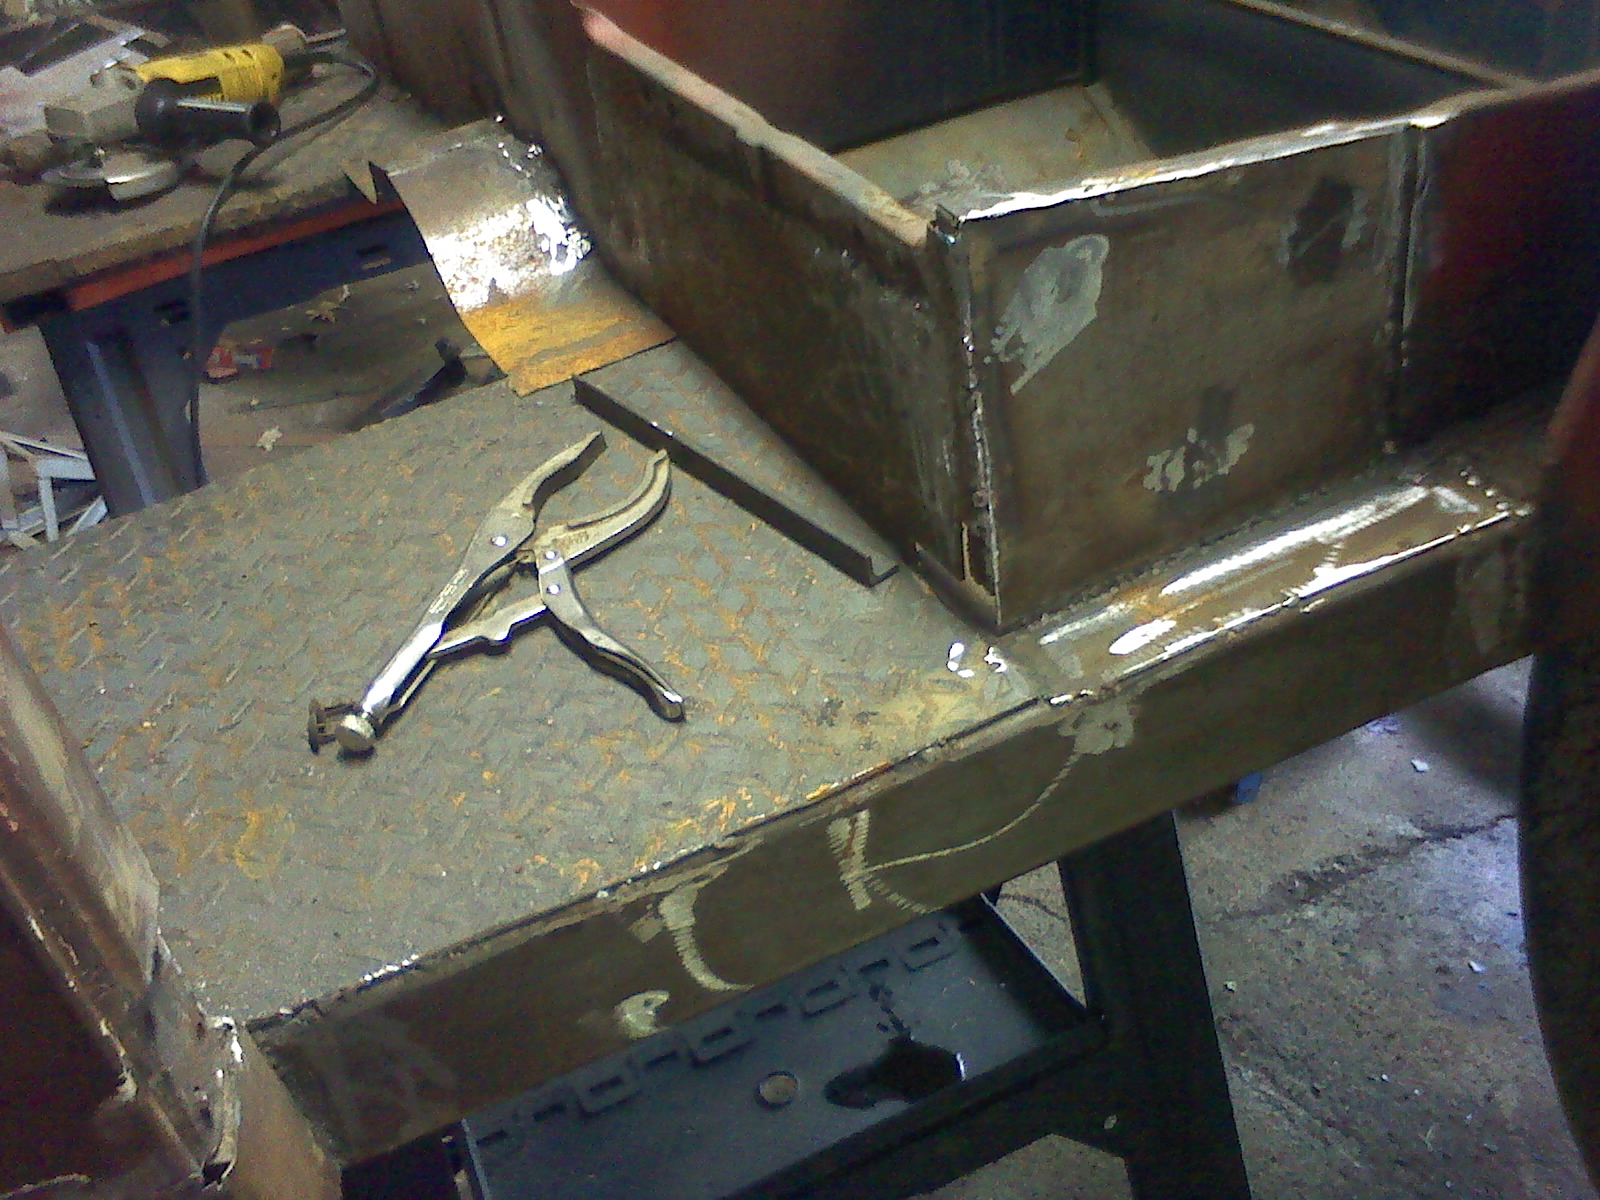
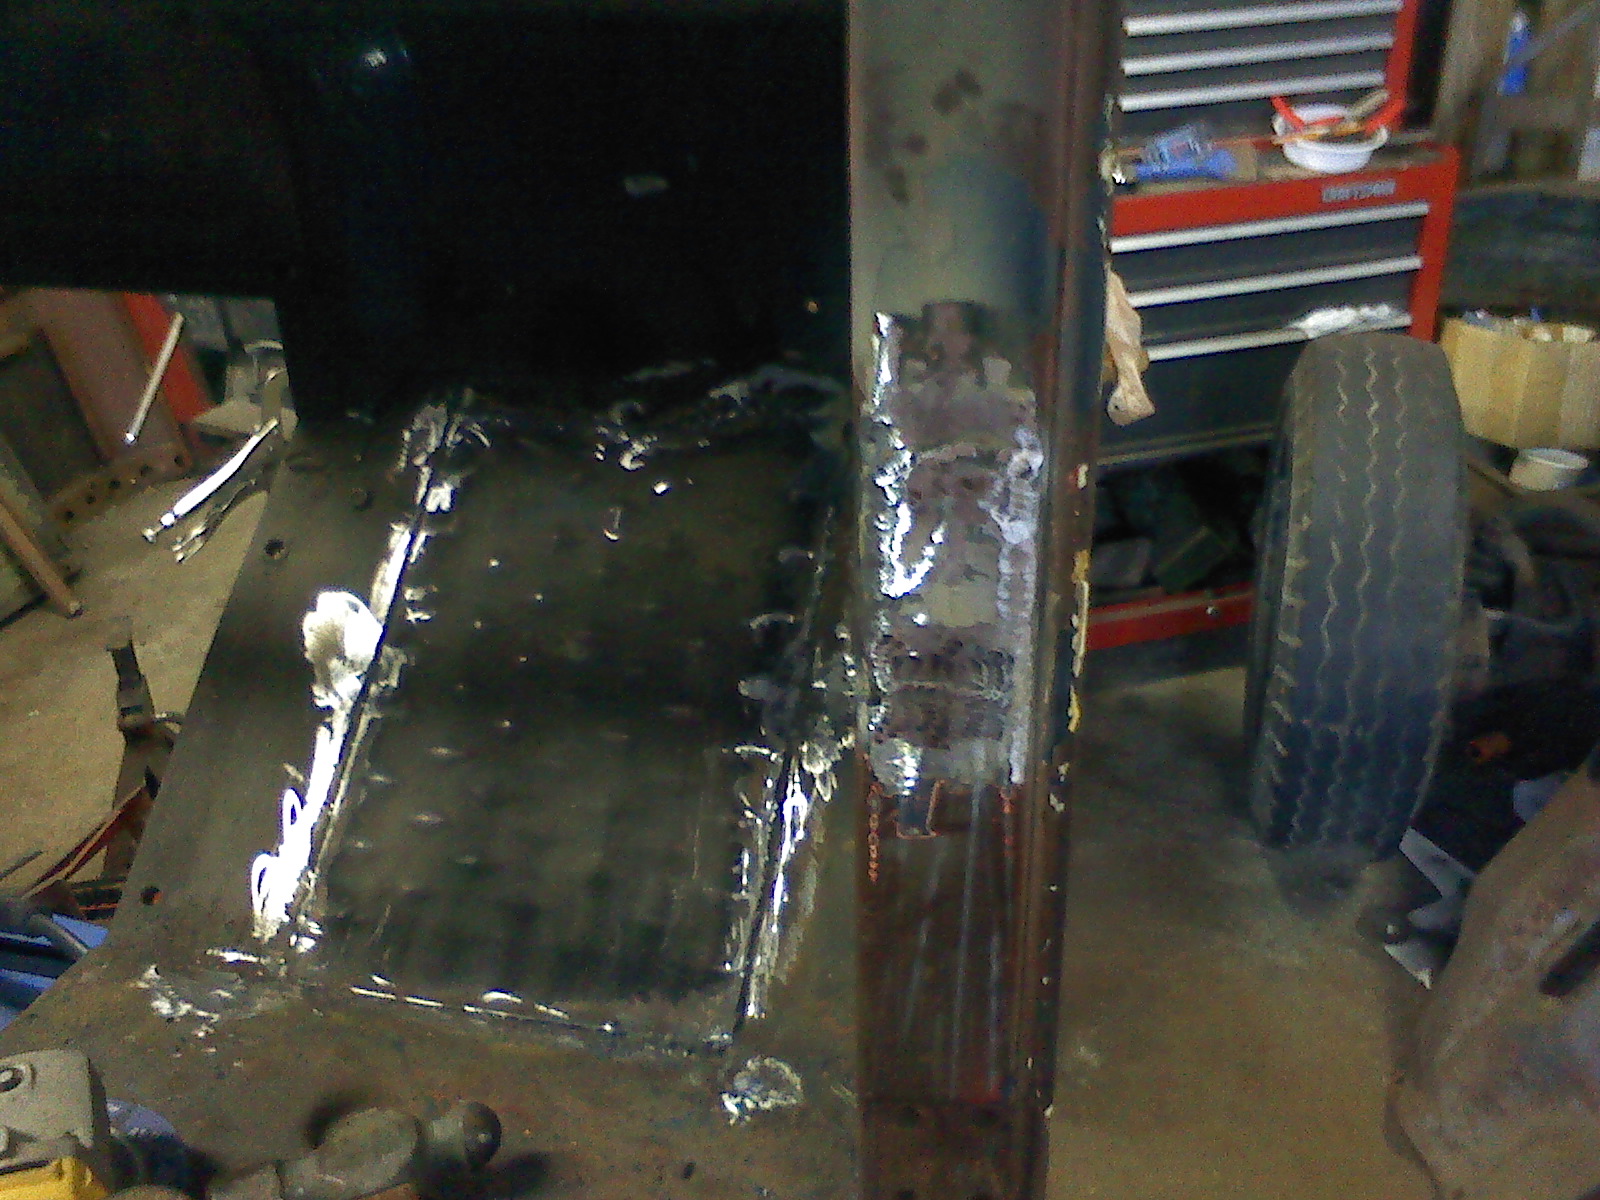
I have the repaired driver’s side about finished. I welded in the toe boards and I repaired the door pillars where the stops where all messed up. I’m not going to use the original door stops but rather a more “jeep” like door stop with a nylon OD strap. If that doesn’t work I can always go back to the original stops.
I also got a motor for the truck along with a transfer case. A GM 6.2 Liter GM Diesel from a CUCV and NP 208 transfer case. I have the original CUCV transmission which is a TH400 but I will replace it with a 700R4. I like the gear ration of the 700R4 with the granny first gear at or about 3.71:1 and the forth of .78:1. Should allow the truck to work well. I will also do some upgrades to the motor including a turbo. I got the motor, trans and transfer case for less than $500. I think it will work good and will be different than the standard 4bt swap that most people do.
Anyway here is the motor sitting in the back of the garage.

Maybe I’ll get to the motor this fall…. hahaha!
October 30, 2011
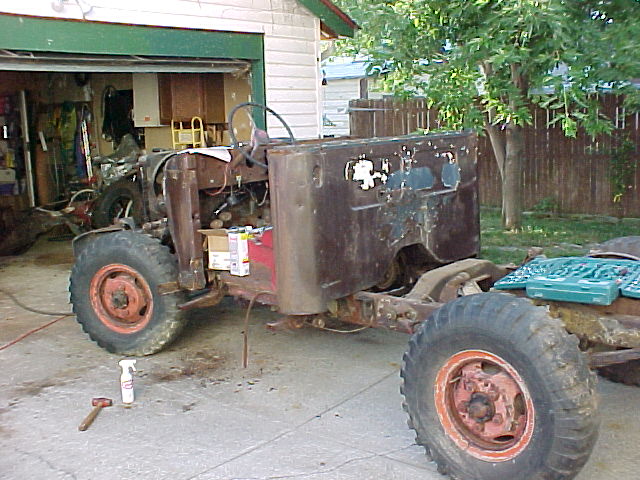
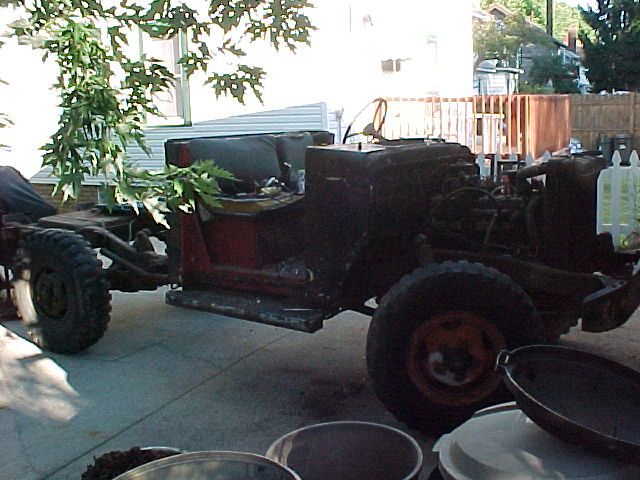
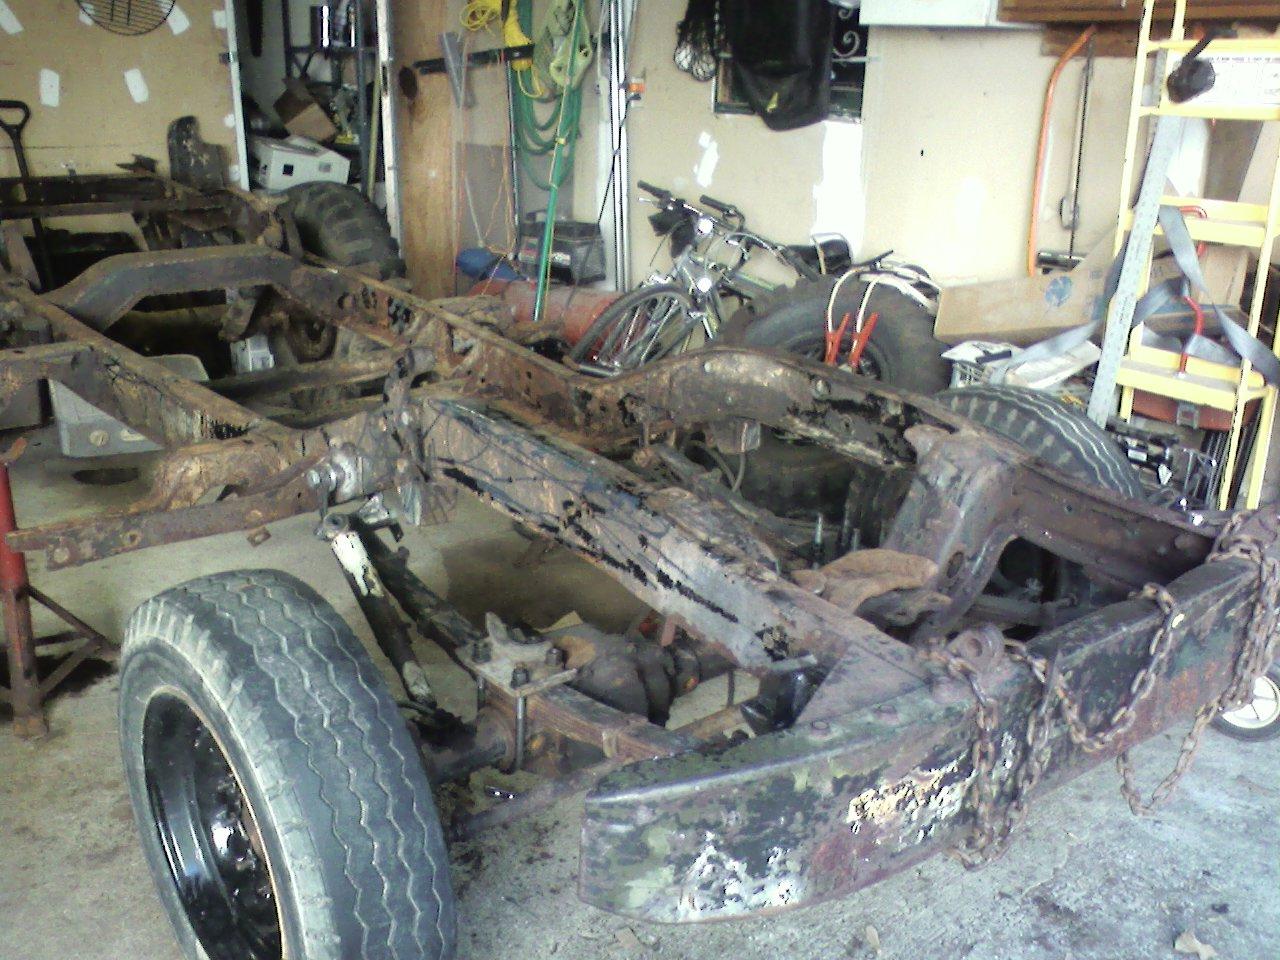
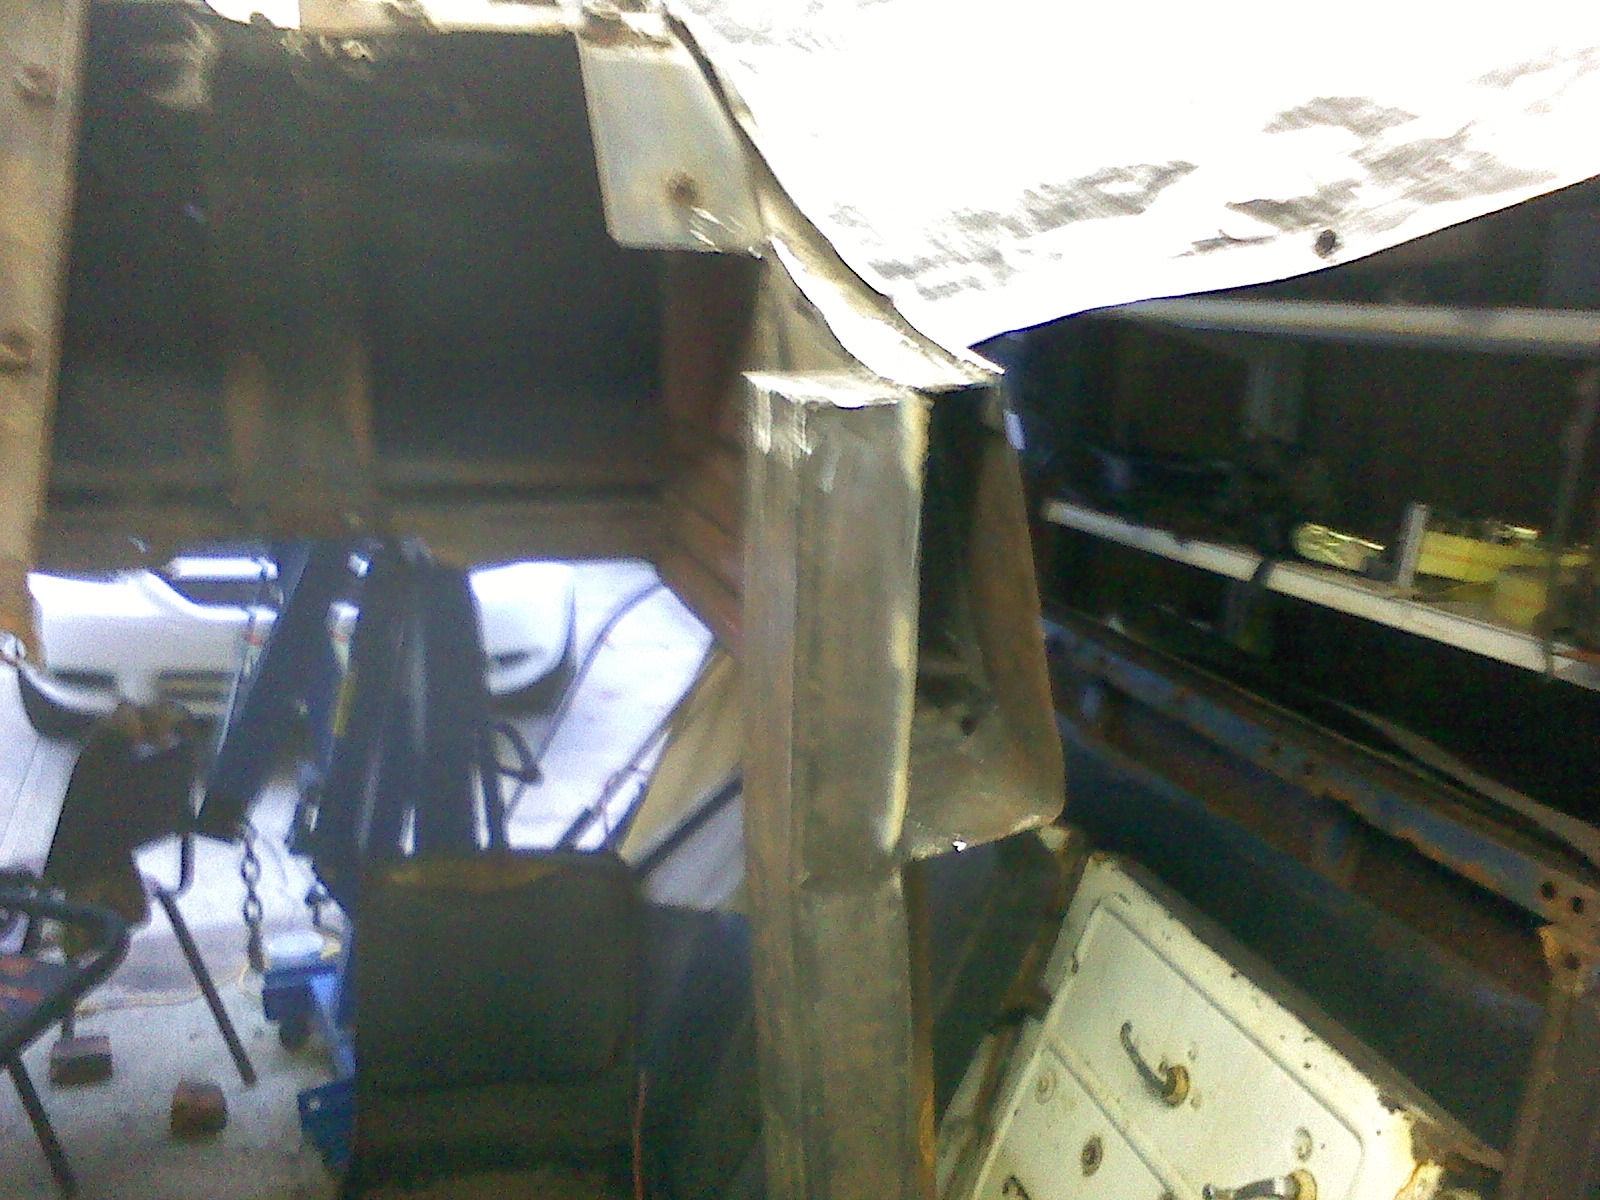
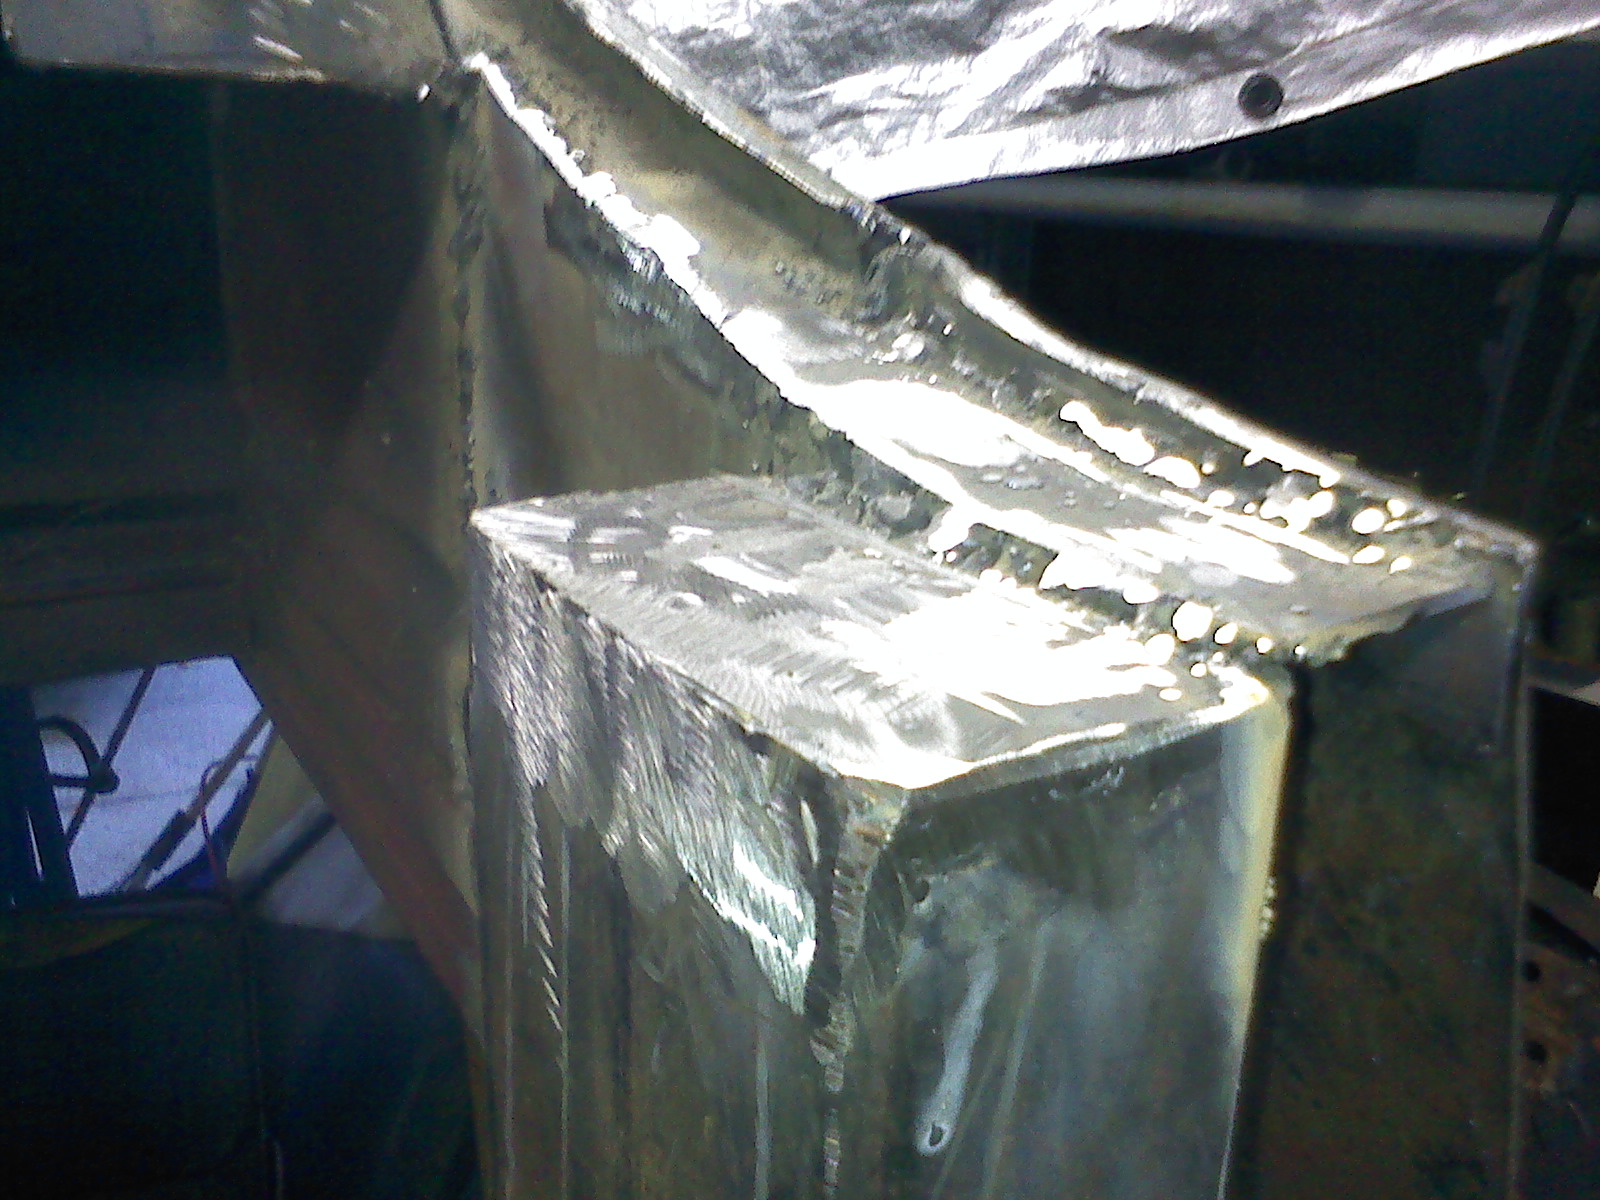
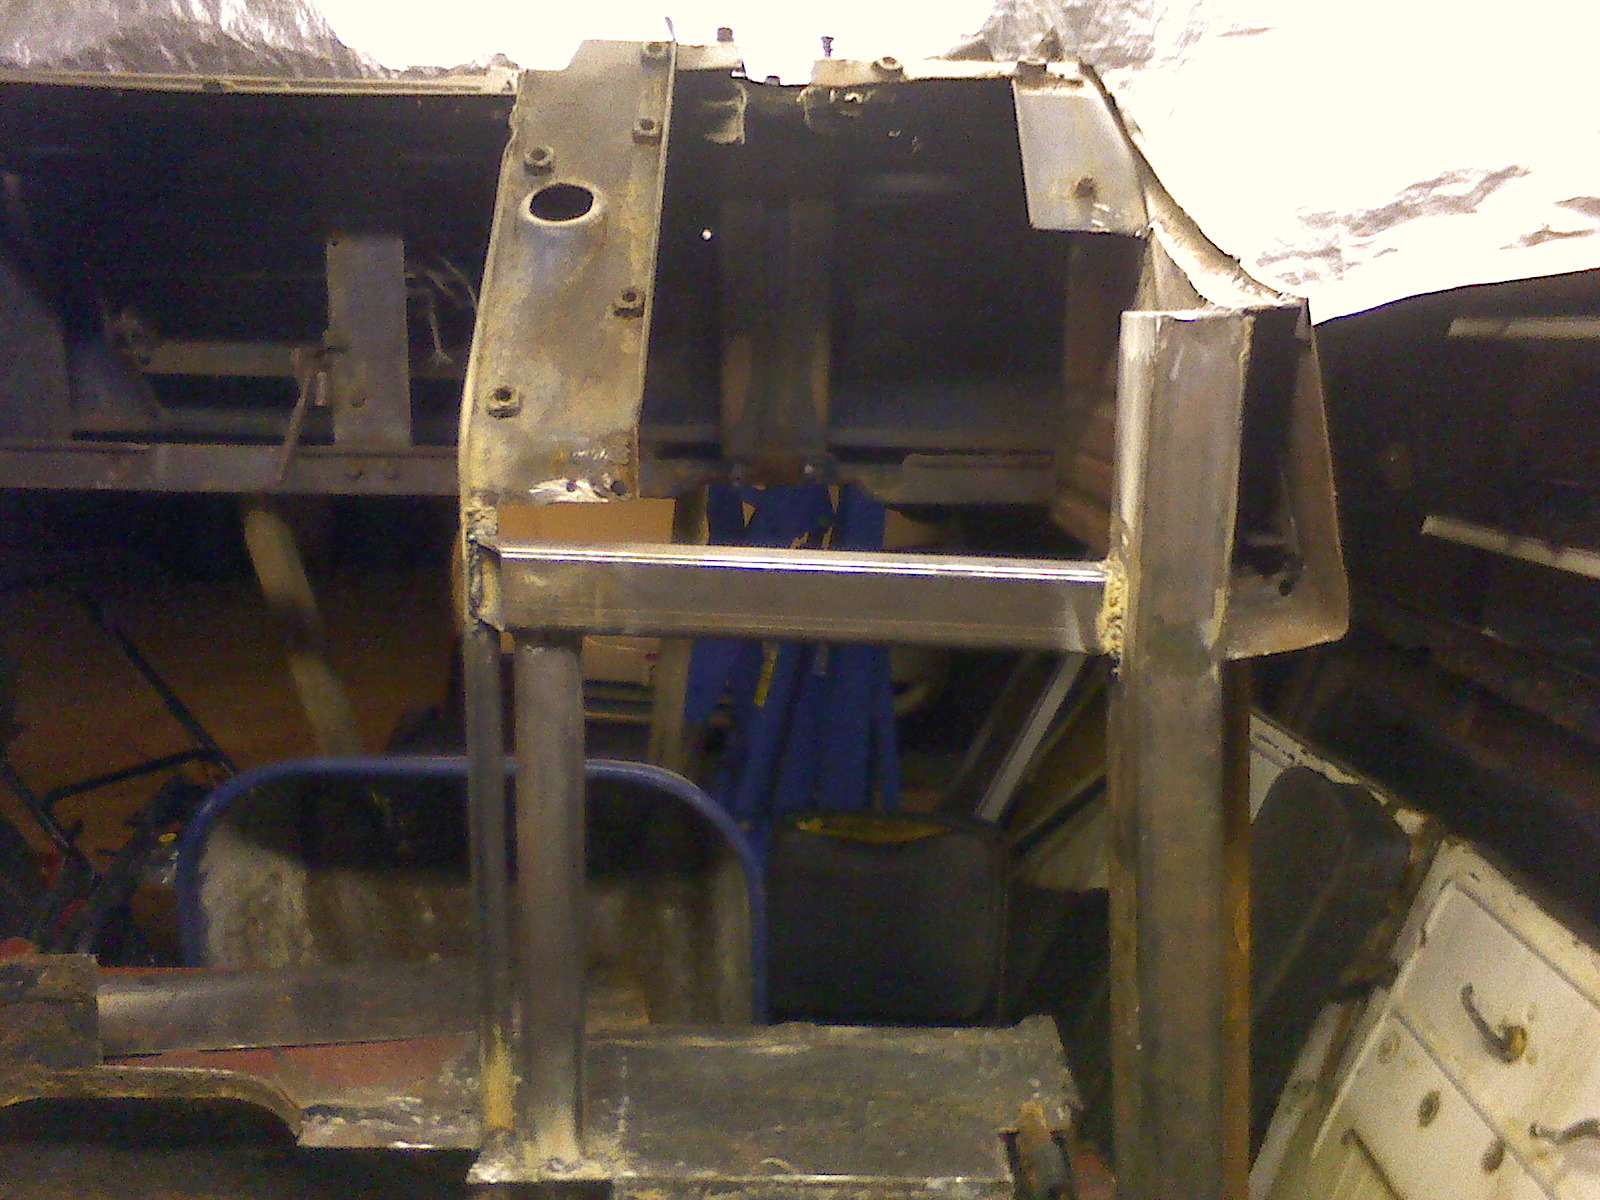
O.K. so it’s been a while. I’ve done some odds and ends on the cab and been trying to find some time to put the cab to frame and get some then set the motor in the frame so that I can start making the motor mounts. Well, today my son-in-law and I got the cab on the frame and then to make sure that we were not kidding ourselves that the rust repair came out correct we installed the doors. I got a replacement door at the MVPA convention in Dayton, OH this past summer and it bolted right up. I was so happy that not only did the door fit, but it even closes. We even installed the passenger door to see if we had gotten any problems in the cab twisting etc and it looks like everything is working out fine. Of course the cab is only on there till we get it to the sand blasters then it will come back off for a little while. Anyways, here are a couple of pictures of the cab and doors sitting on the frame.
Driver’s side door.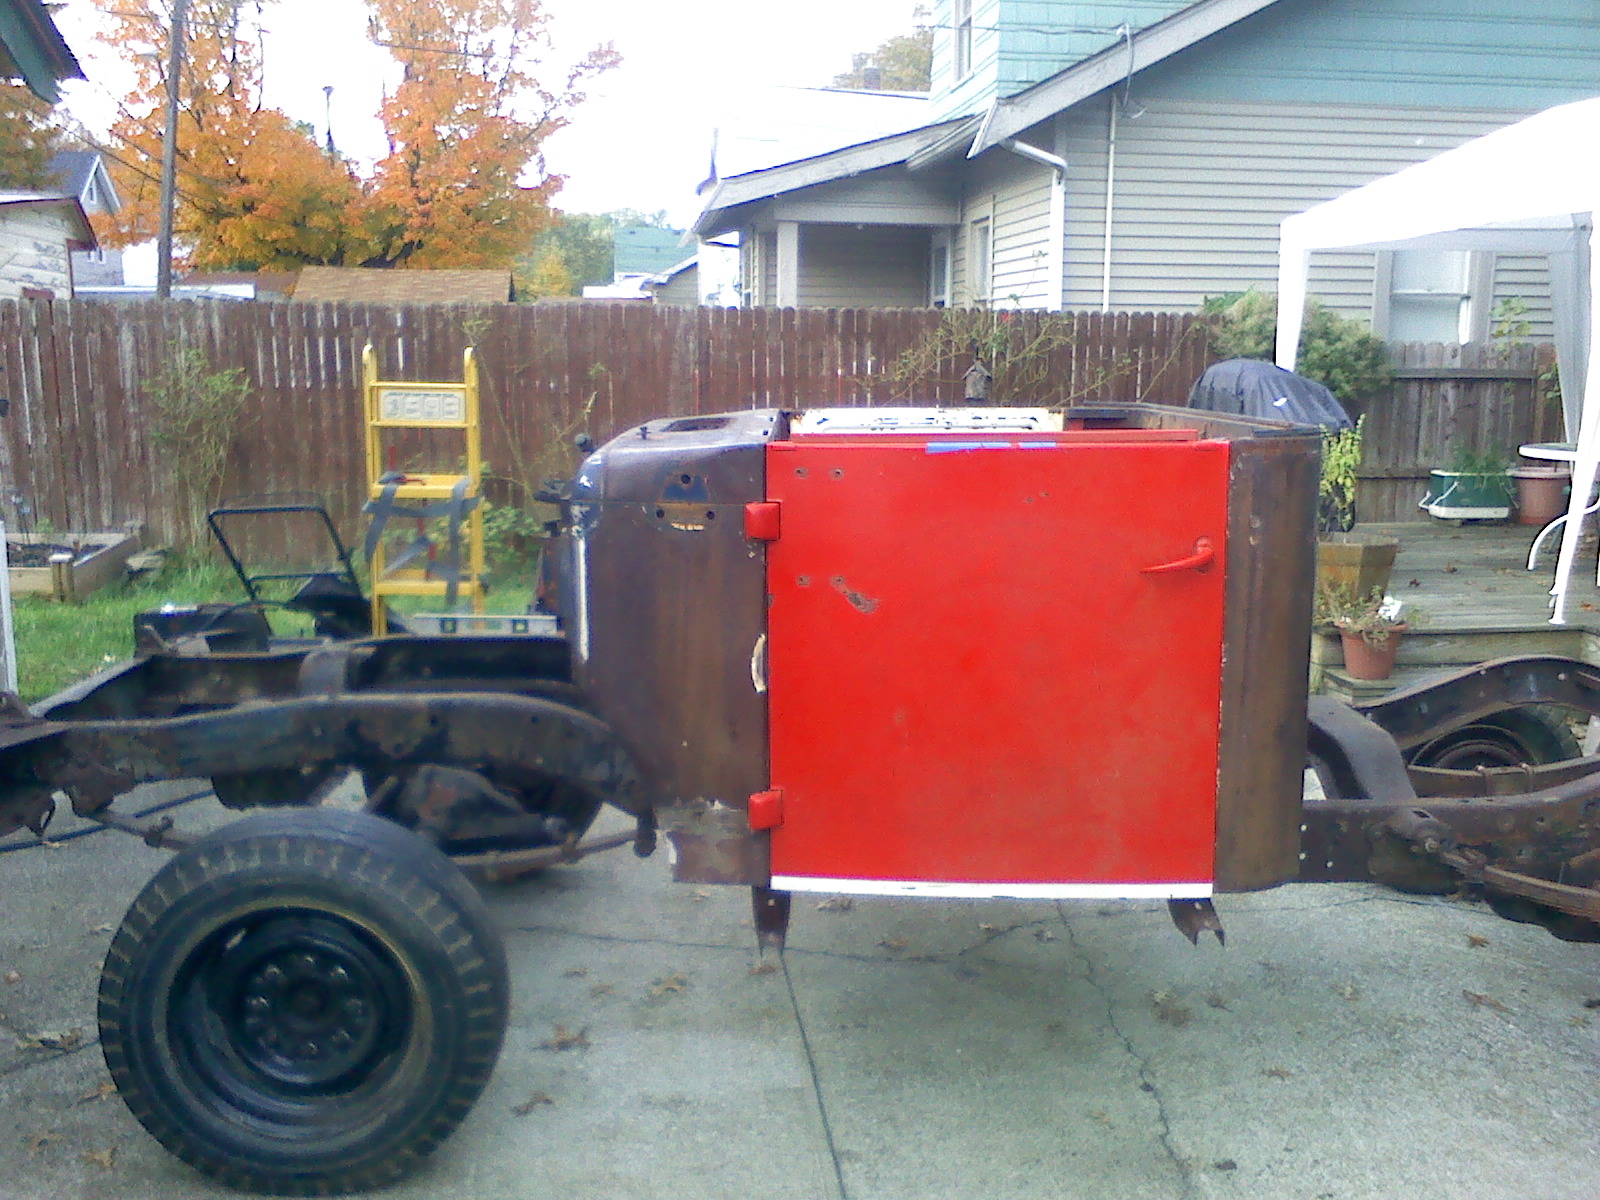
Passenger’s side door.
I looks like a rat rod right now, but remember these are not the proper tires. More to come…..
March 11, 2012
Well this project is taking longer than I would like, but I finally got the motor mounted in the frame. It looks good in there and is sitting at the right level. I’m very happy with the way the motor fits. It took a while but we made some good mounts and got the motor set in place.

April 2012
We bolted up the front fenders and found that the passenger side fender would cause a problem with the turbo. So we modified the fender to fit around the turbo. First picture is of the fender as original. The next two are after I modified the fender to fit the turbo.
Stay tuned more to follow….
September 2012
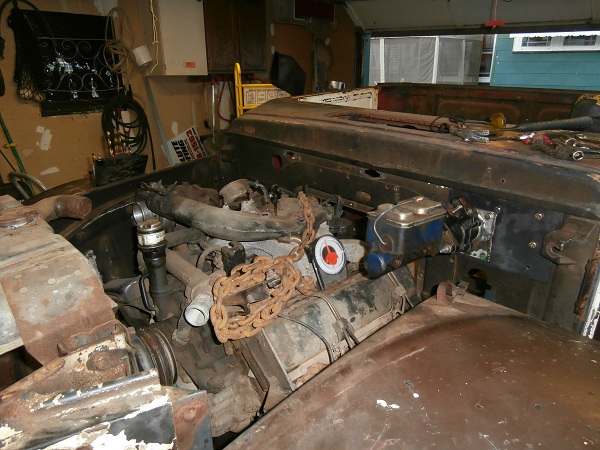
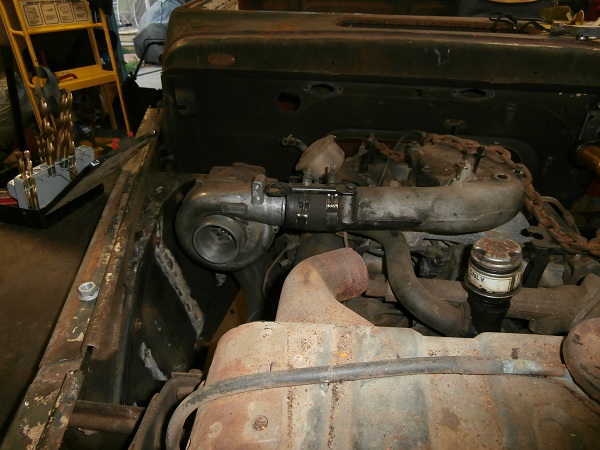
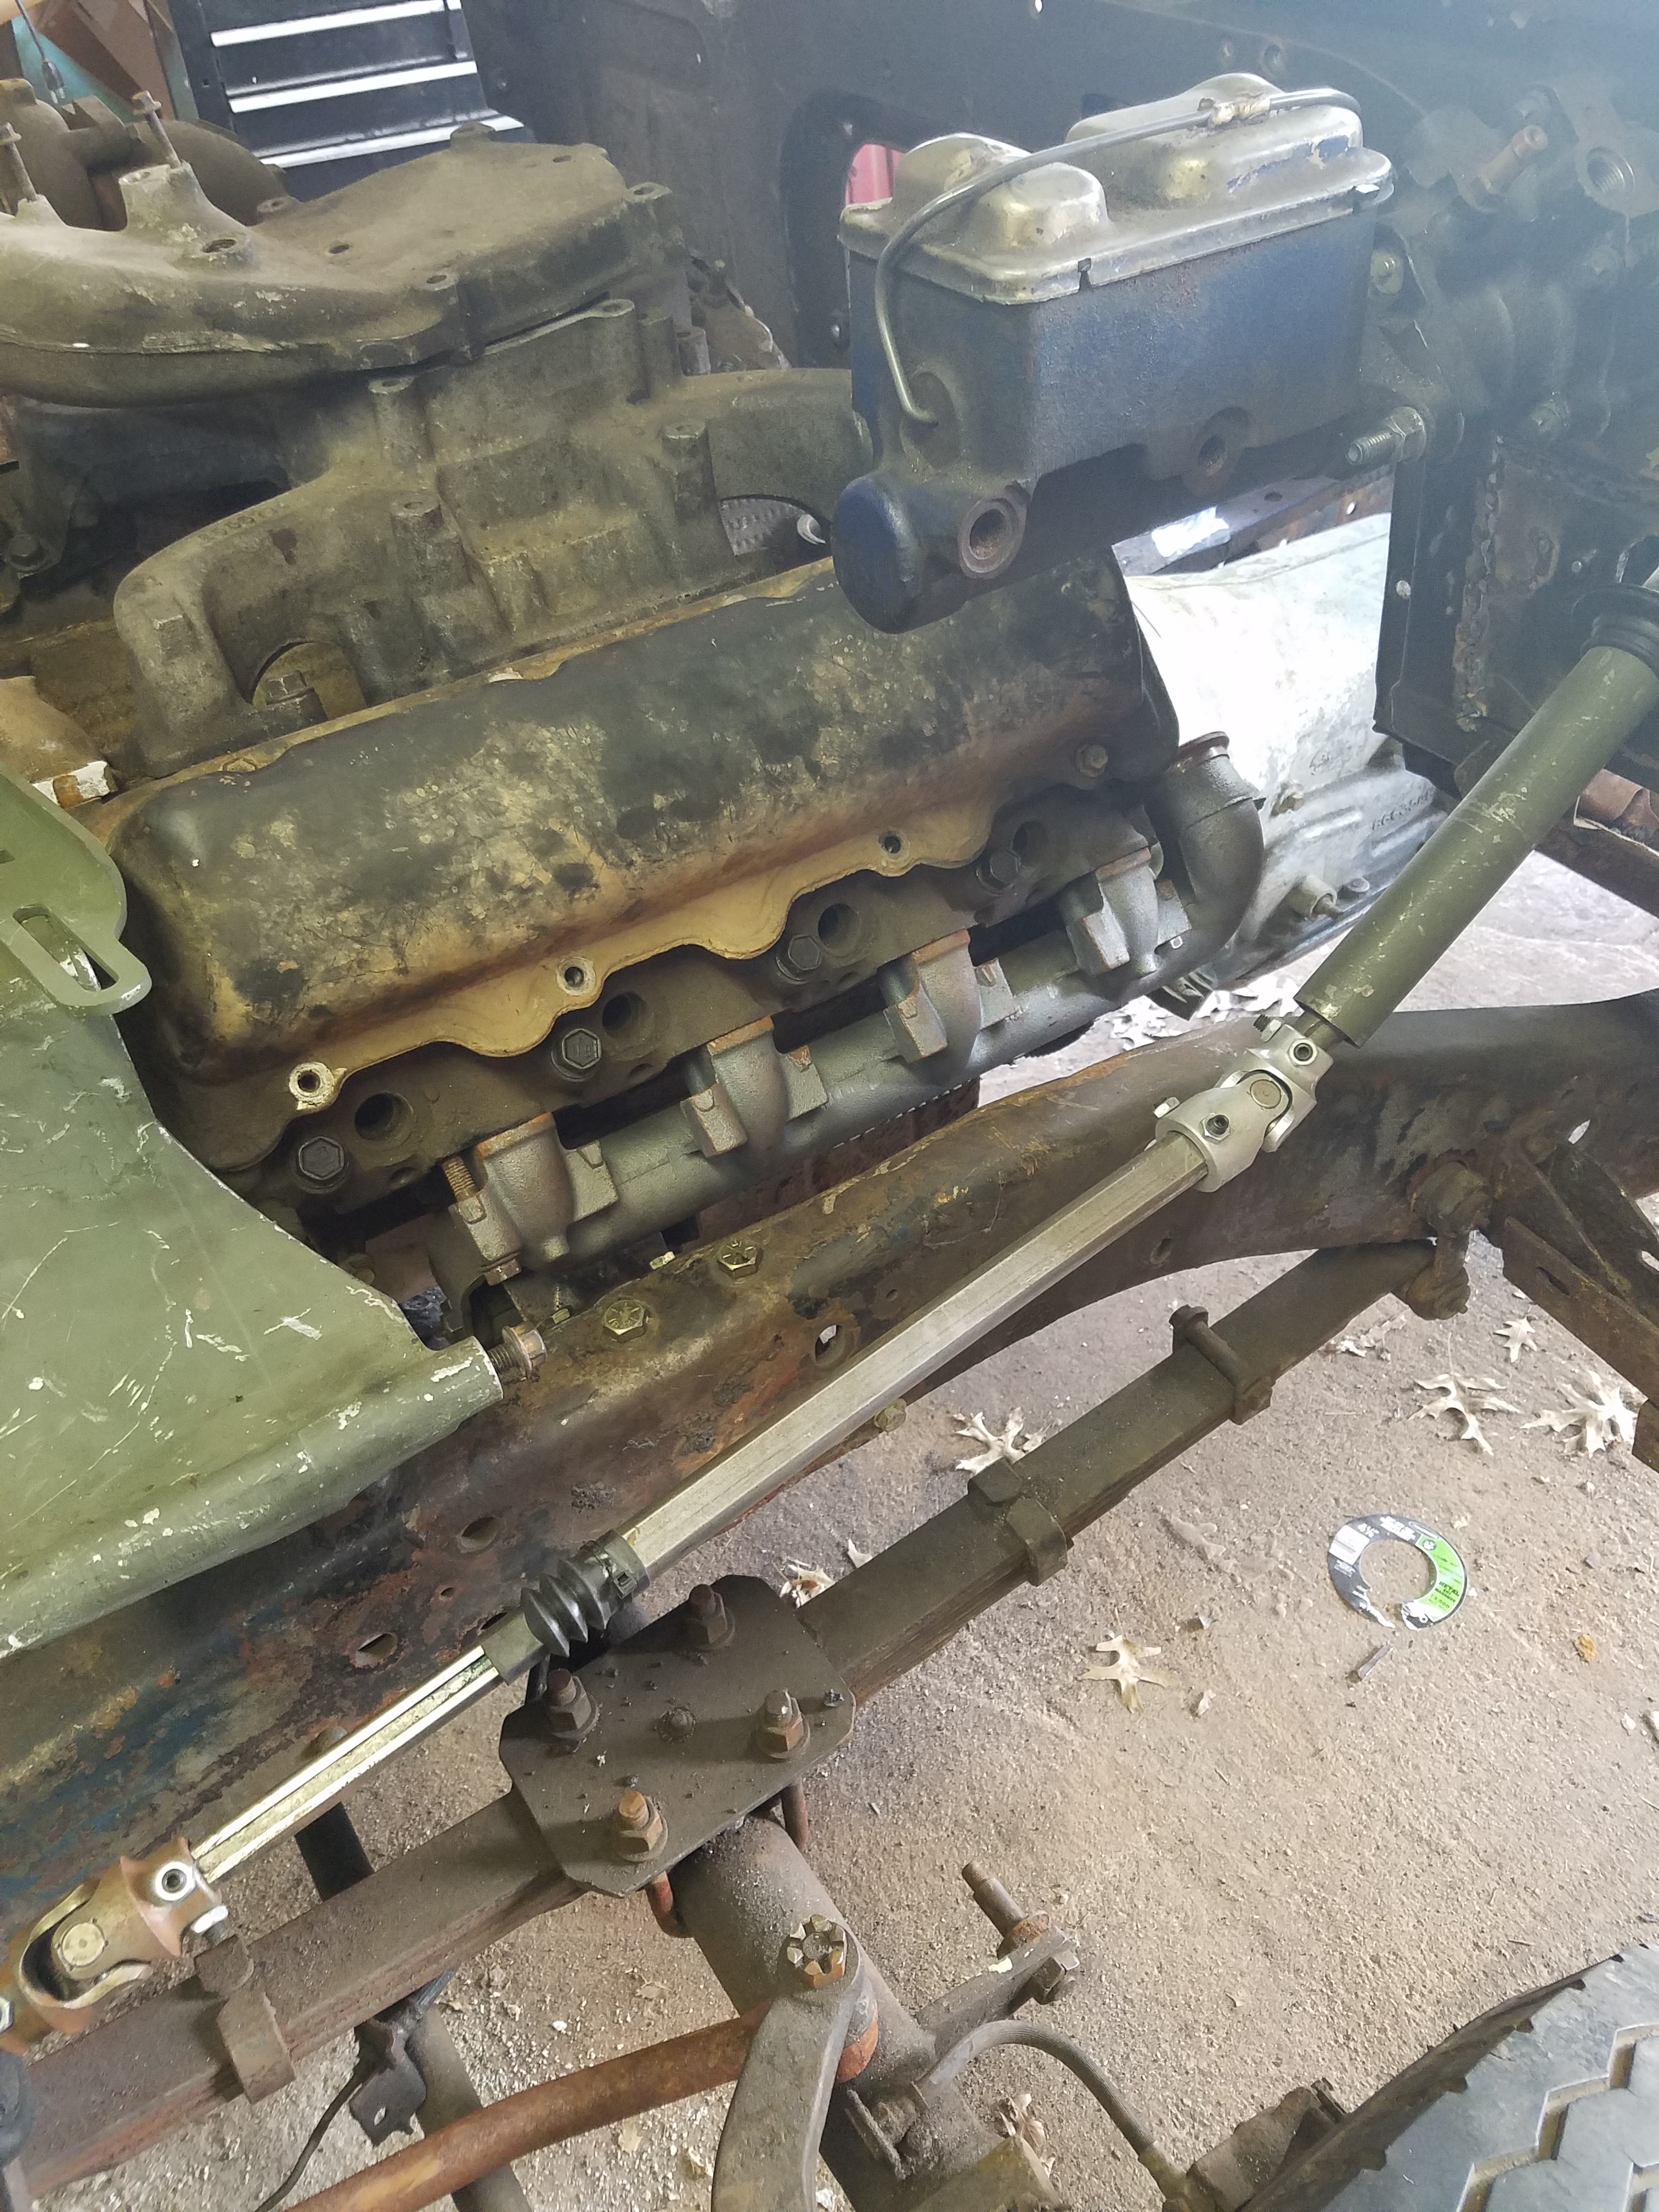
We have had a busy summer. Not much time to work on things with the truck but personally we had the birth or of our two Grandsons Joshua and Anthony and they have taken a lot of our time. Not complaining just explaining. But we have done some more work on making sure things line up which has required a little shifting of things to make sure all fits. This truck is a labor of love! Anyway here are the latest pics of the brake master cylinder, the brake peddle and the the motor fitting in the engine compartment.

More to come as time allows!
Winter/Spring 2020
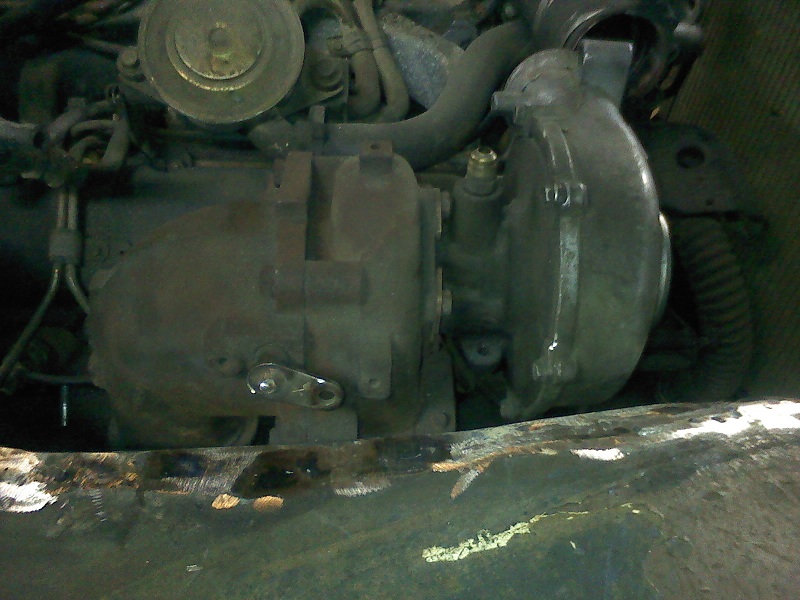
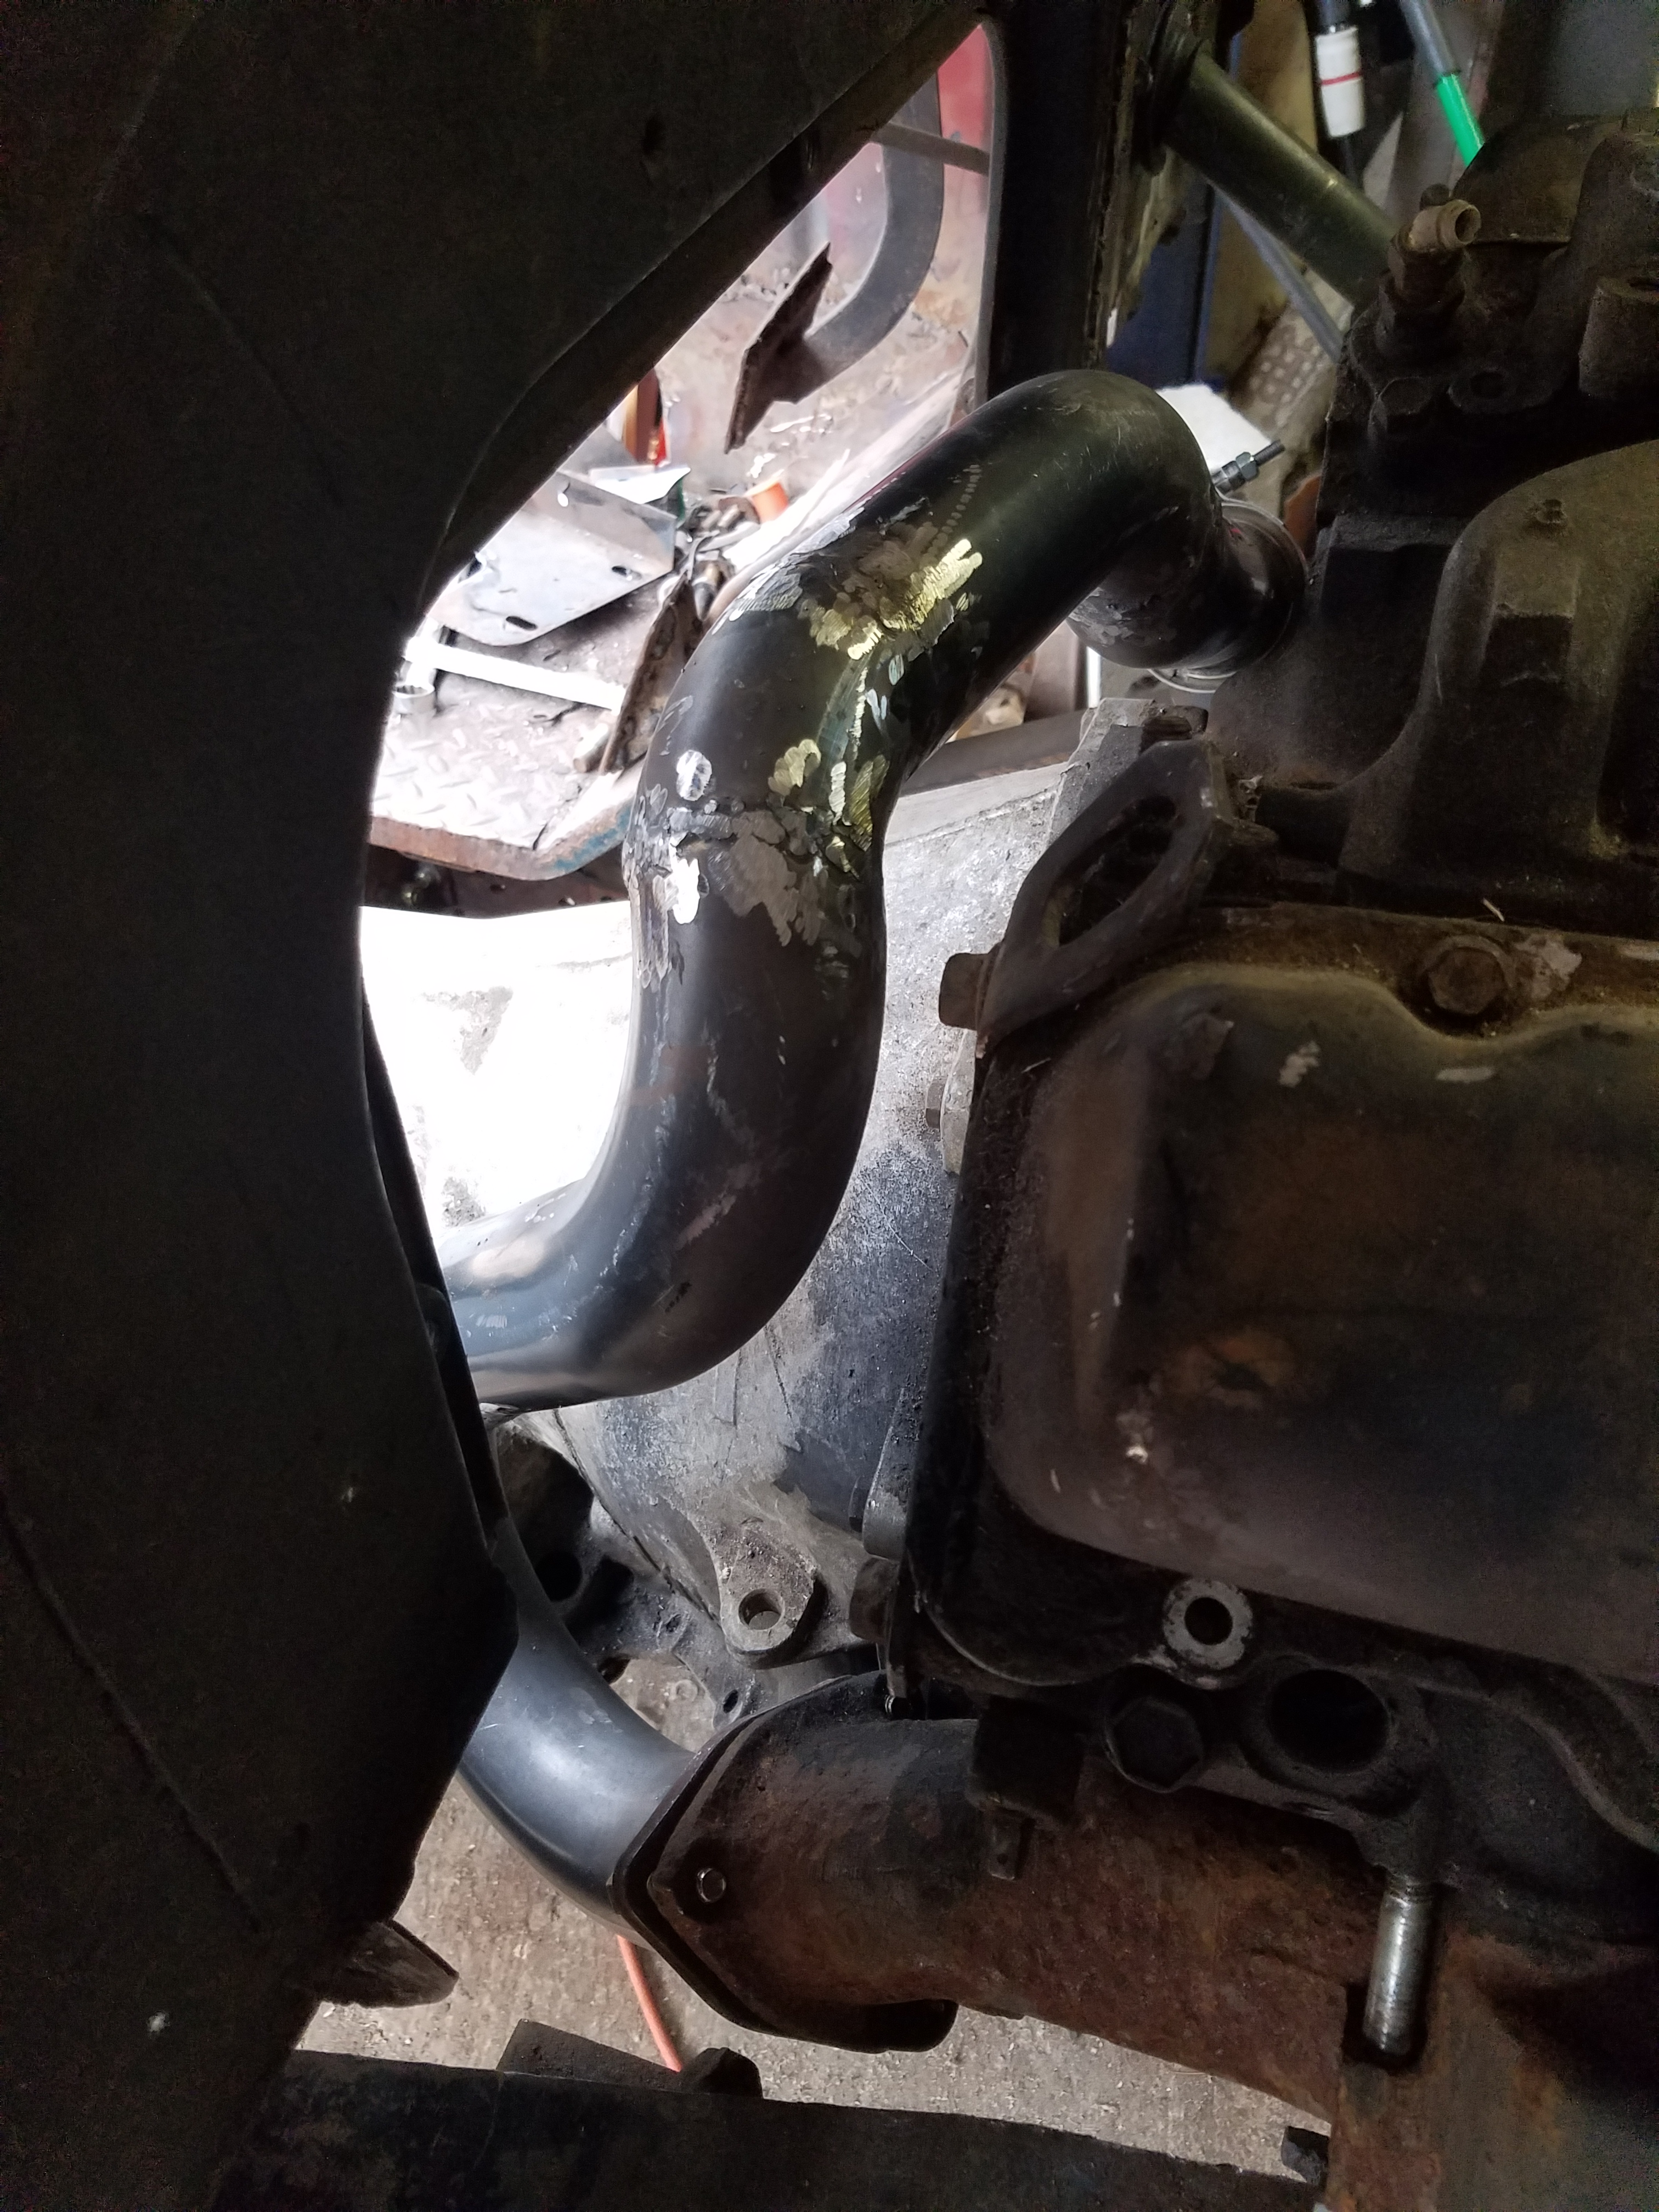
Well I have been making more of an effort to get back into the garage and get some work done on this thing. I’ve been busy working on sorting out the engine as I was not happy with the way it sat in the truck nor with my engine mounts. So I was able to score a set of GM truck engine mount horns off of the I-net and I removed the engine mounts I made and replaced them with the GM factory mounts which now bolt in to the frame. I used grade 8 bolts.

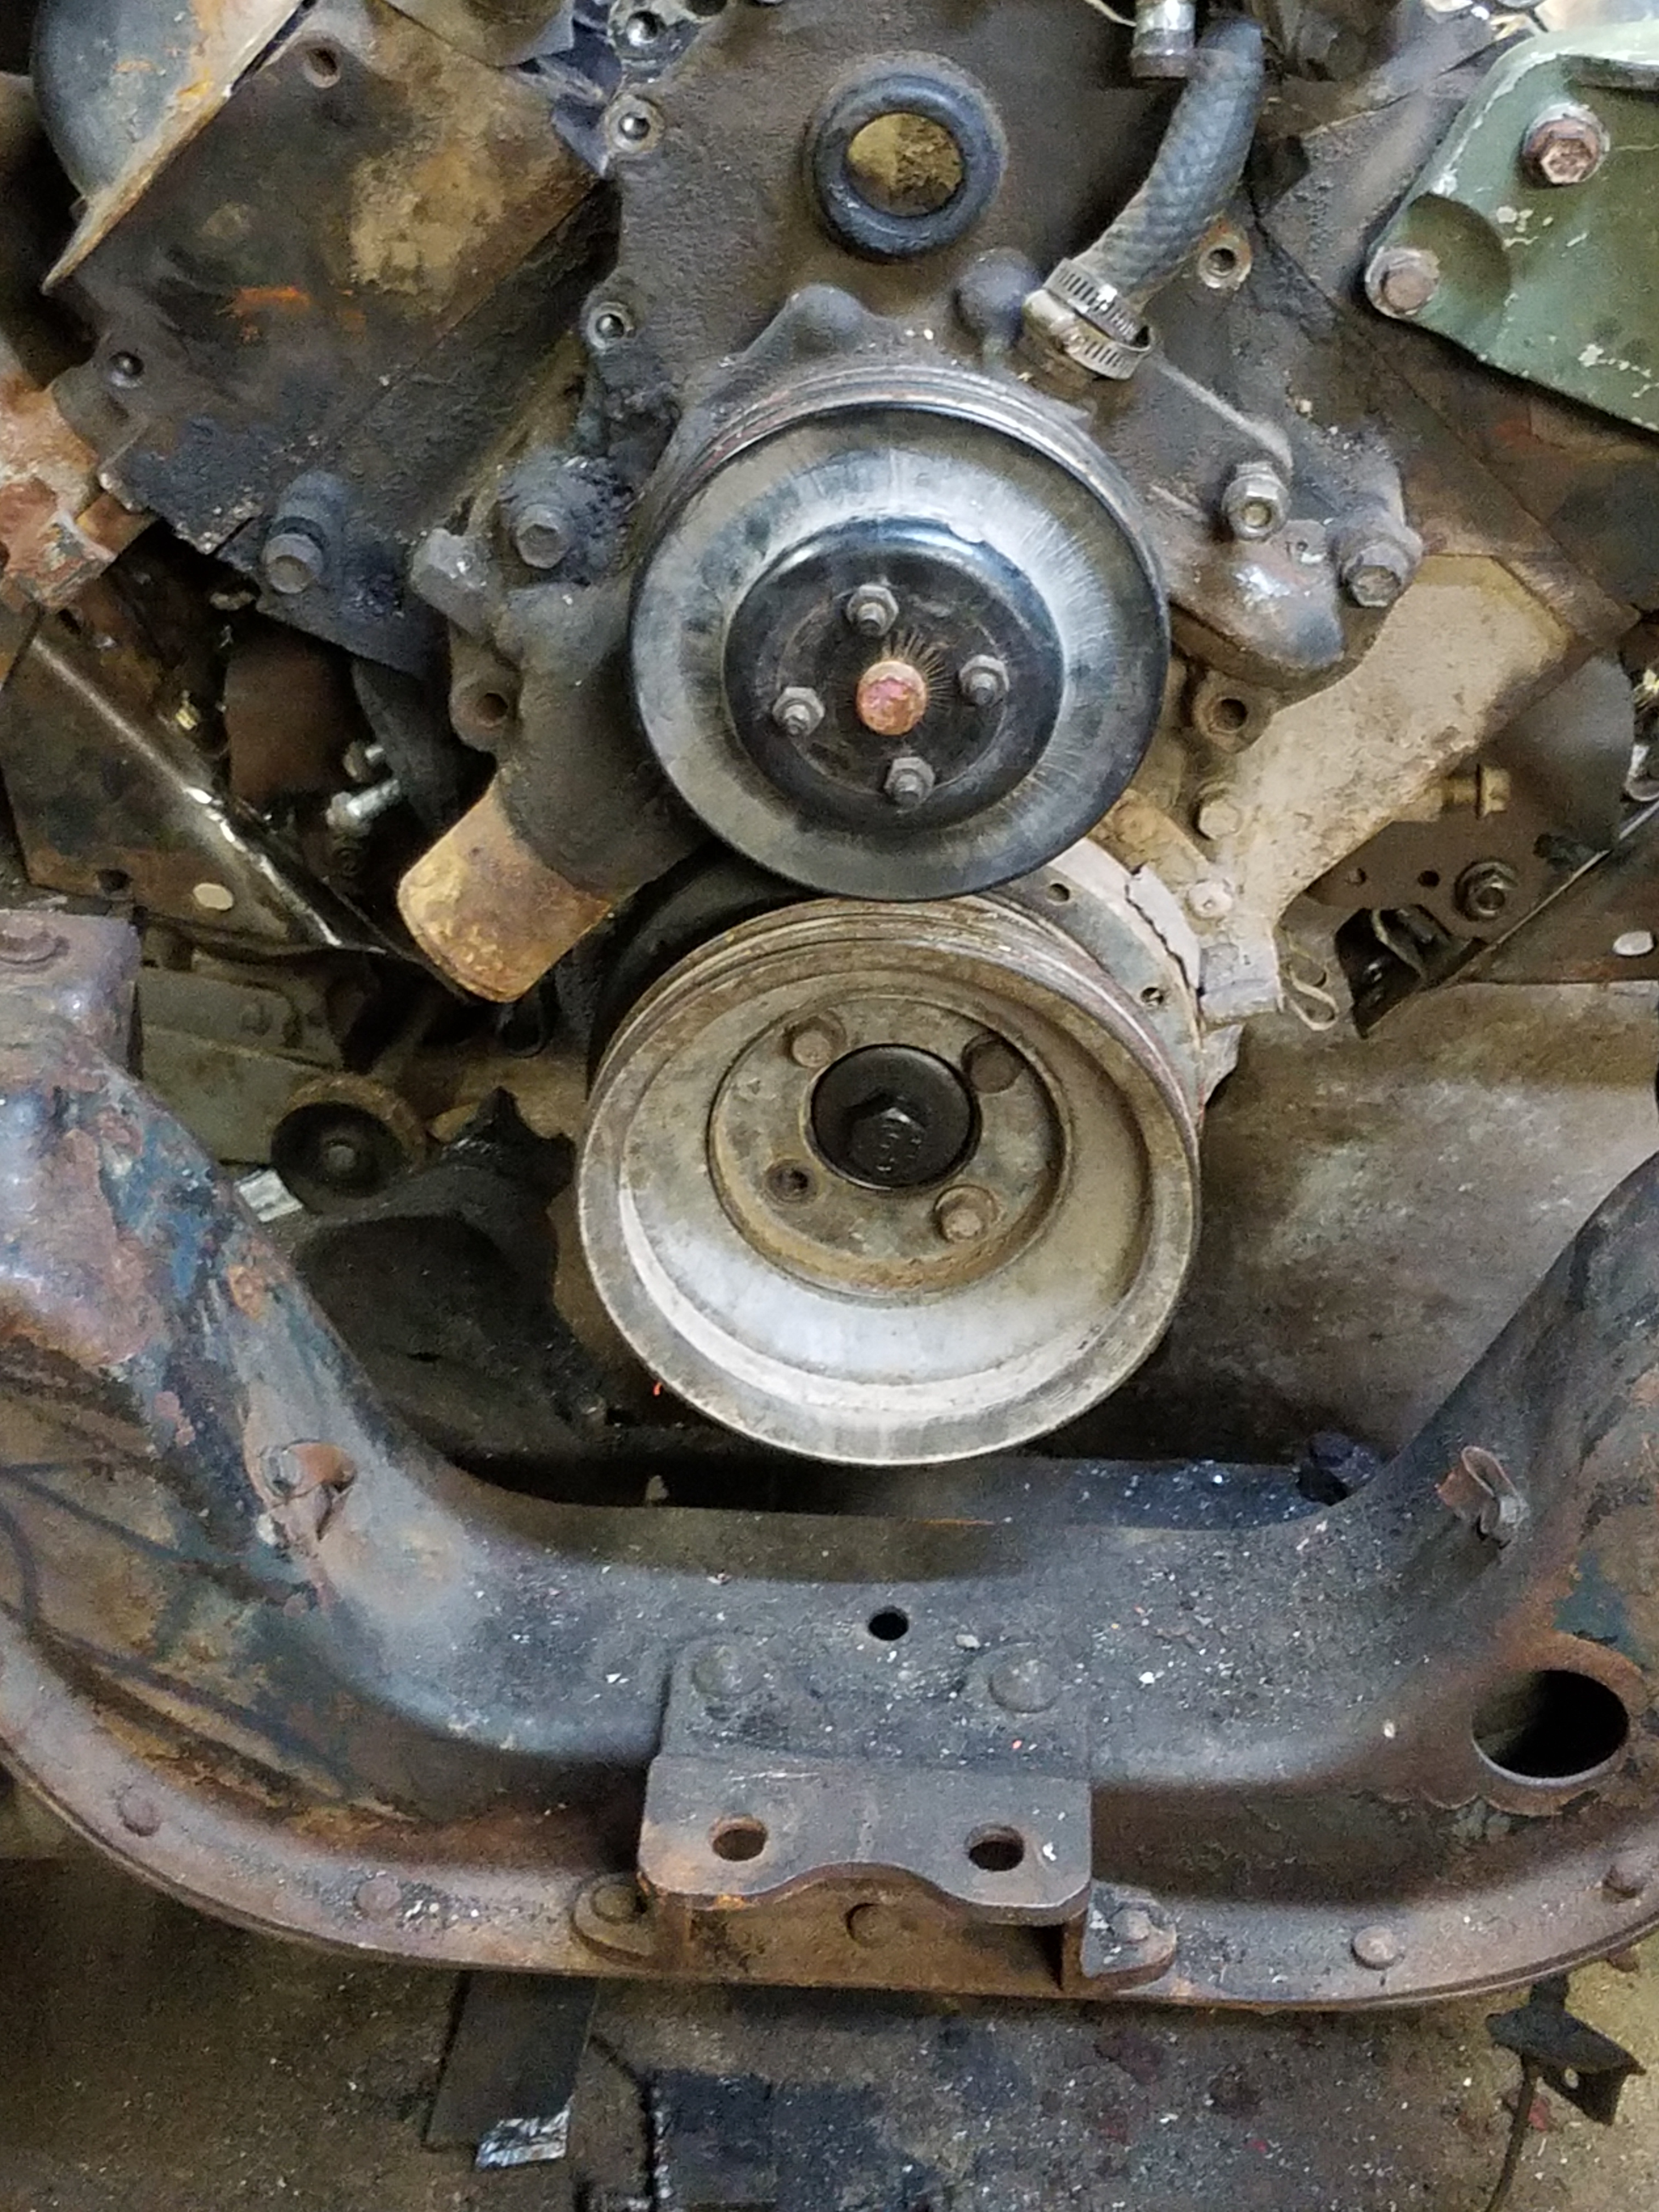
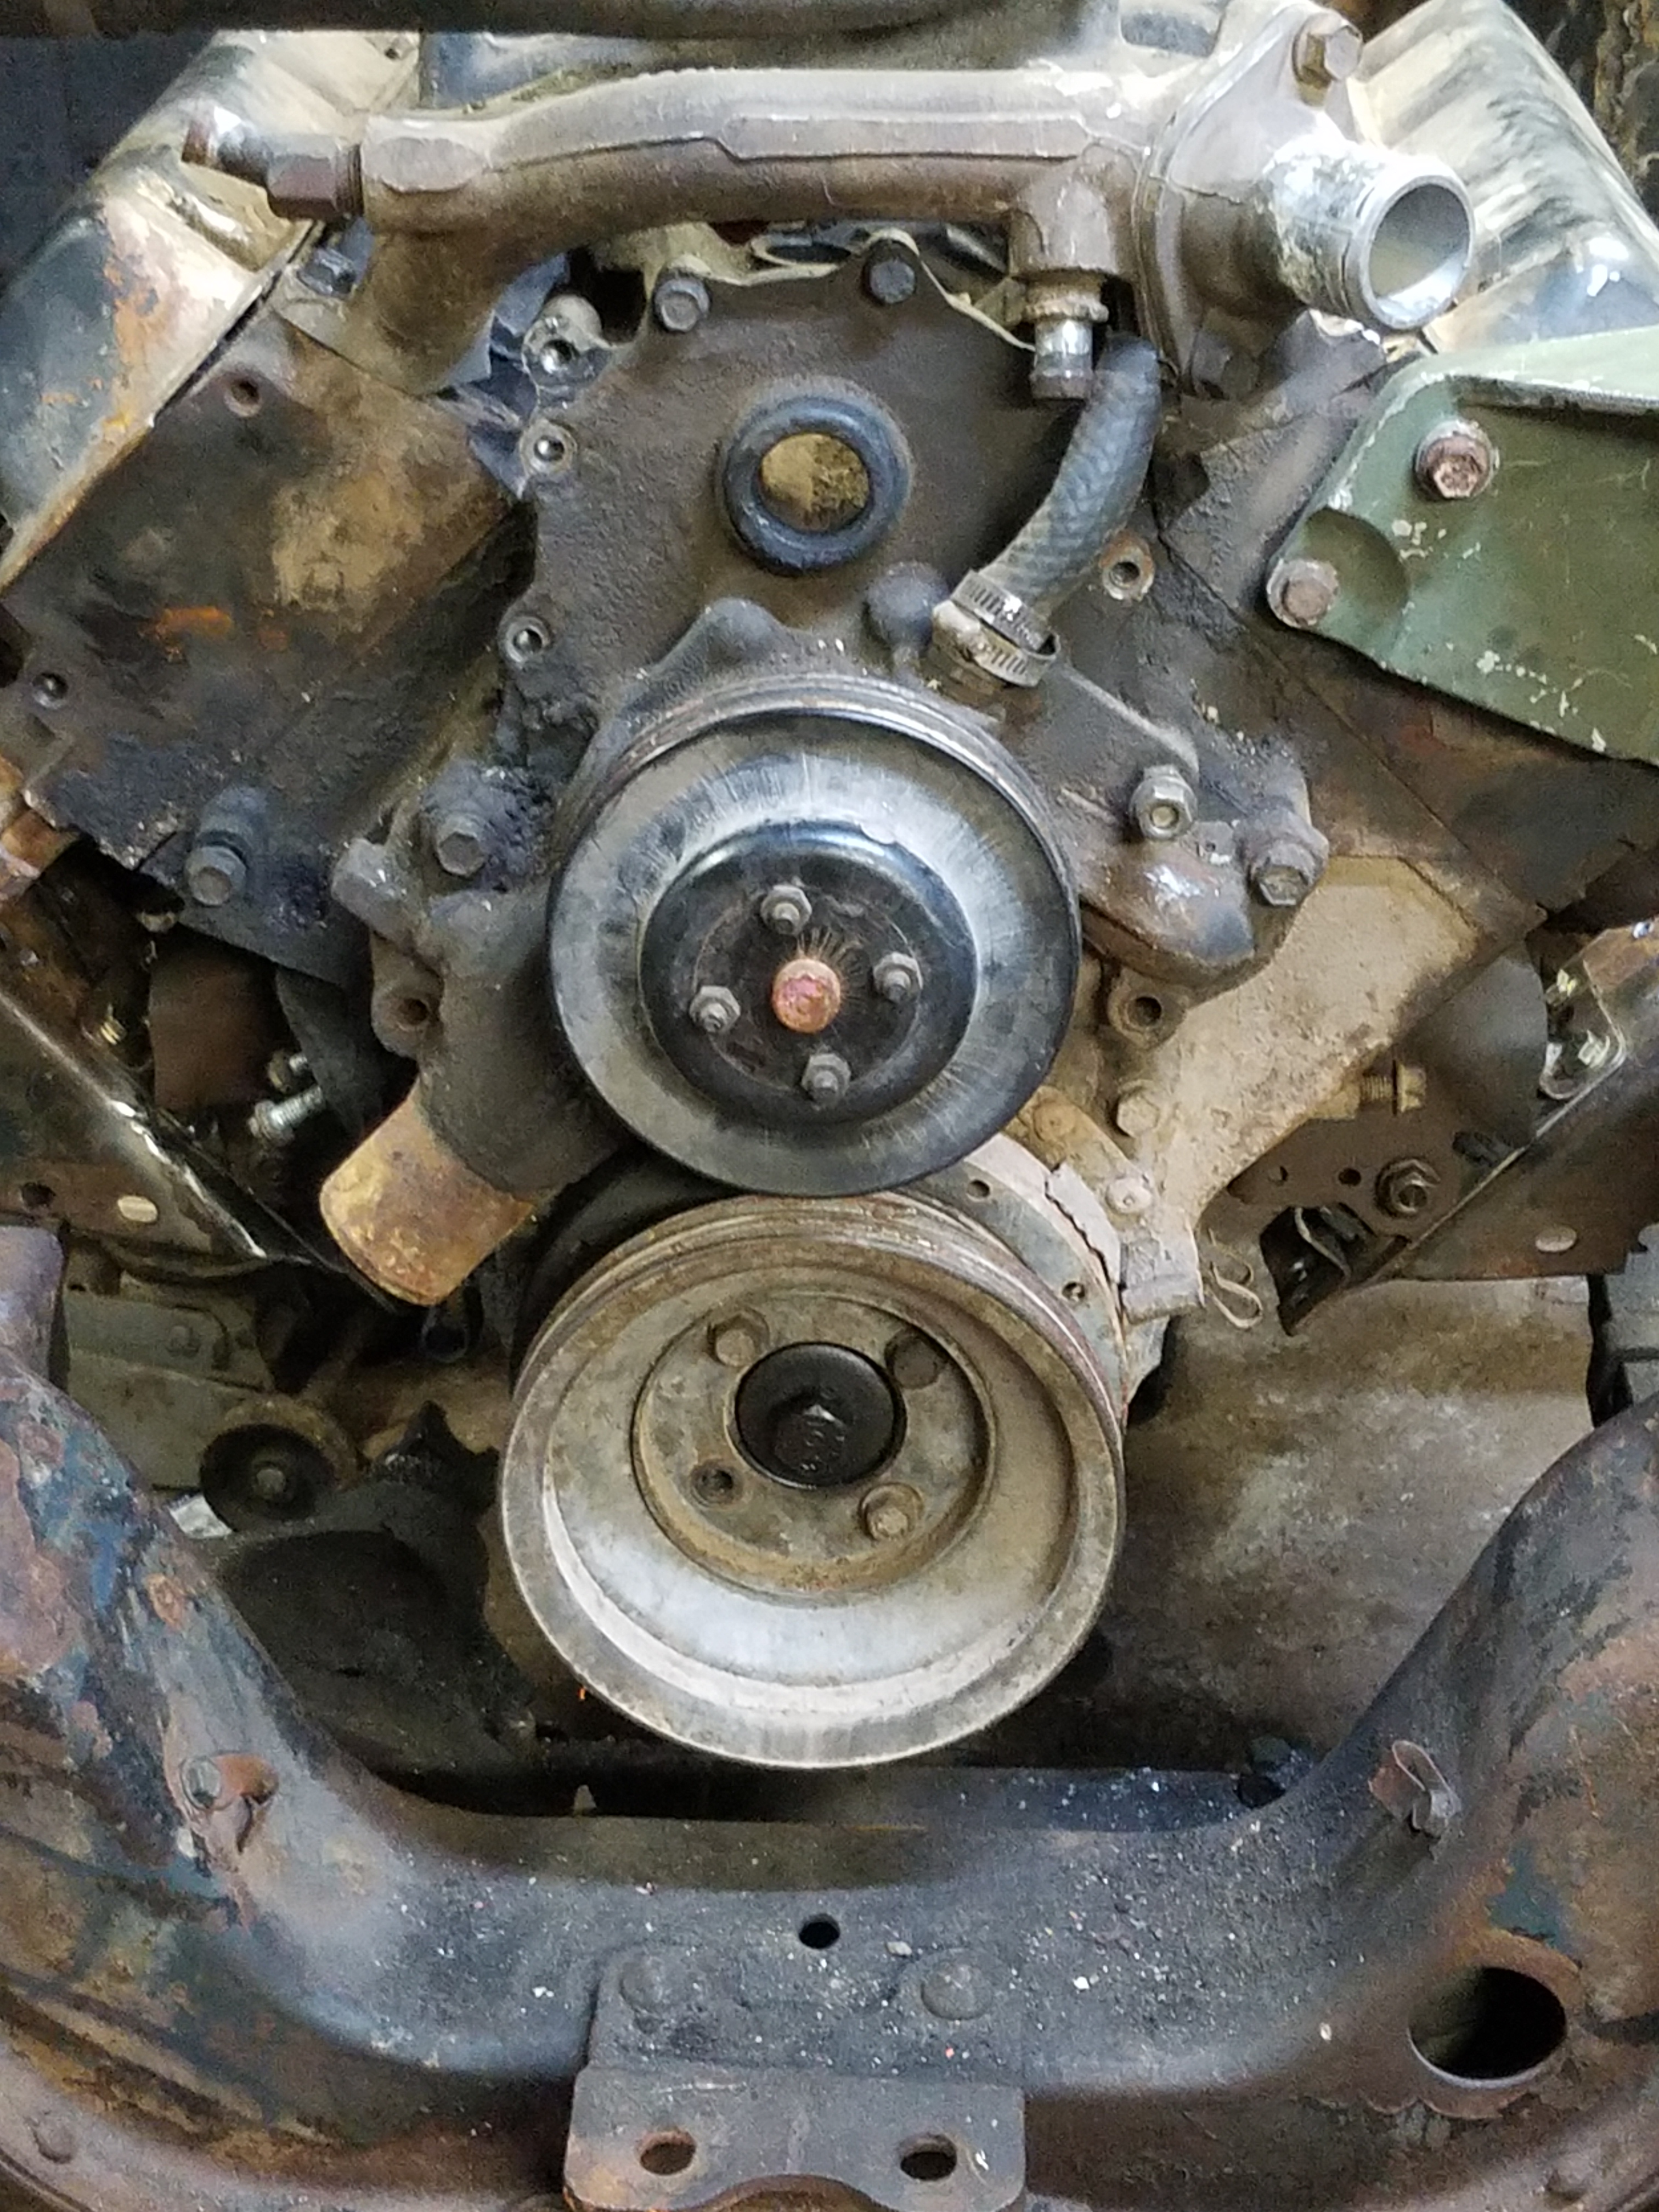
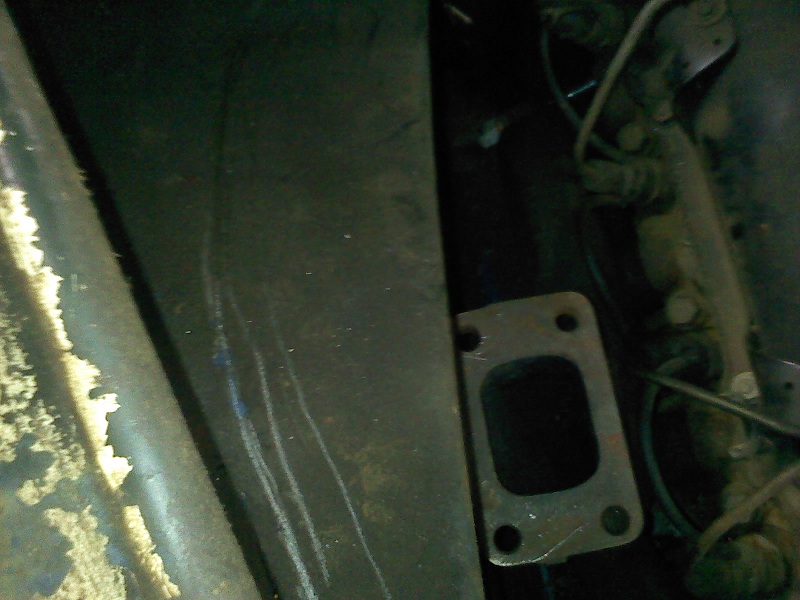
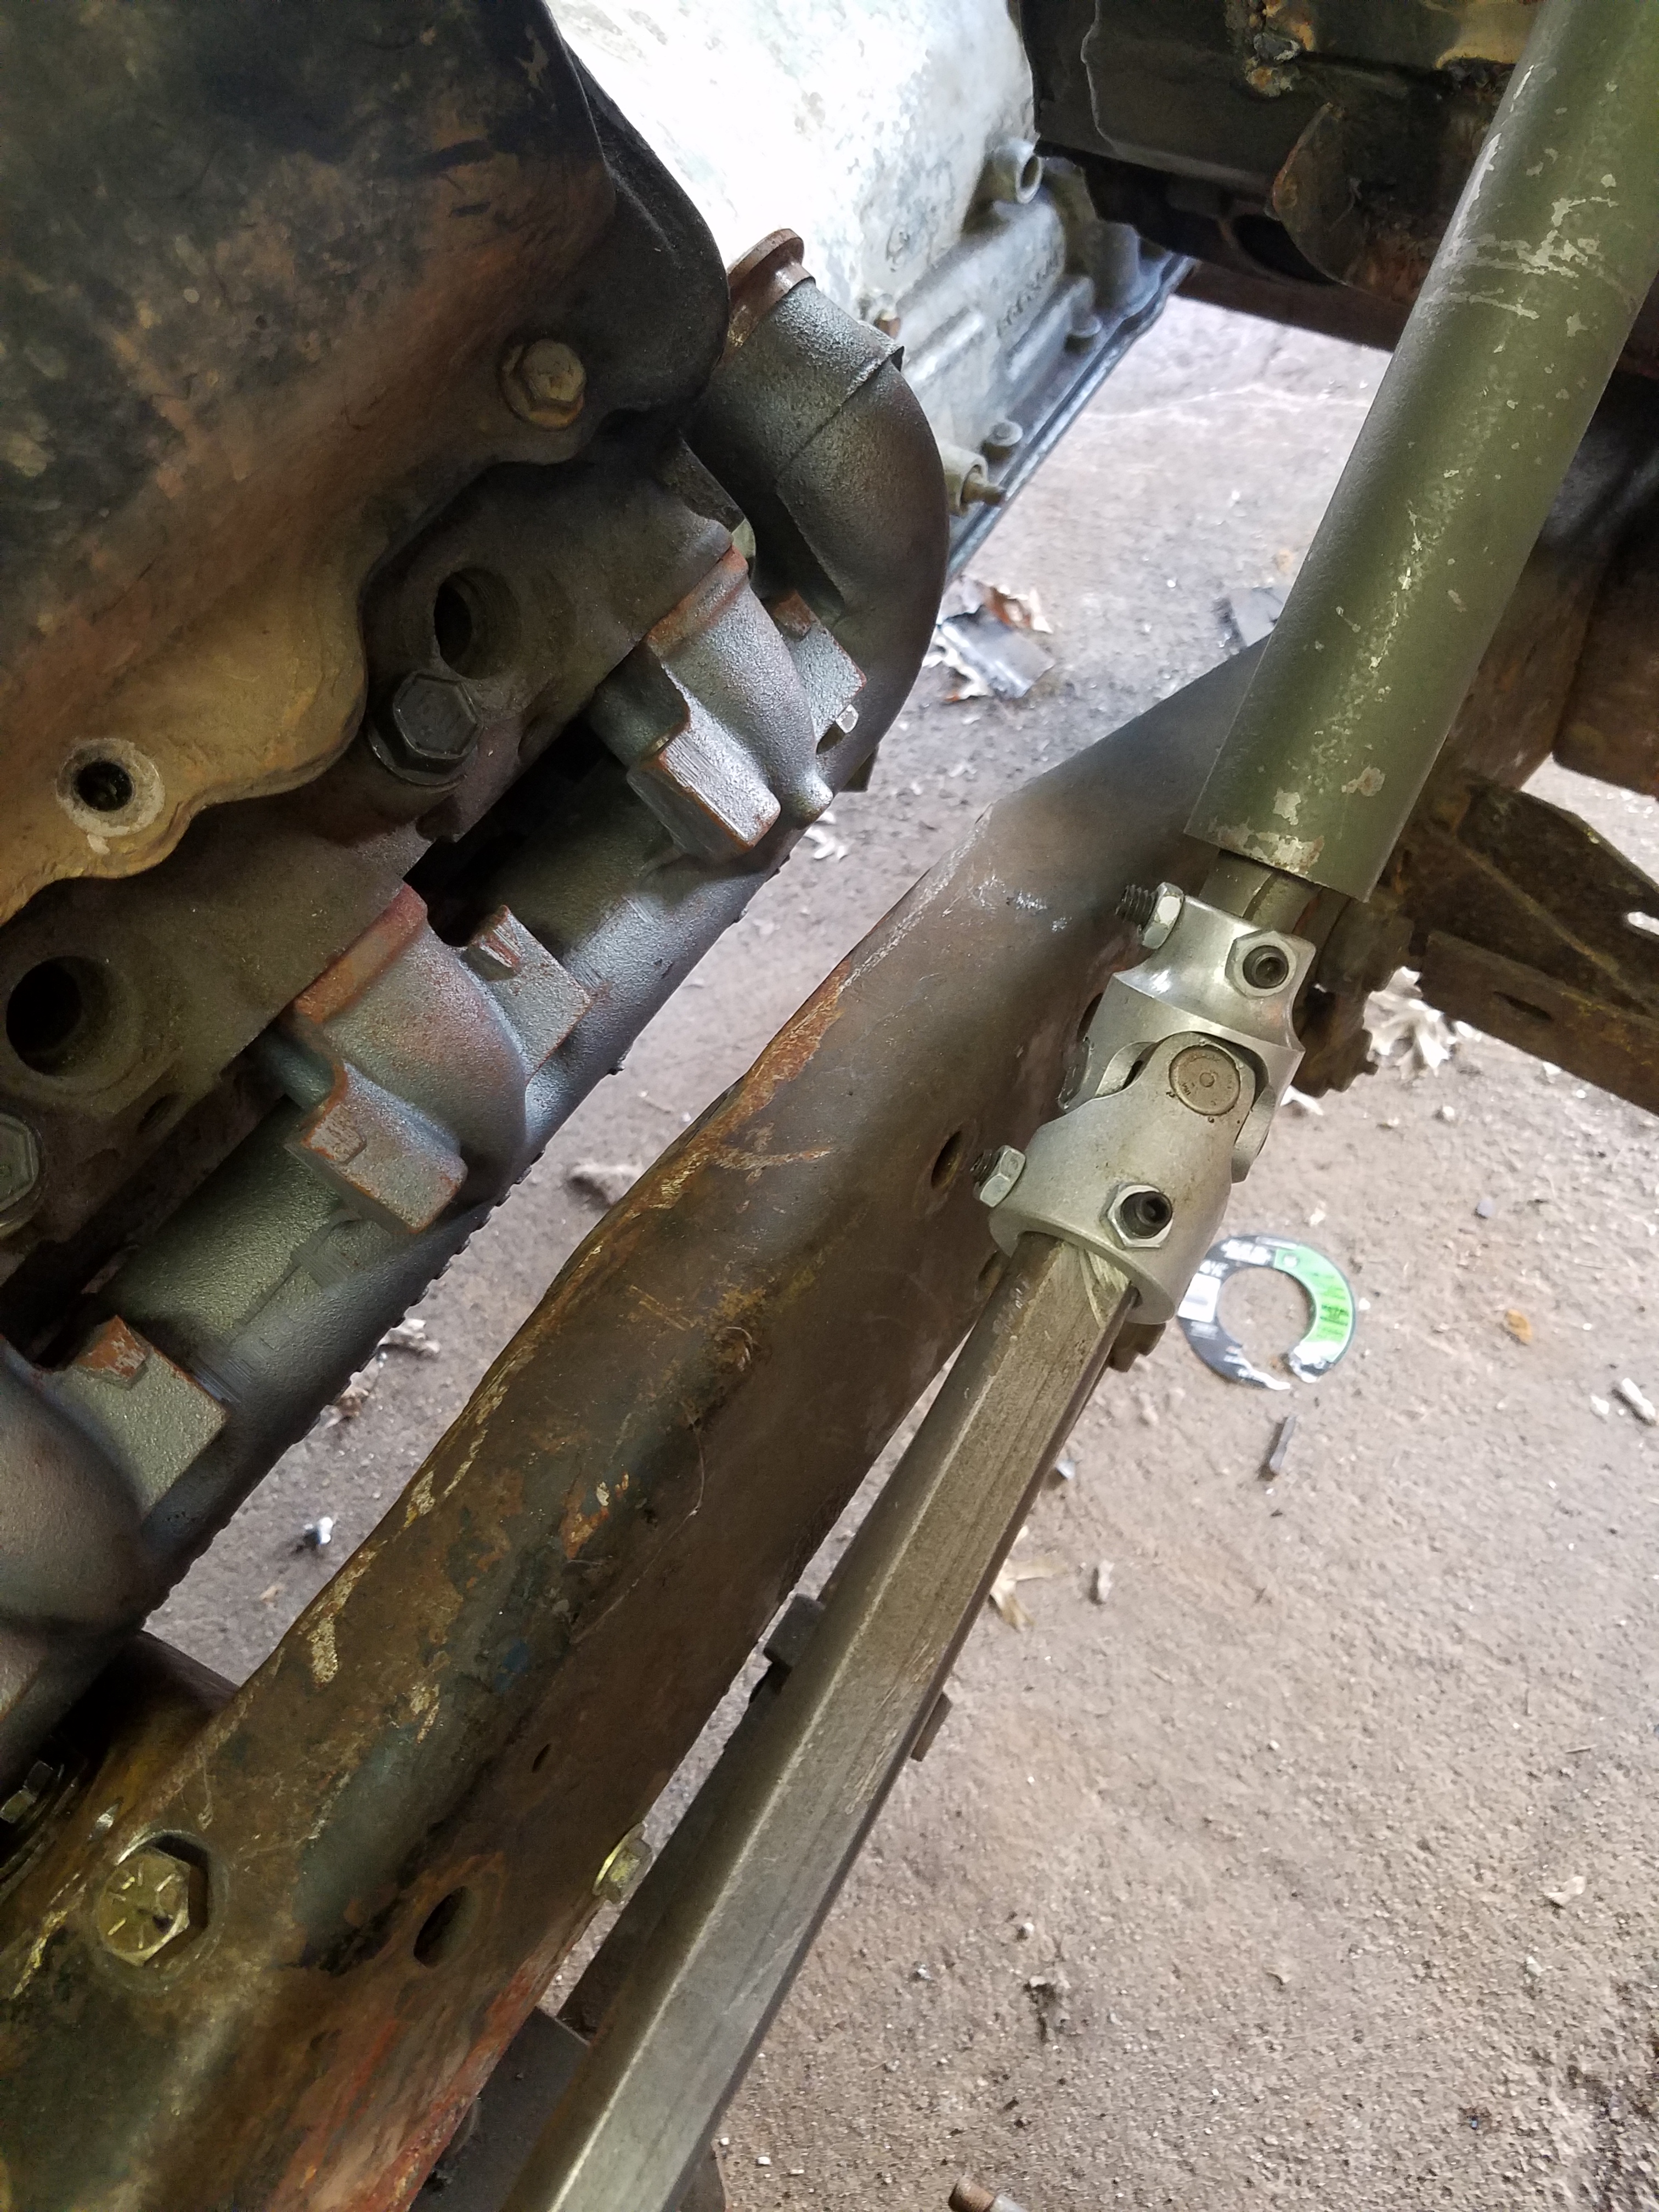
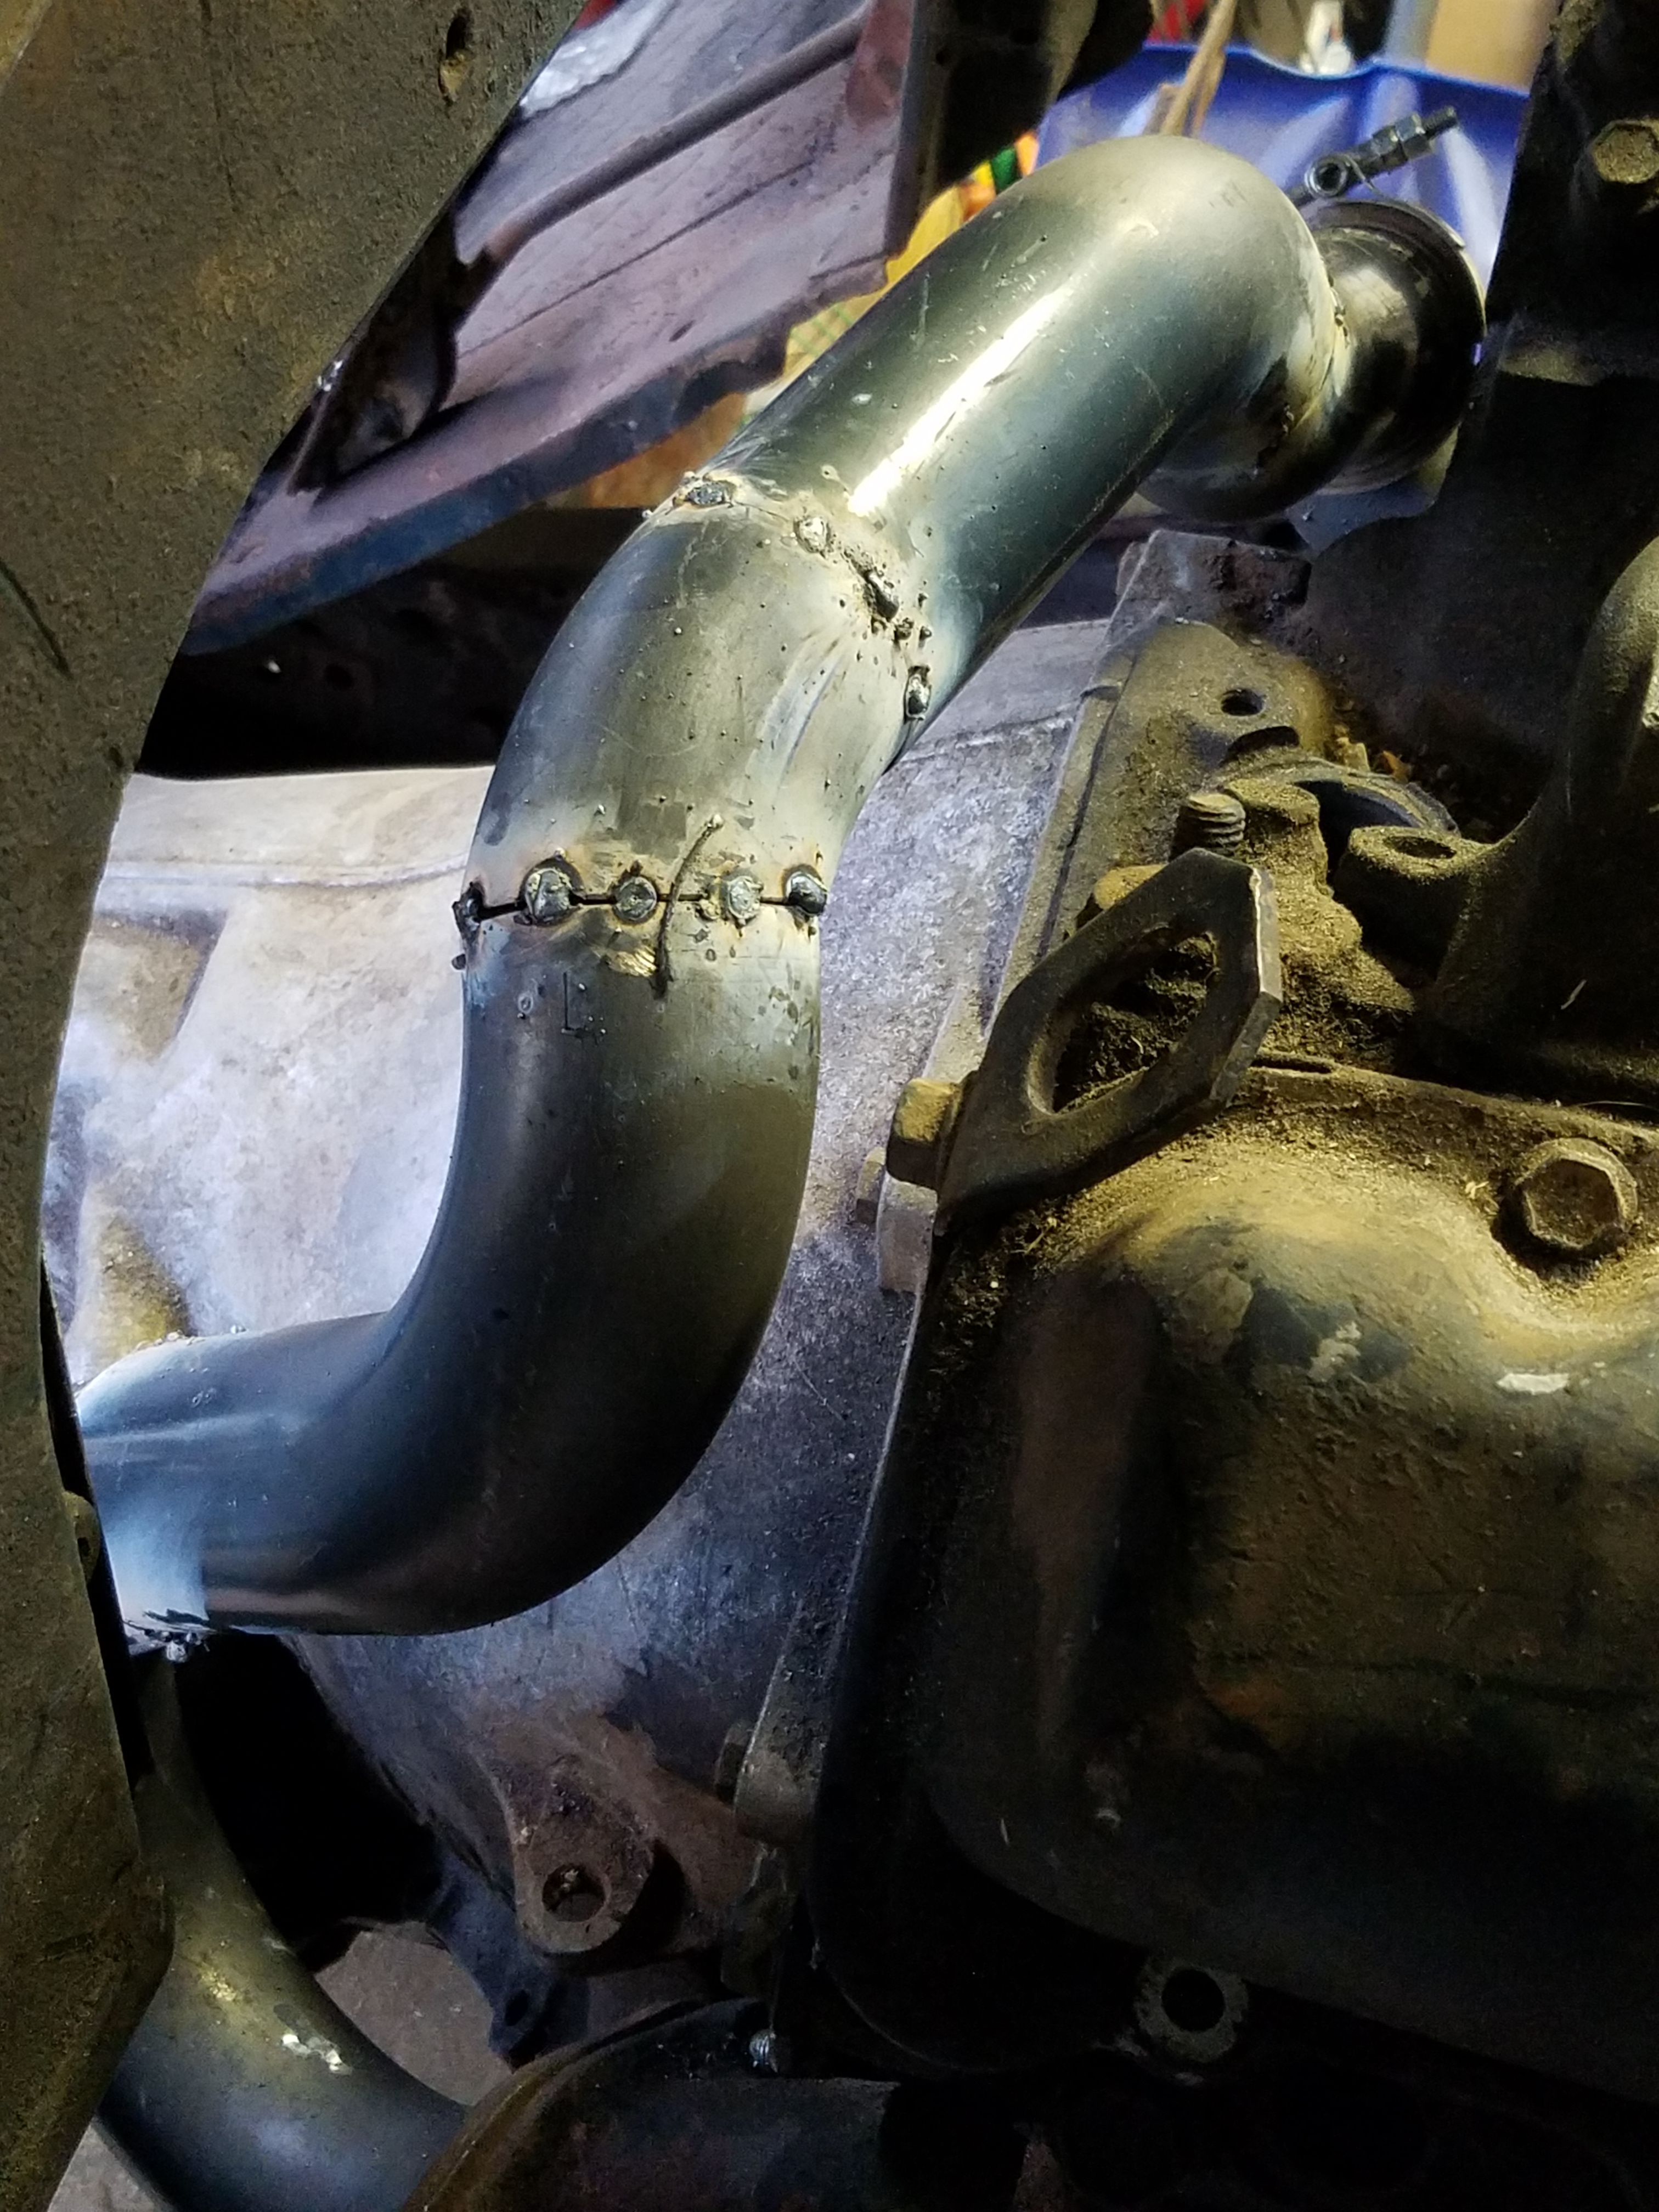
I found that these new mounts put the engine in a very good spot in the frame, but it did cause one issue and that was with the exhaust manifold on the driver’s side. The GM turbo design flares out away from the block and therefore was running into the frame rail. This caused the crossover pipe to not be able to attach to the manifold.
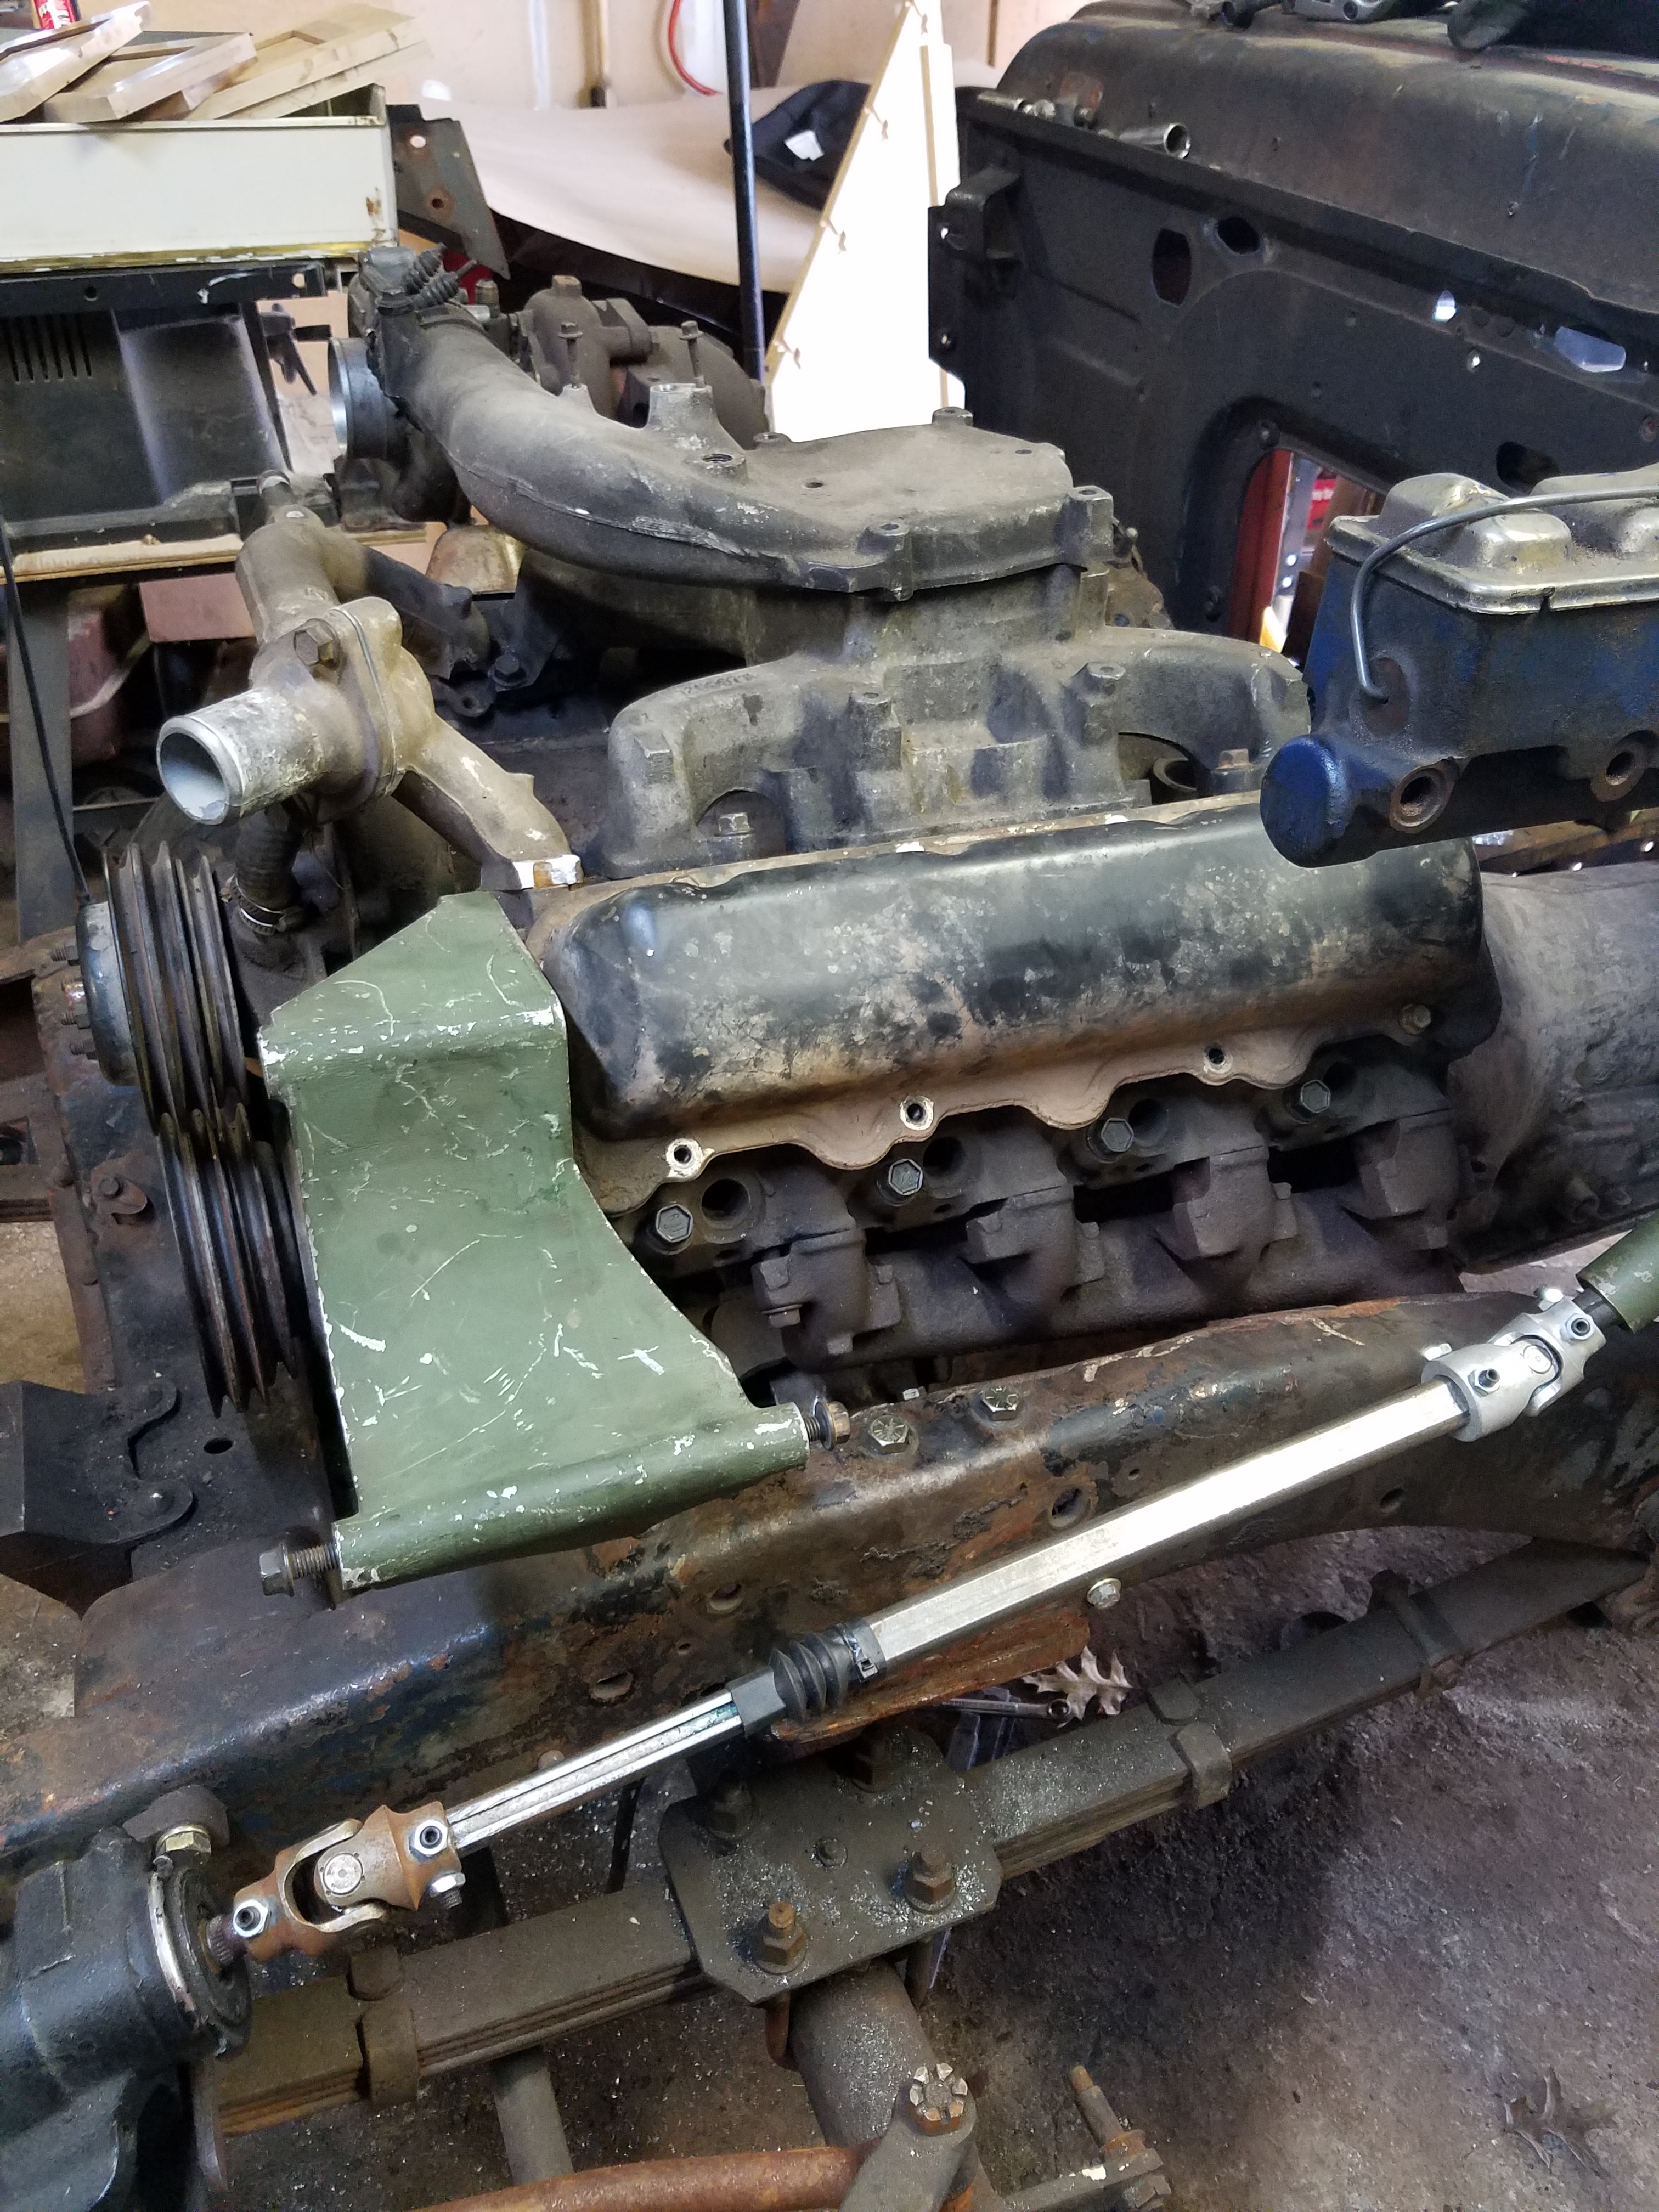
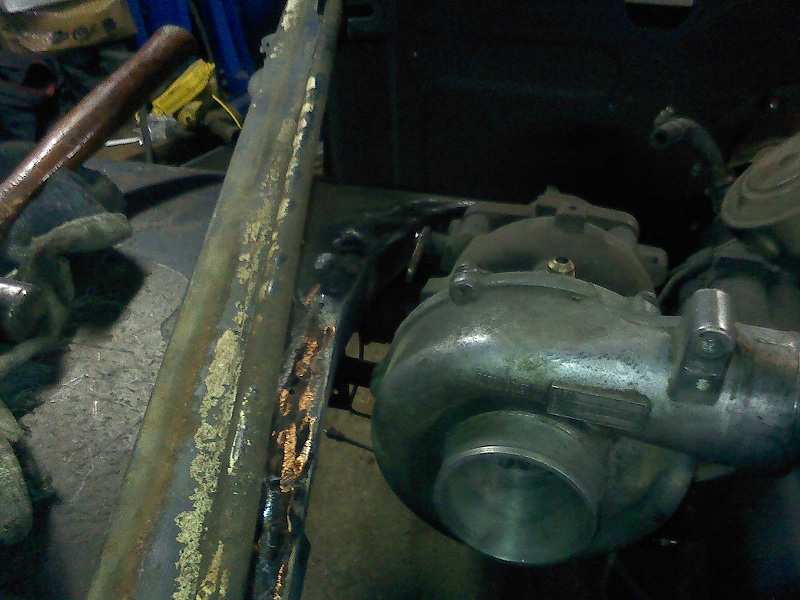
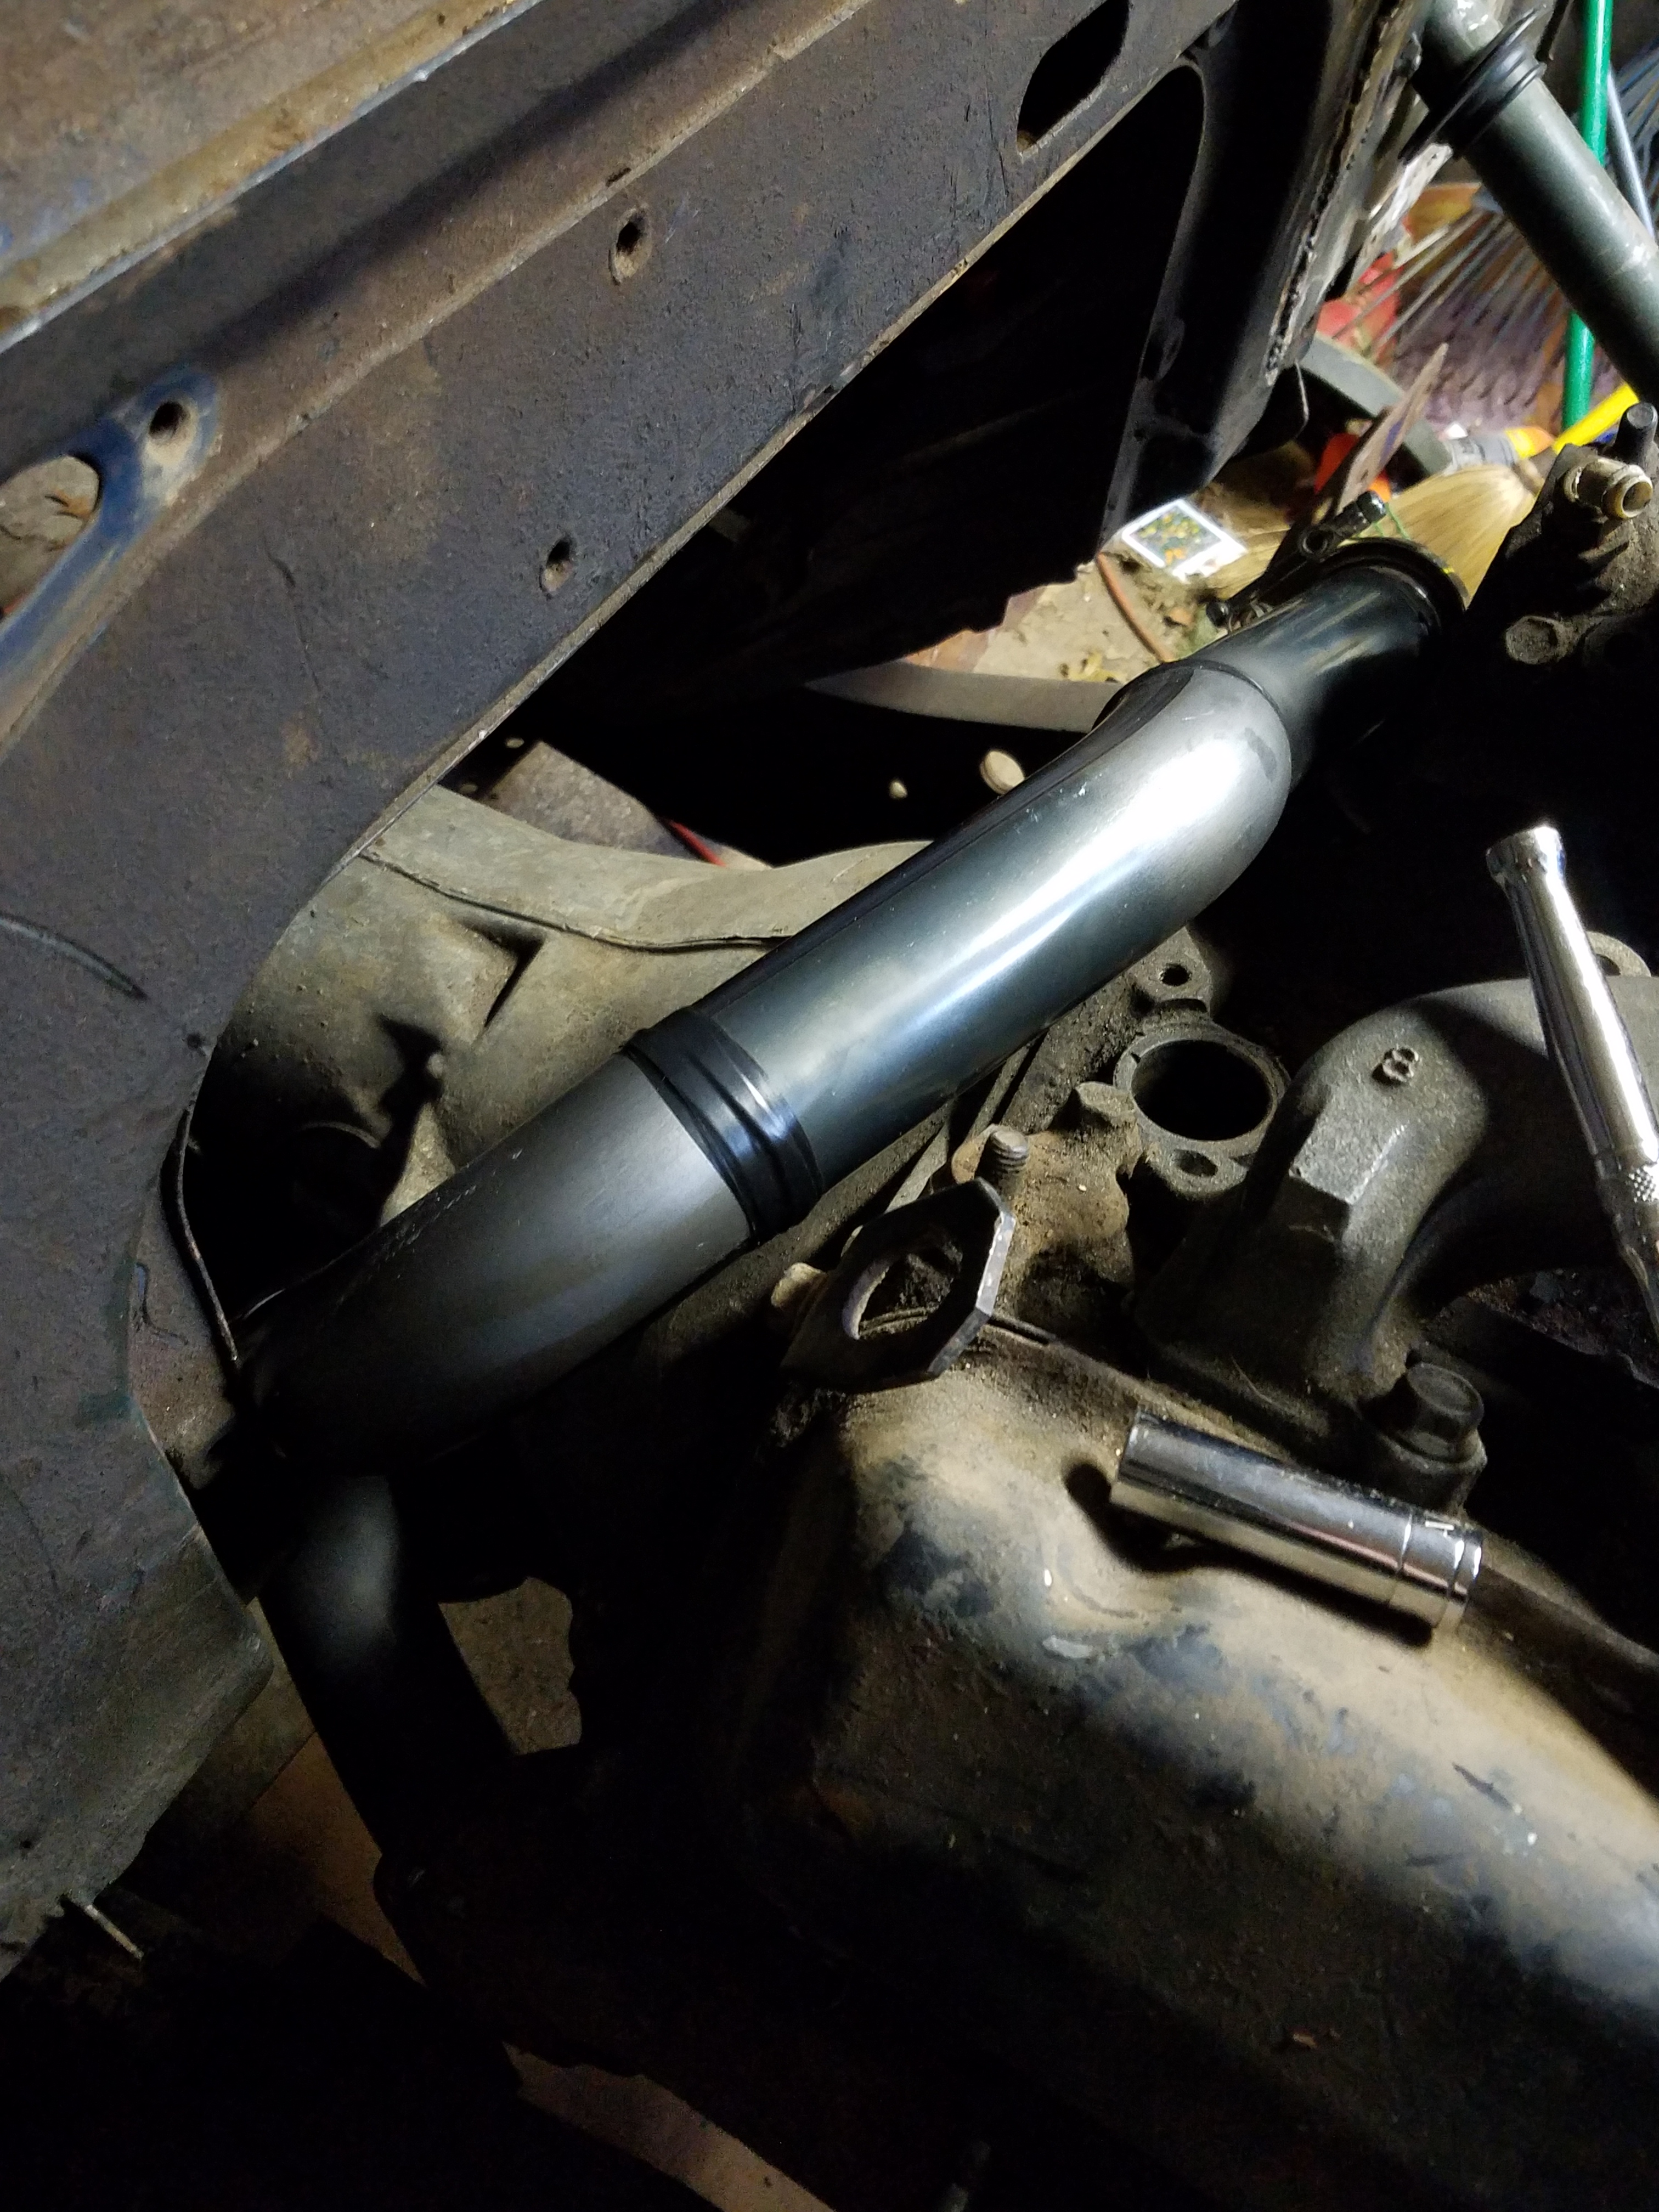
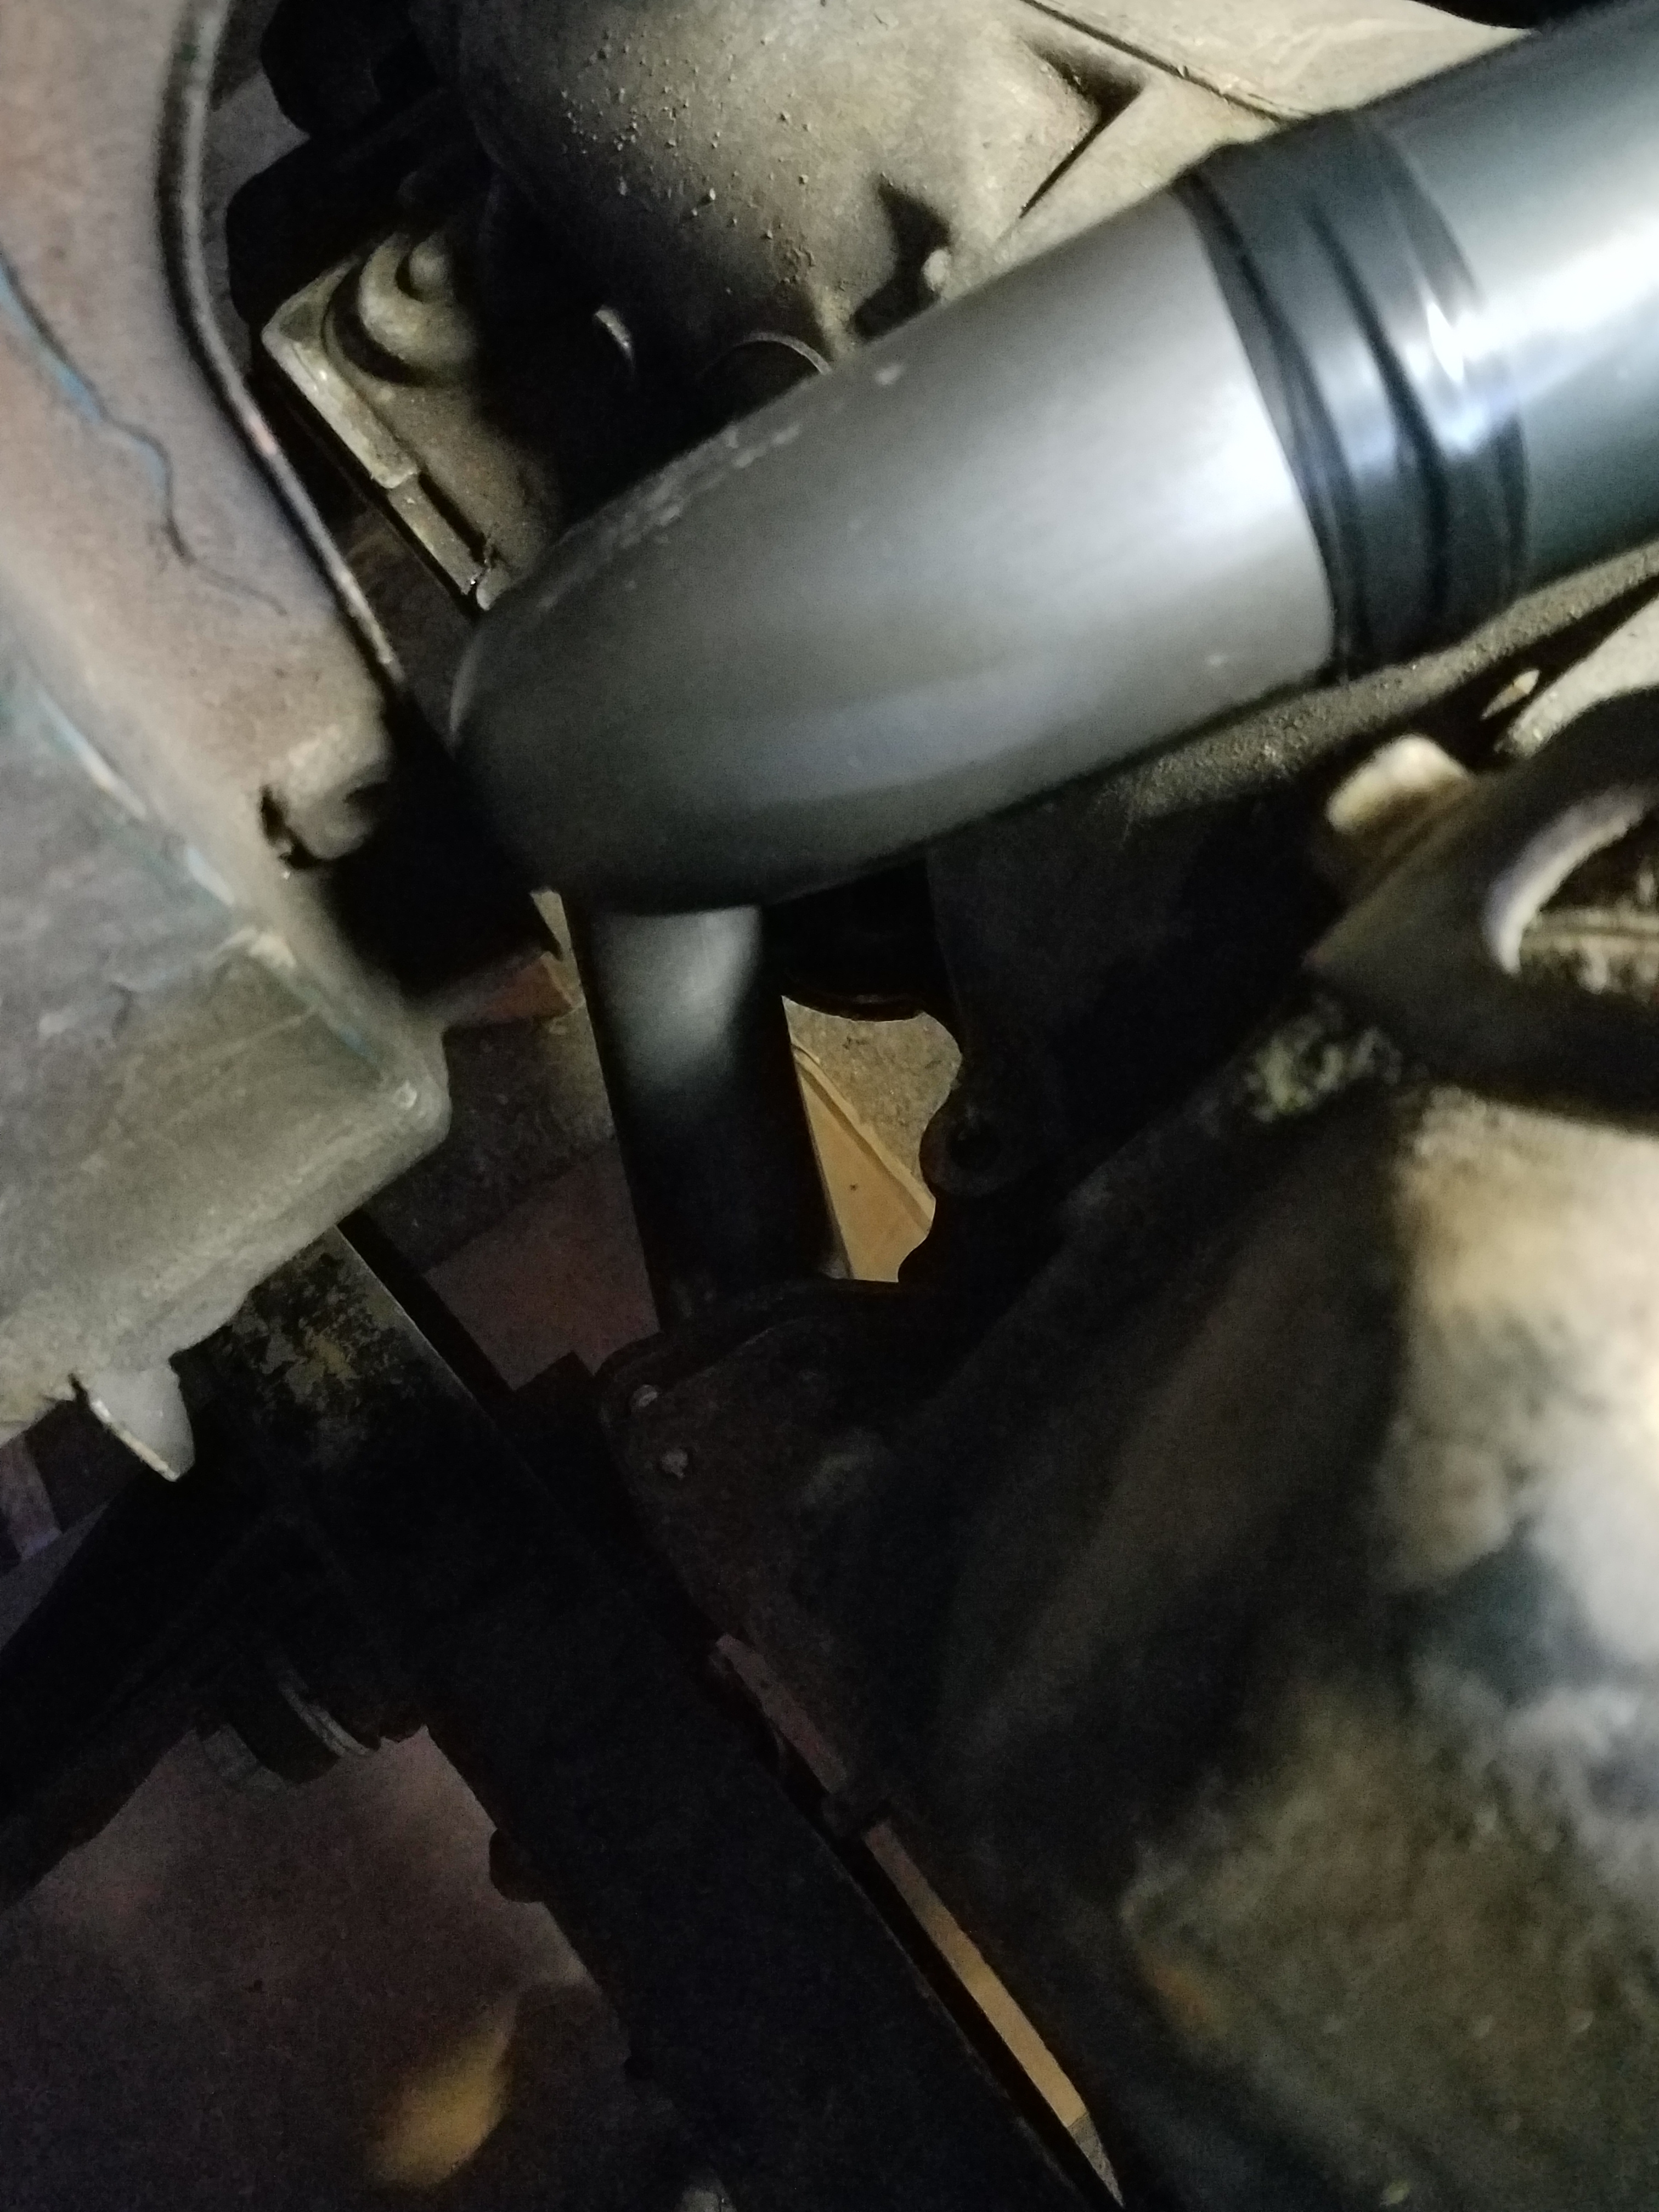
To resolve this I decided to go with the exhaust manifold from the HMMWV/Van set up on the driver’s side. This would solve one problem but create another problem in that I would no longer be hitting the frame rail, but the stock crossover pipe would not work.
So I had to make a custom crossover pipe. I purchased some pipe bends from Amazon and using the original crossover pipe and the bends I made up a new cross over pipe.
First the pipe was just taped together to get the rough shape. Then I tacked welded into place and then full weld. I tested and there are no leaks. I like that it gives the motor a more industrial look to me. I’m pleased with how it came out. At some point I’m going to send the manifolds, the crossover pipe, and eventually the down pipe once I get it made out to Jet Hot to get them coated OD green.
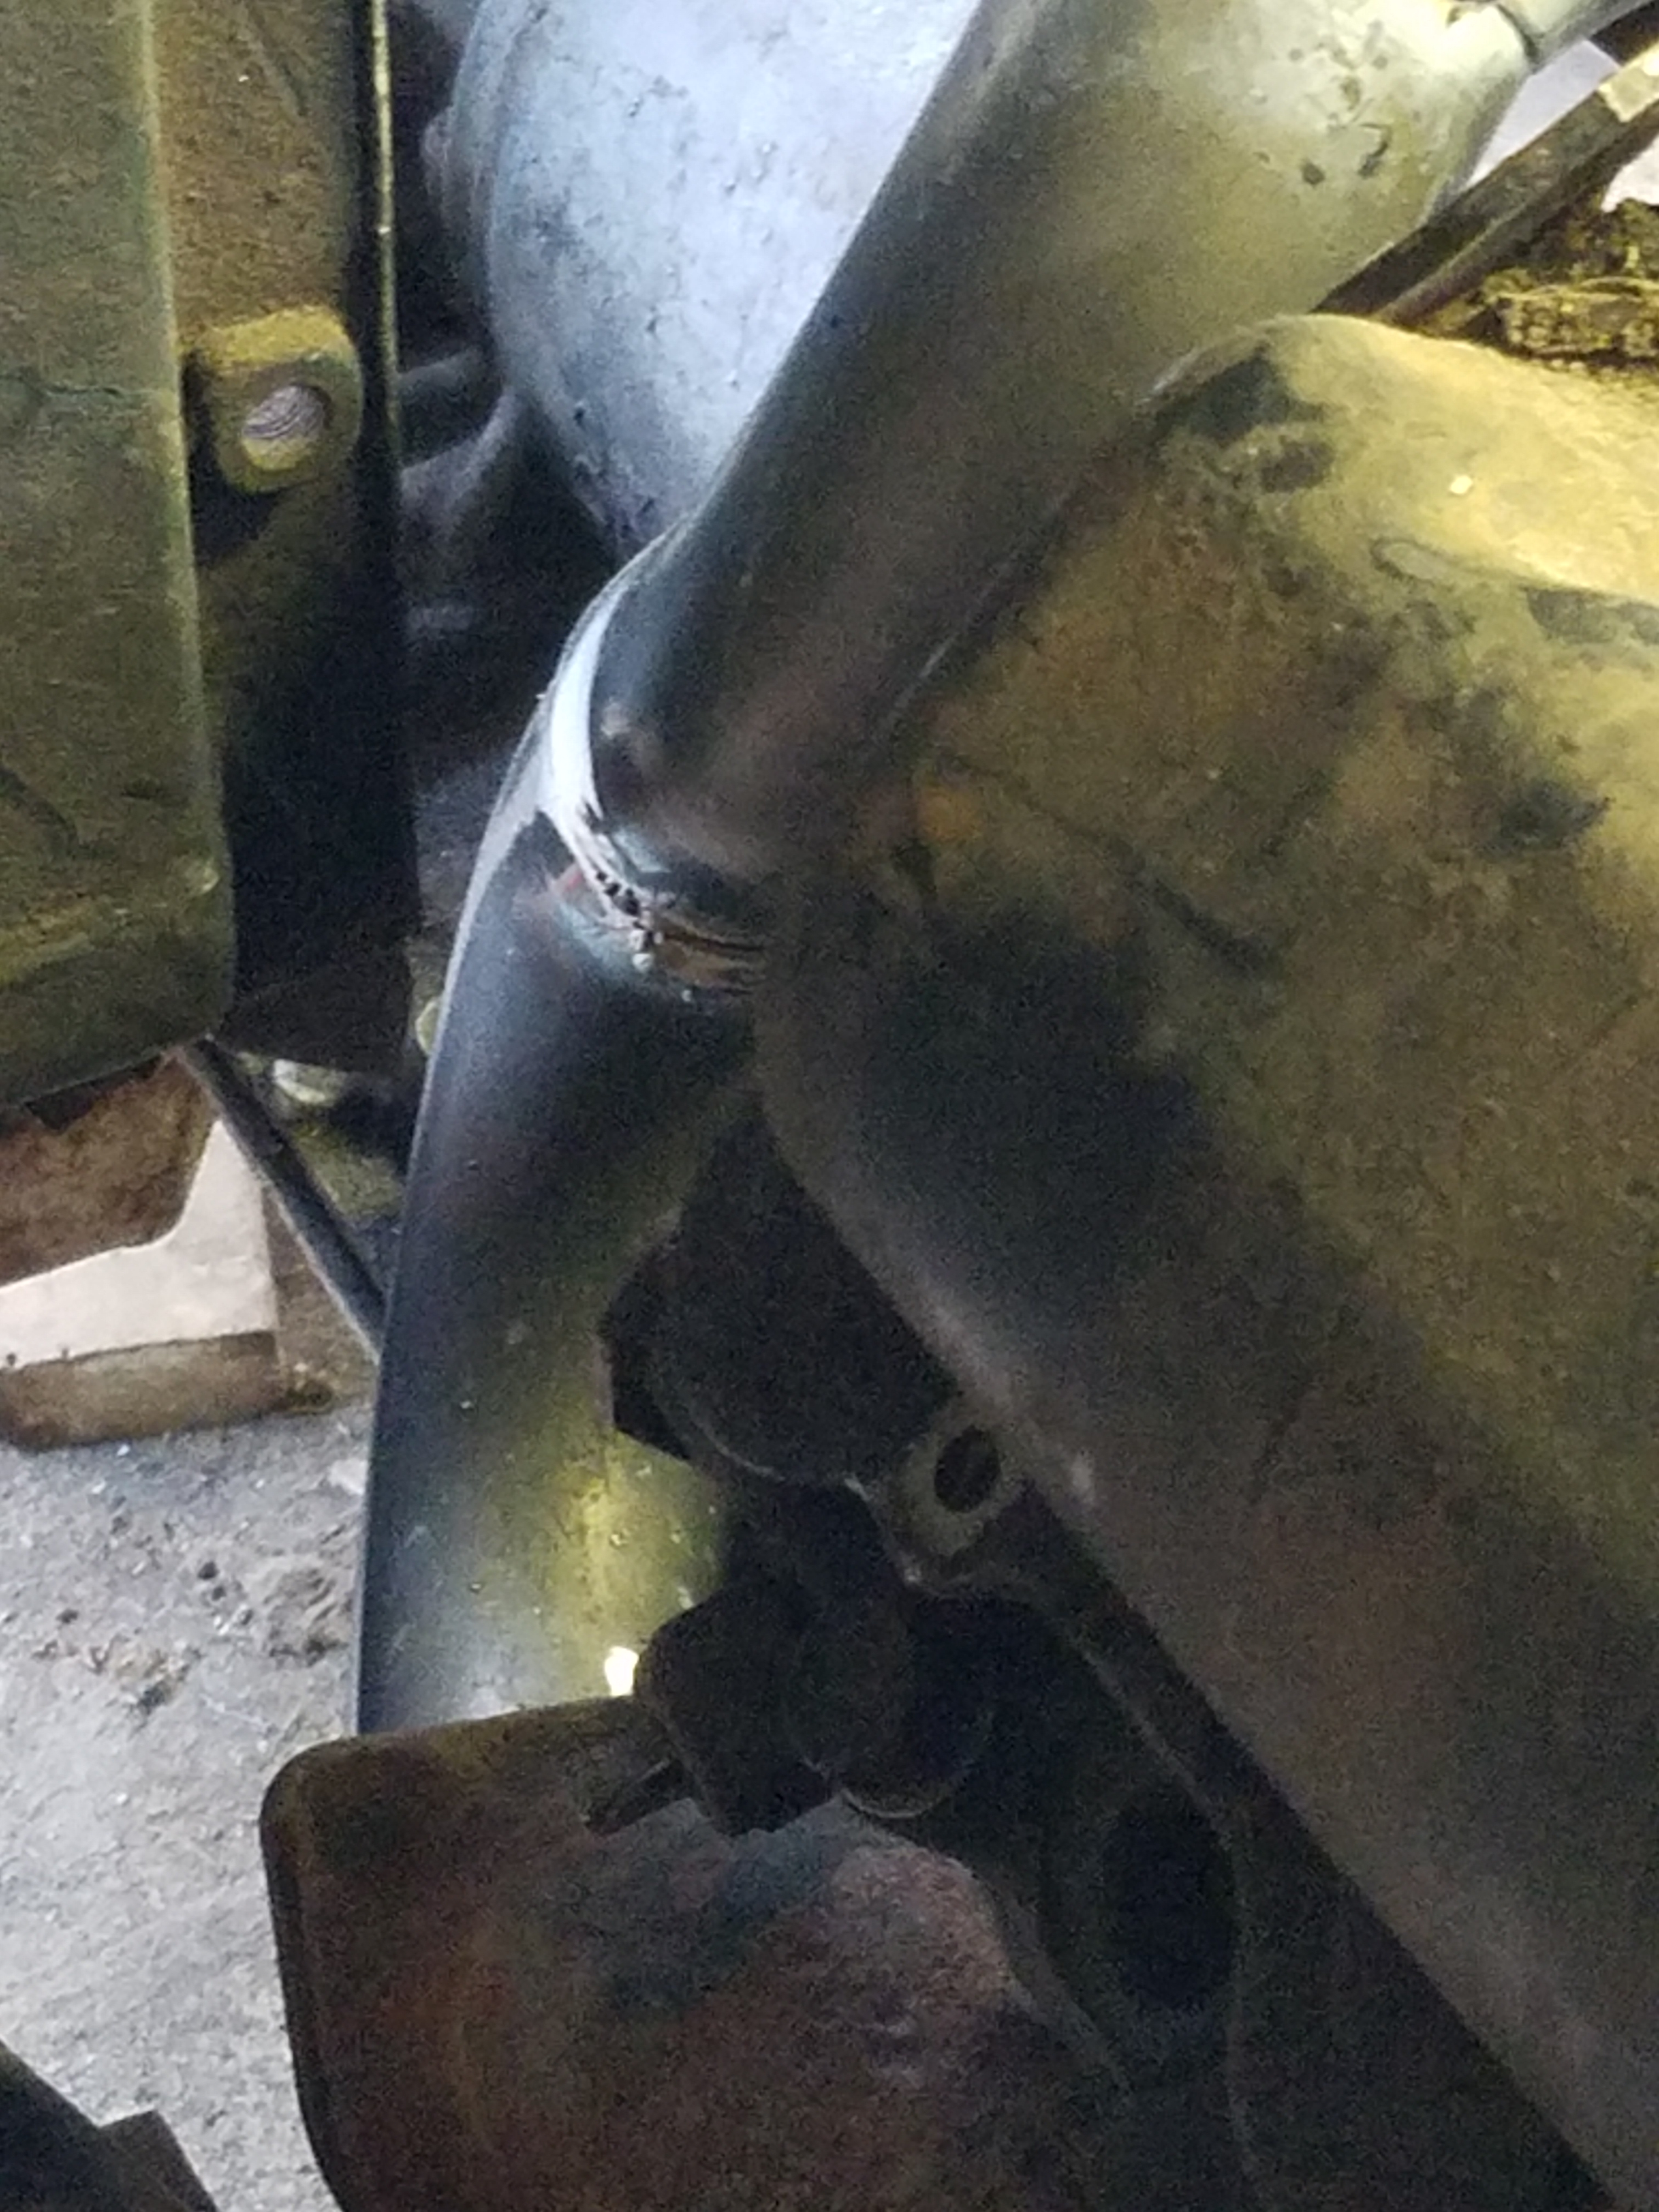

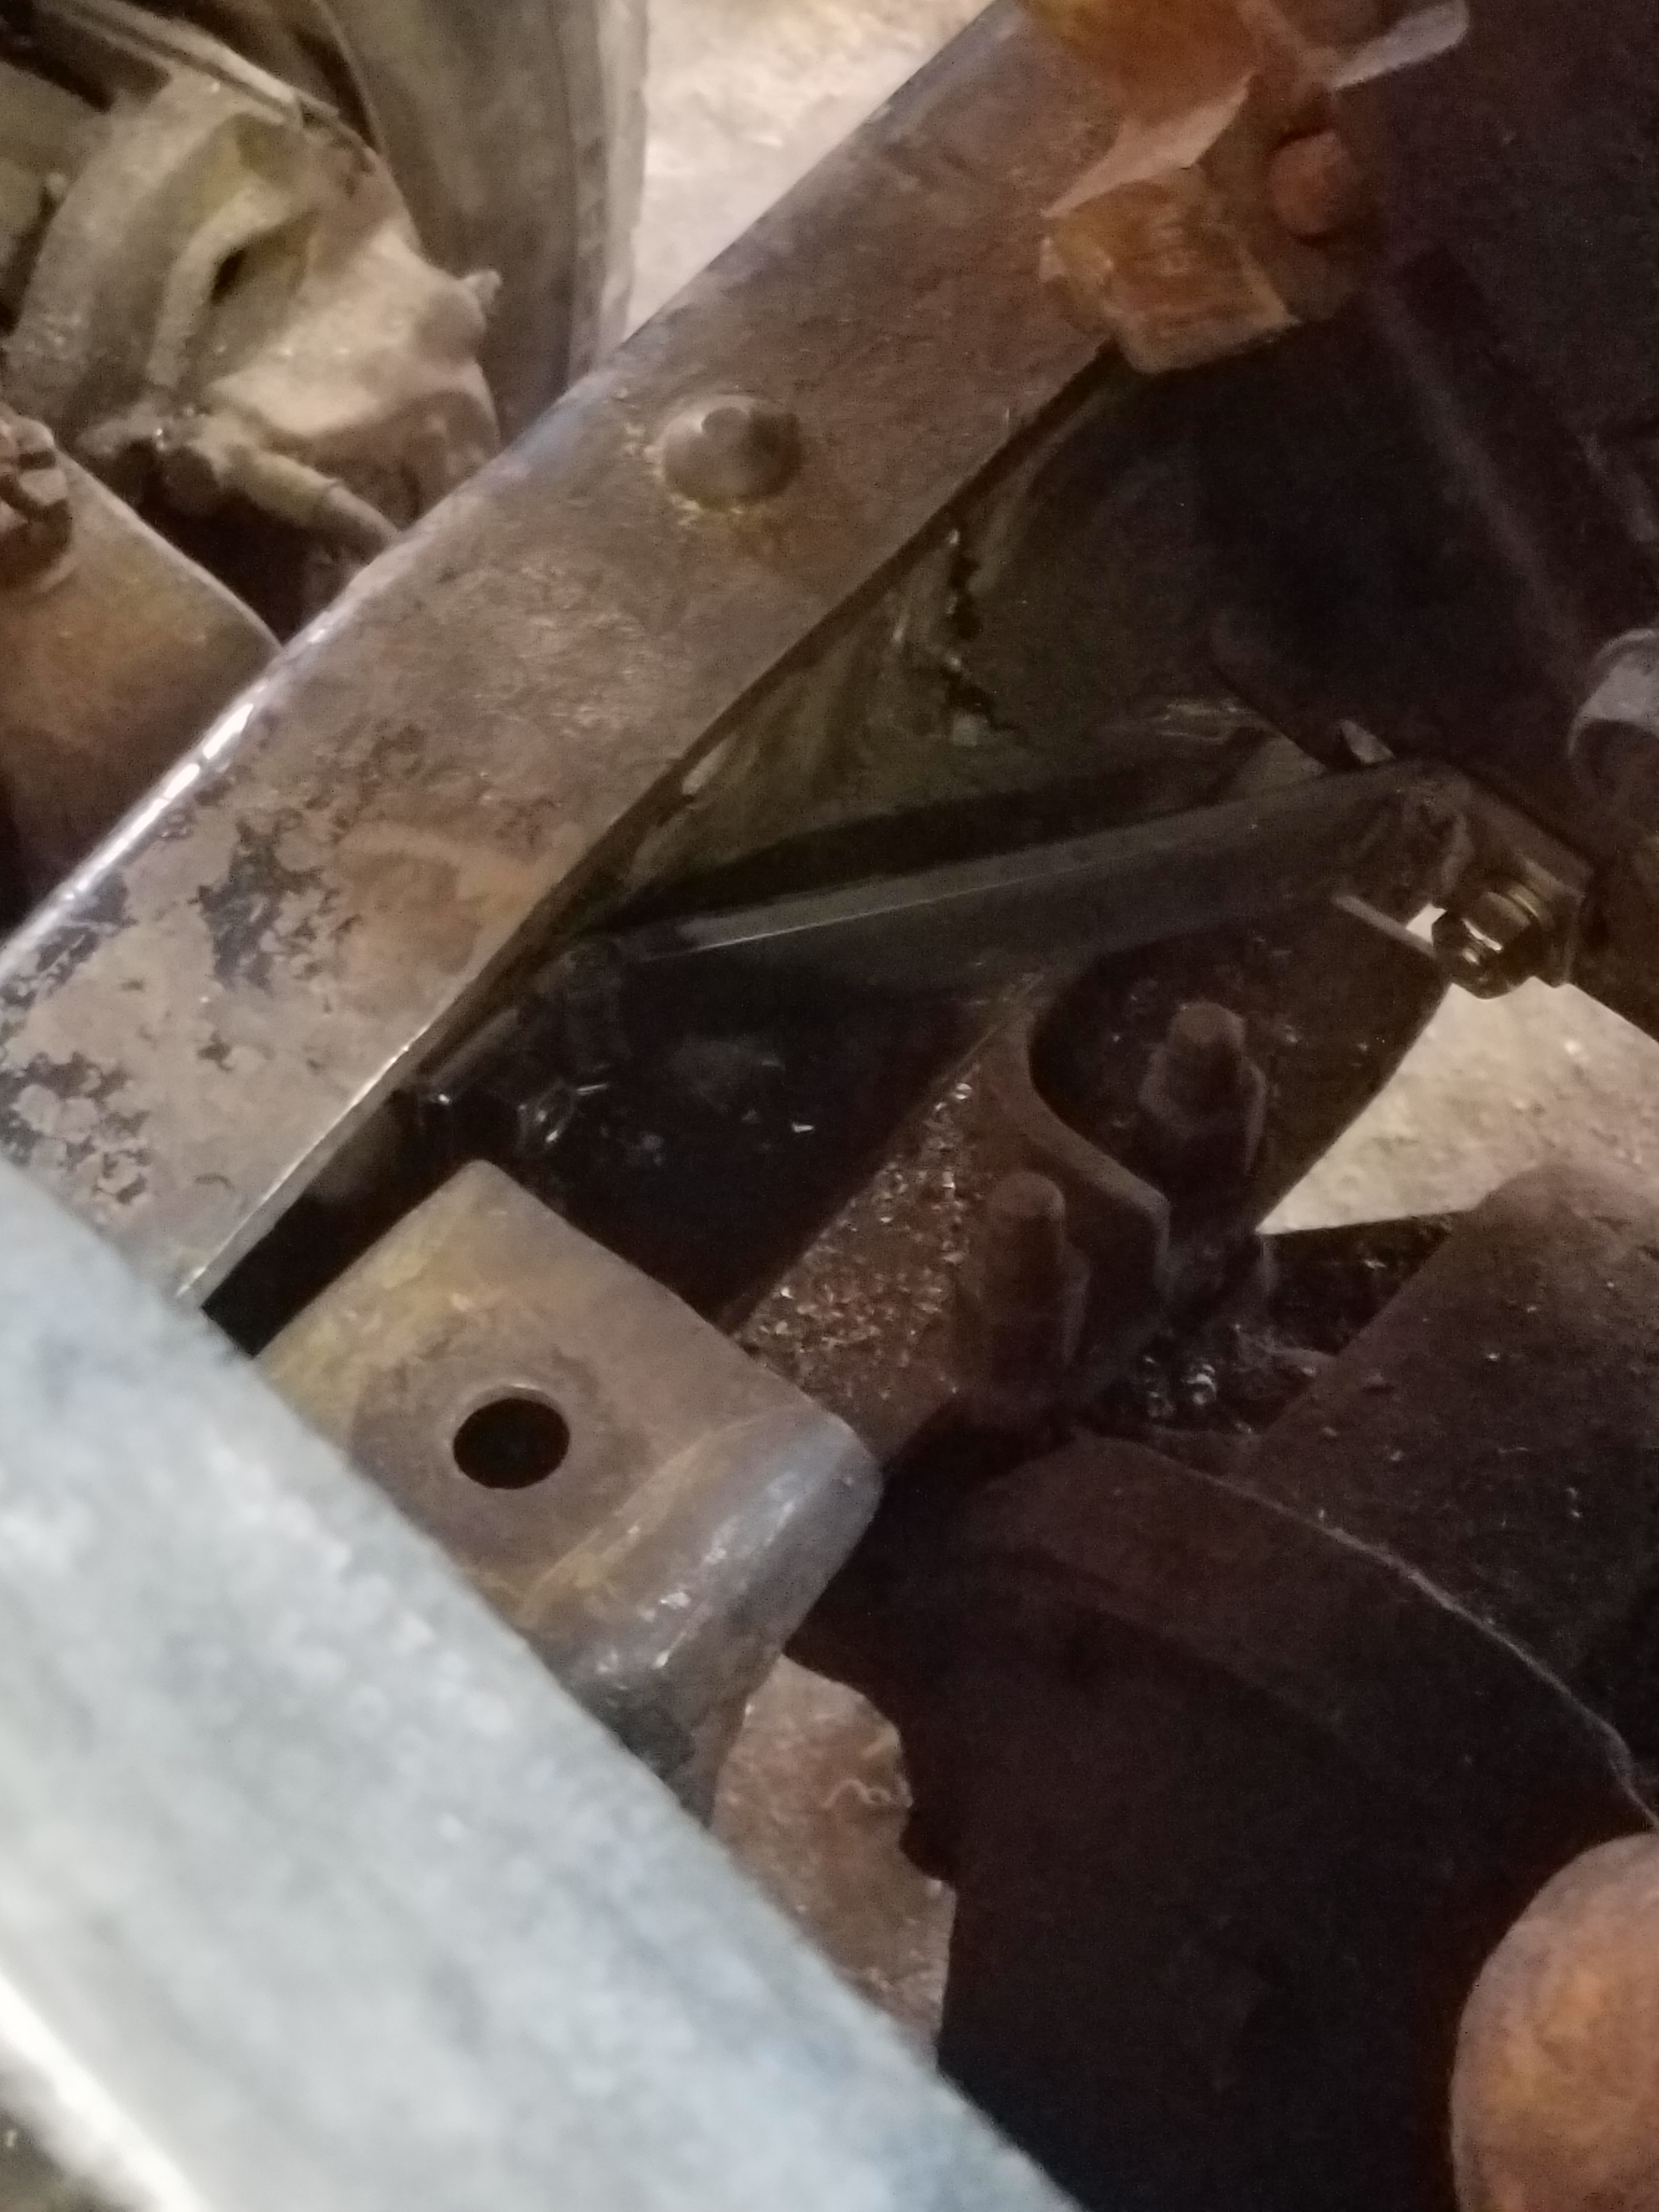
The last thing I’ve done is I added a brace to the motor mounts giving them a little more strength and an additional attachment point to the frame. It may or may not do anything, but I’m sleeping better at night.
Continued on Page 2